Need advice? Let's talk.
Get straightforward guidance from your broadcasting partner. Schedule a call to chat with the team about your radio station.
Book Demo10 Audio Hacks for Great Sounding Radio
A great sounding stream is a big priority for radio broadcasters. Improve yours and keep listeners locked in with our top 10 audio hacks.
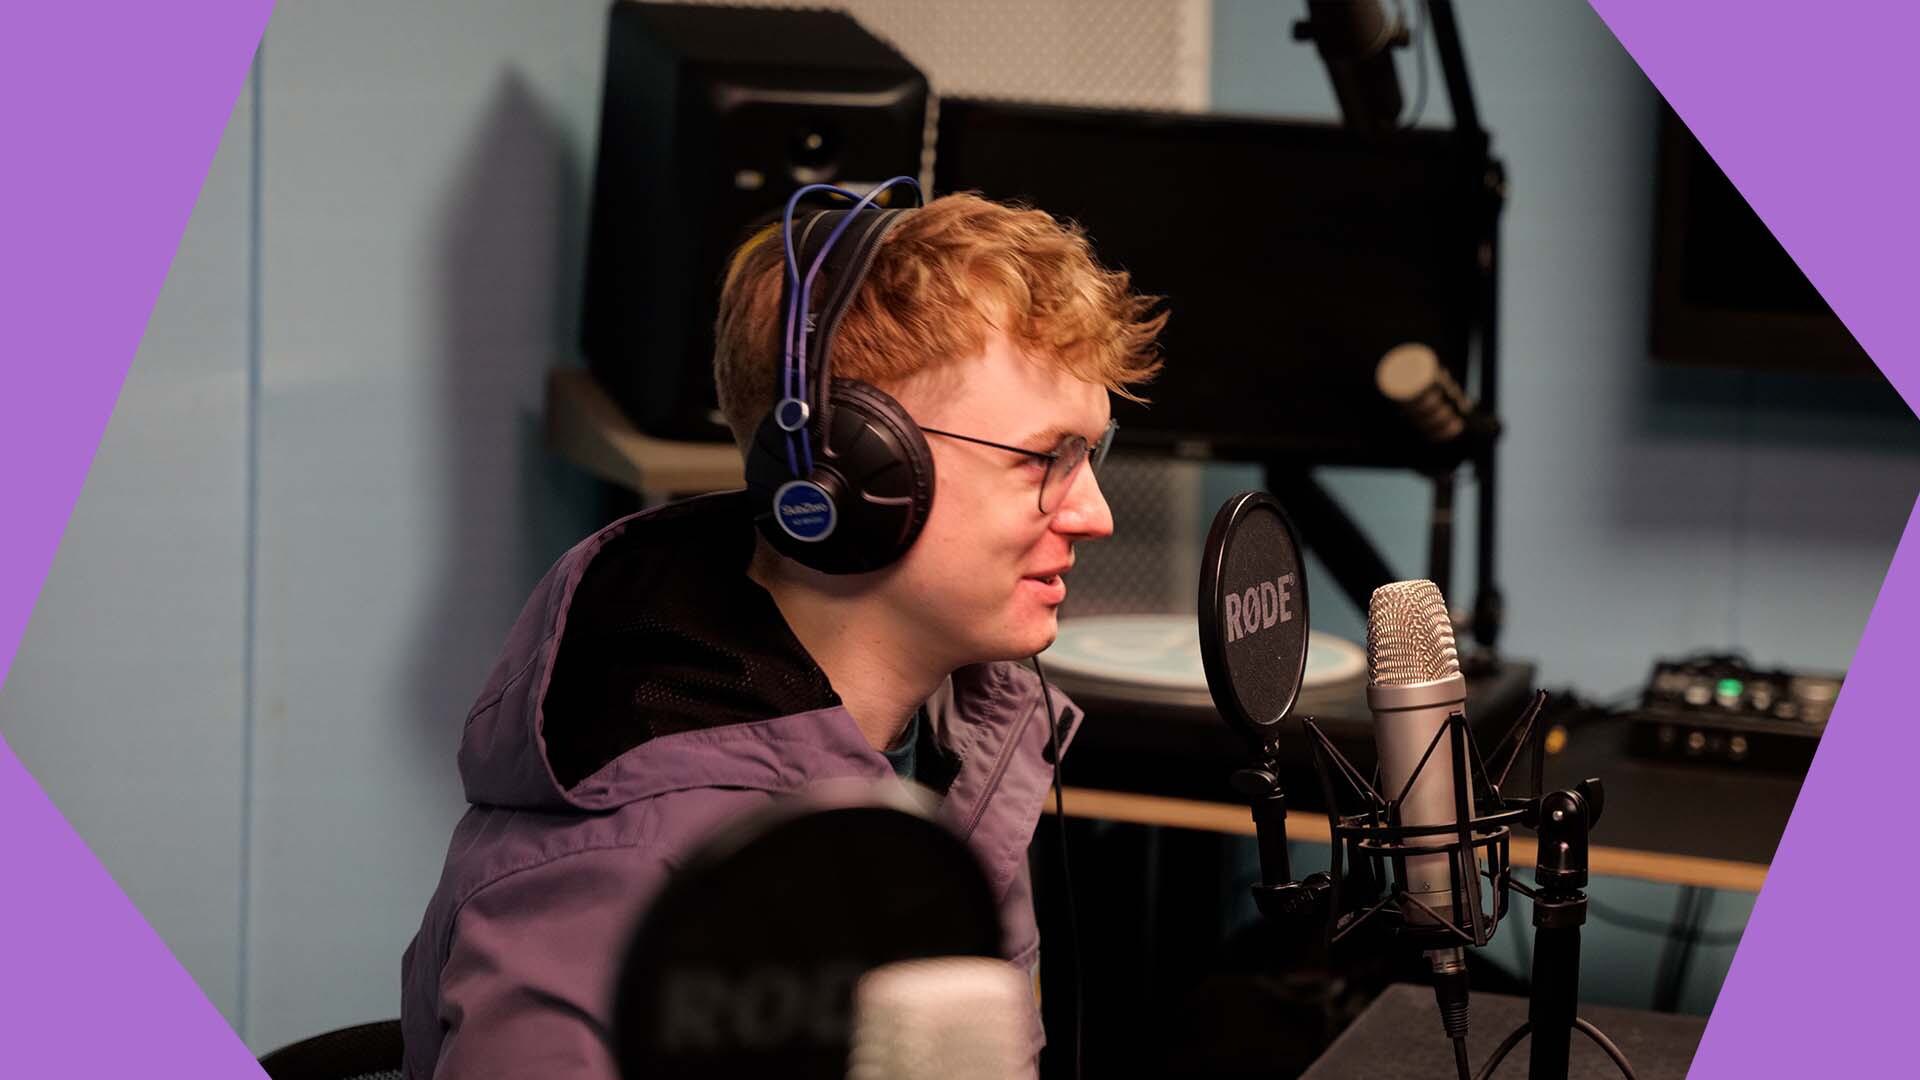
When competing for listeners, a poor sounding stream will let down even the most established radio stations. Thankfully, there’s plenty of tricks and tips to ensure your live broadcasts sound great. Here’s our top 10 hacks for great sounding radio.
1) Listen to Your Stream on Different Devices
Listen in your car, on your phone and on a bluetooth speaker. Perhaps this is sad for the audiophiles amongst us, but that’s how your listeners will be tuning in. So if your stream sounds good on them, that’s half the battle. If not, then keep reading to improve your sound.

2) Use a Microphone Pre-amp Like the Cloud Lifter or Fethead
Condenser microphones produce a low level signal that needs phantom power to bring it to line level i.e audible for broadcasting. While many audio interfaces act as pre-amplifiers that have phantom power, using a Cloud Lifter or Fethead is a way you can boost the gain on your microphone without getting too much noise or distortion. They can act like a pre-amp for your pre-amp and give you a louder and clearer mic signal.
3) Review Where You're Broadcasting From
Sound waves bounce off hard surfaces, leaving vocals with reverbs that diminishes the sound quality. If you don’t have a designated sound booth, make your own using soft furnishings or stick your head under a duvet. Soft furnishings absorb sound waves so reduce reverb and lead to vocals that sound strong and clear.
4) Get The Legendary SM7b Sound Hack
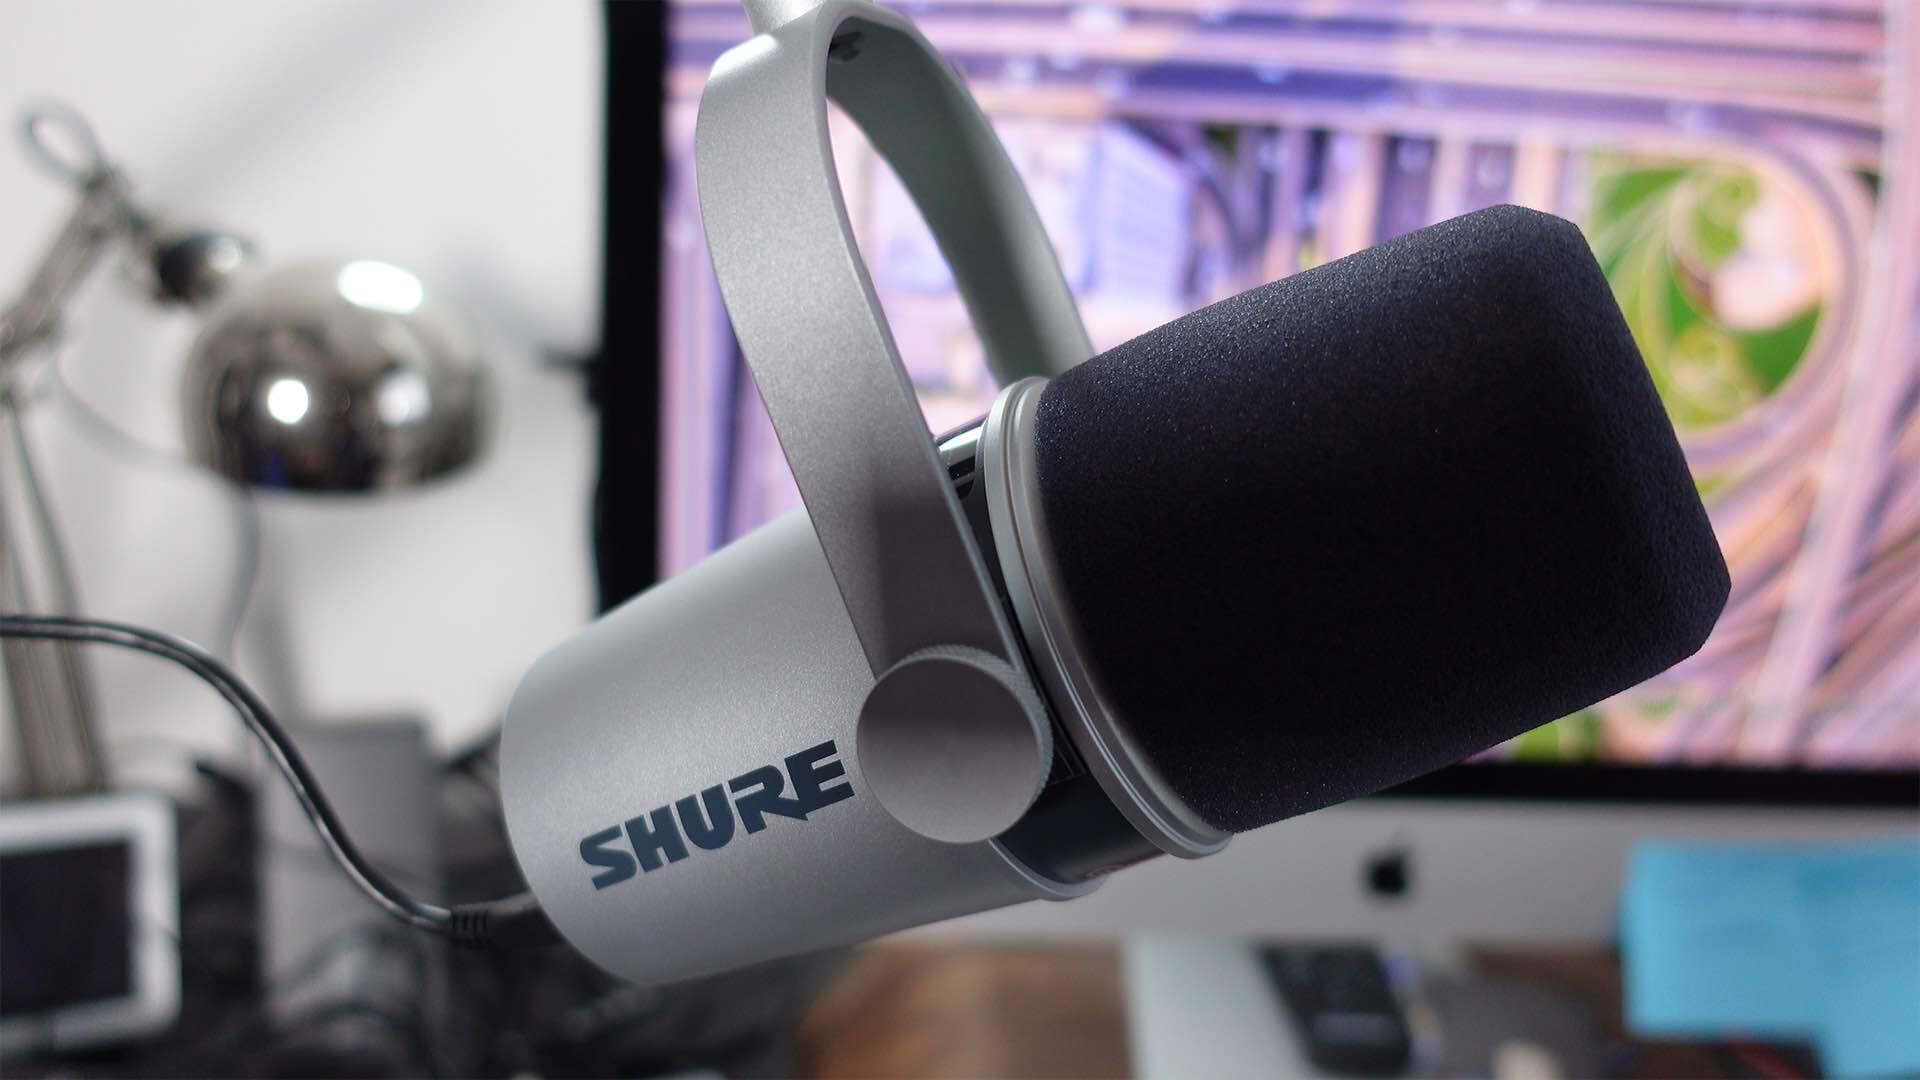
Want a legendary microphone but with a legendary price tag? The Shure MV7 is a cheaper alternative to the industry-standard Shure SM7b. But it has a well-known plosive problem. Thankfully, this can be overcome by buying the SM7b windshield (£18/ $15) and popping this on the Shure MV7. There’s the added bonus that the Shure MV7 is connectable via USB, unlike the SM7B. So is more portable as there’s no need for an audio interface to connect it!
5) Use Dynamic Microphones in Busy Radio Studios
In an ideal world, we would all have fully soundproofed radio studios away from rumbling train lines and with plenty of space for engineers, radio presenters and bands to do their thing. Alas, in reality, radio studios are often a thoroughfare with lots happening in a small area. Using dynamic microphones over condenser microphones, reduces the commotion our listeners hear. Dynamic microphones are less sensitive, so won’t pick up as much background noise. Less background noise = more professional sound.

6) Stream via a Wired Internet Connection, Not WiFi
When streaming over the internet, you’re placing a lot of trust in your internet connection. Wifi connections are susceptible to anyone and everyone jumping on. And a lagging internet connection can cause a lagging stream, or worse still, radio silence. So go for the superior, more reliable and more stable option that is a wired connection.
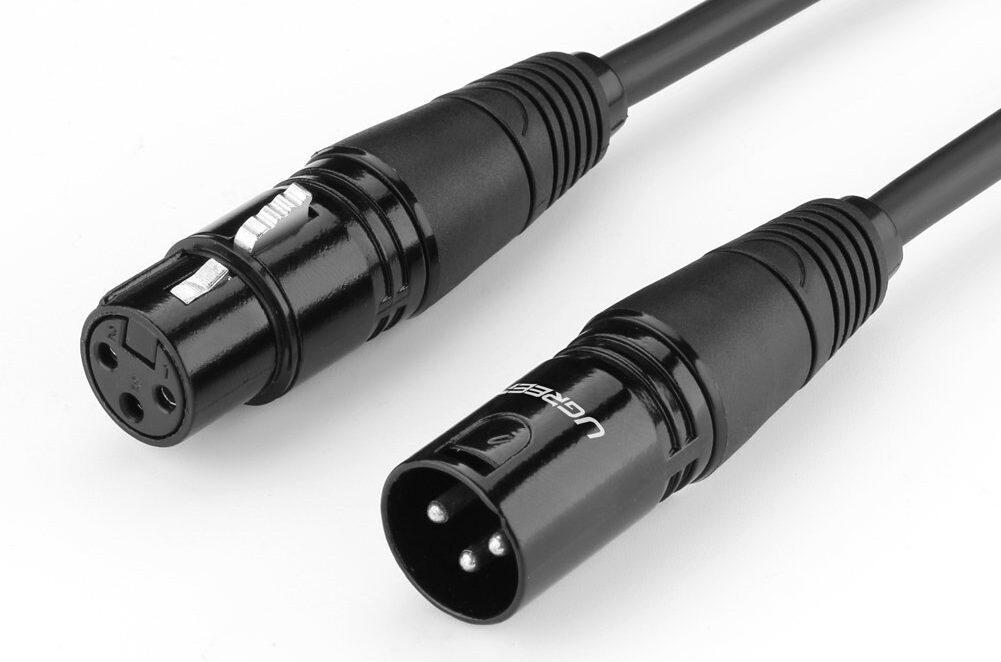
7) Don’t Cheap Out on Cheap Cables
It’s true, if you buy cheap you buy twice. It can be tempting to try and keep costs low when setting up your station. However cheap cables are typically less reliable, so go for mid-range cables at the very least so you don’t encounter problems like a weak or cutting out signal.
8) Choose the Right Bitrate
Bitrate refers to how your audio is converted online. The higher the bitrate, the higher the quality. But also the more bandwidth you’ll need. So choosing the right bitrate should be a balance of getting the best audio quality whilst having a reliable stream.
9) Set the Master Channel Lufs Limiter to 18-24
When listening to any audio, it’s quite frankly just annoying to have to adjust the volume up or down for different songs. You don’t want to blast your listeners ears off with one song and then not be able to hear a presenter the next minute. Lufs Limiter is a great tool to reduce the dynamic range of your audio, leading to your different sources of audio having the same perceived loudness to your listener.
10) Crossfade Your Tracks
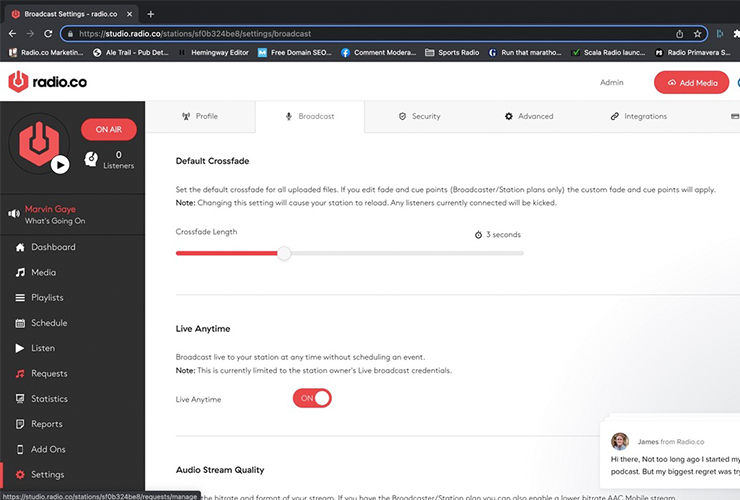
The split-seconds of radio silence as one track ends and another starts doesn't make for a seamless listening experience. Applying a cross-fade between them can create a better, more professional sounding broadcast. Either cross-fade your tracks yourself using DJ hardware or software, or set a default cross-fade in your broadcasting software. In the Radio.co dashboard, you can set a default cross-fade of 1-10 seconds by going to Settings > Broadcast.
To Wrap Up...
That's our 10 ways to improve your stream and keep your listeners listening. And remember, sharing is caring. So, let us know how you're making your broadcasts sound better. Be it classic techniques or new, innovative hacks.

