Need advice? Let's talk.
Get straightforward guidance from your broadcasting partner. Schedule a call to chat with the team about your radio station.
Book DemoBuild a Basic Home Radio Studio
We can't all afford the newest & best tech on offer, follow these steps to get the essentials you need to build a basic home radio studio.
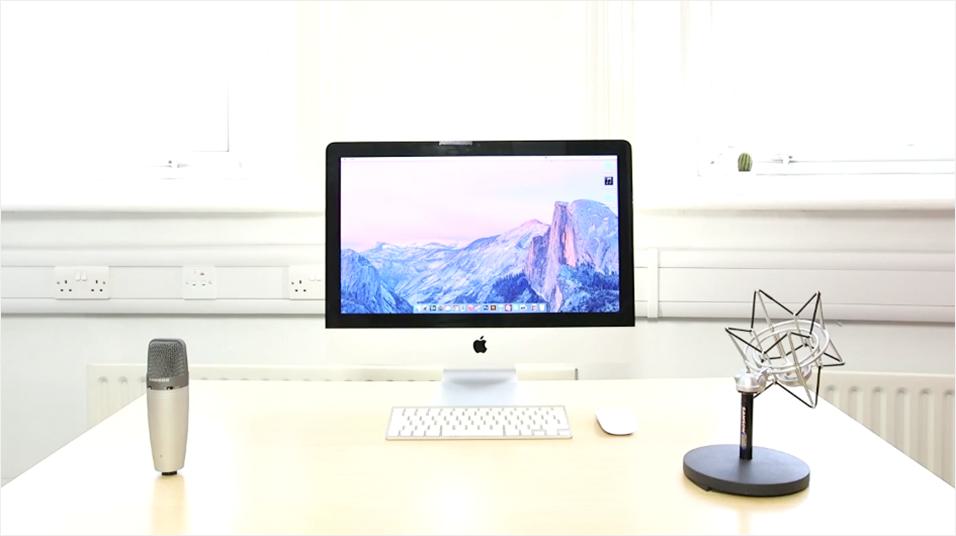
Do you want your own home studio, but don't have tonnes of cash lying around? You now can with this how to guide on what you need to build your very own basic home radio studio.
Here's what you will learn:
- Location: Good places to setup that are right for you so you won't be disturbed.
- Equipment: Essentials you need to record your shows.
Here's how to set up your own basic home radio studio with just the essentials.
Basic Home Radio Studio
Location
Having a dedicated space gives you a major boost as it allows you the freedom to record whenever you like - Here are some things to think about when choosing a location.
Noise
You can sometimes forget just how noisy everyday life can be, from car doors closing outside your home, noisy next door neighbours, or even a rainy afternoon - All of these could potentially ruin your recordings!

When choosing a place to broadcast pay close attention to which rooms are the worst noise offenders and pick the quietest (think thin or adjoining walls), preferably one where you can make as much noise as you want.
Size
You often hear that "bigger is better", but that's not always the case when it comes to picking a space.
Large rooms, especially with high ceilings tend to echo audio, so you even need to absorb the sound or find a smaller room.
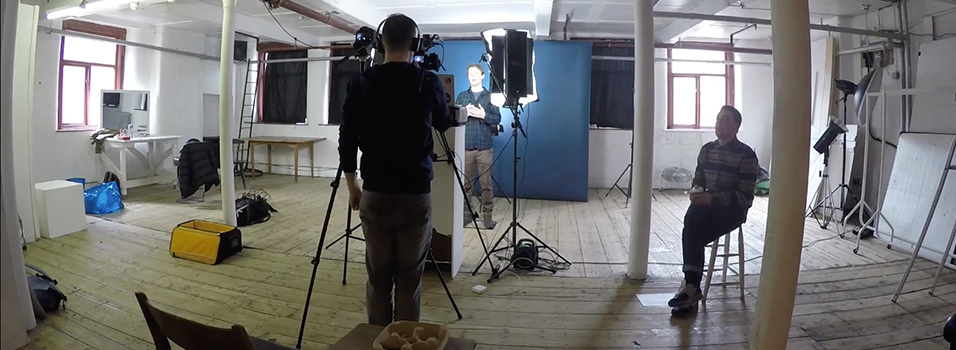
Choose a size that fits your needs, so you have a place for your equipment whilst still having some free space in case you need it - Just be sure to test out the acoustics before you make a decision.
Acoustics
Ideally, the room that you choose is acoustically perfect, that means that when you talk or clap there isn't an echo.
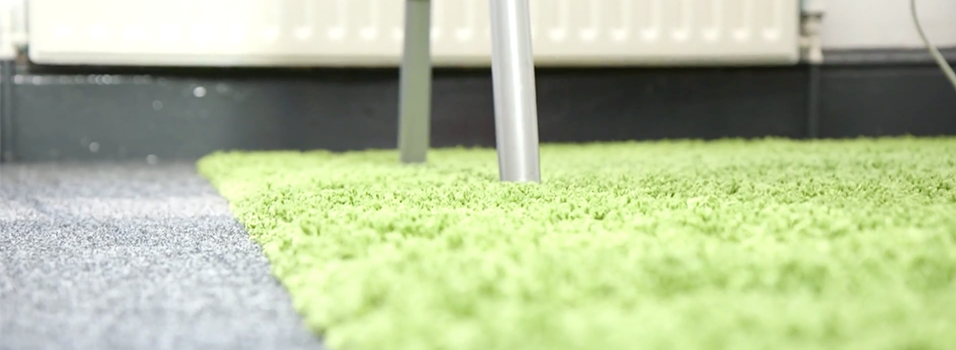
If that's not the case then there are a few workarounds you can use - Carpeted rooms with small windows are great as they minimise reverberations, this means you don't get a tin-y sounding background noise on your recordings. You can also hang up dense blankets to reduce this effect.
When it comes down to it you're going to record wherever you can as you might not have a whole lot of choice, so try and have these points in mind when choosing a location:
- A room that's a right fit for you and your equipment.
- Use carpets to minimise reverberations.
- The less windows the better.
- Hang up dense blankets.
Don't expect perfection with your first setup! The idea is to get up and running with just a few resources.
Now that we have a space to record in, let's find the right equipment.
Equipment
Equipment has never been more powerful, whilst still being affordable, so you don't have to spend a lot to get a lot.
Minimise your costs whilst still getting a decent performance with just the following essentials.
Computer
The hub of your studio is either your computer or laptop.
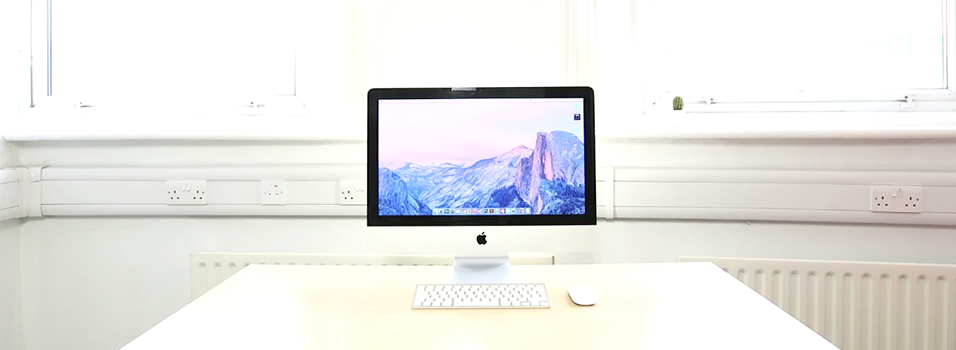
Most will do the job as long as they have spare USB ports and a headphone jack for your equipment, plus it doesn't hurt to have a good internet connection.
Microphone
The Samson C01U is a good beginners microphone for your home studio as it picks up professionally clear audio and it's USB plug and play.
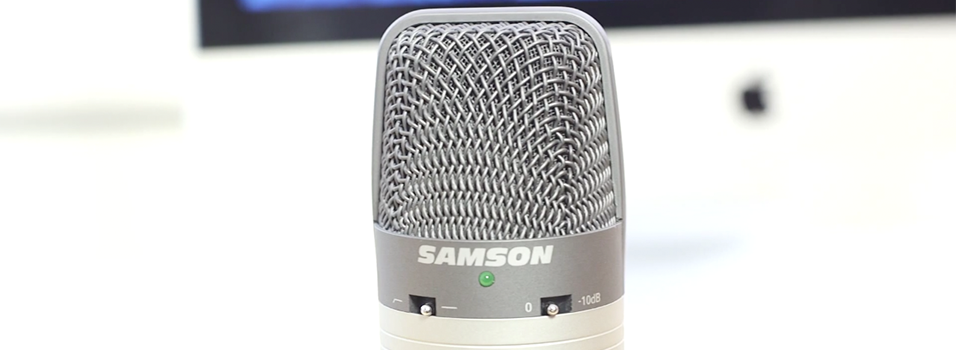
You can simply connect it up to your computer and record, plus the price tag isn't bad either as it goes for around $60 / £40.
Stand & Shockmount
Microphones can be extremely sensitive, picking up footsteps or weight shifting across the floor.
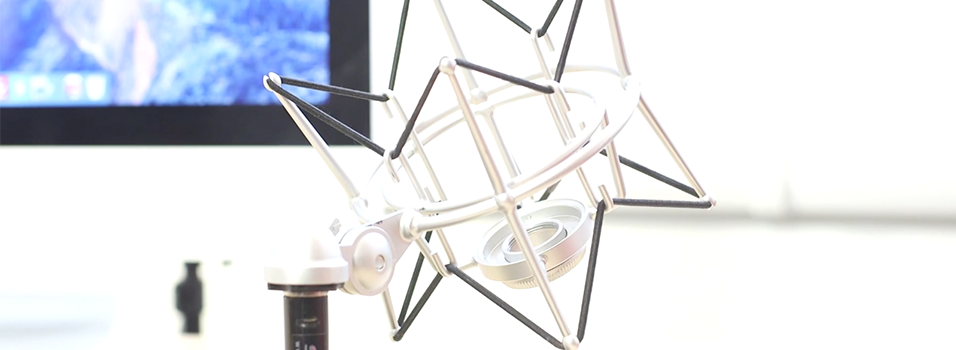
With a stand and shock mount in place you reduce vibrations for overall better sounding audio, however, you don't need an extravagant stand and shock mount, just simple ones that go for around $10 each.
Headphones
Overall the Sony MDR-ZX100 headphones are perfect for listening to recordings, not to mention they are quite reasonably priced as they go for around $15 / £10.
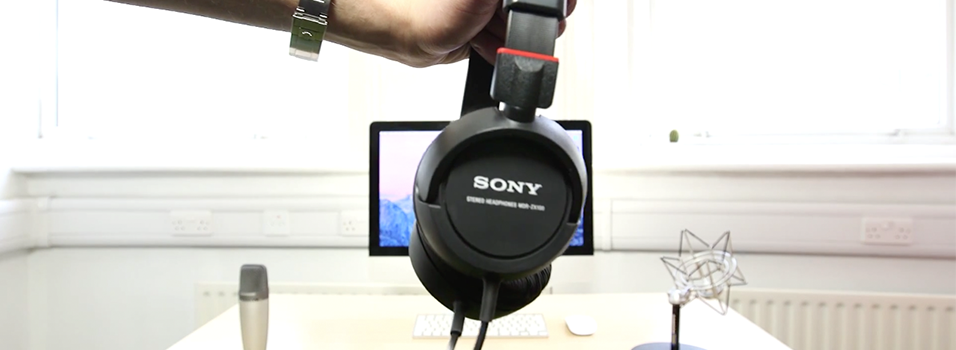
Alternatively, you can just use a pair of ordinary earphones.
That's it, you now have your very own basic home radio studio up, running, and ready to go!
The team at Radio.co can help you get started in no time as our in-house experts are on standby to lend a helping hand.


