Need advice? Let's talk.
Get straightforward guidance from your broadcasting partner. Schedule a call to chat with the team about your radio station.
Book DemoHow to Improve Your Home Radio Studio
How to improve your home radio studio for an advanced setup for podcasting, live interviews, and pre-recorded tracks and talks.
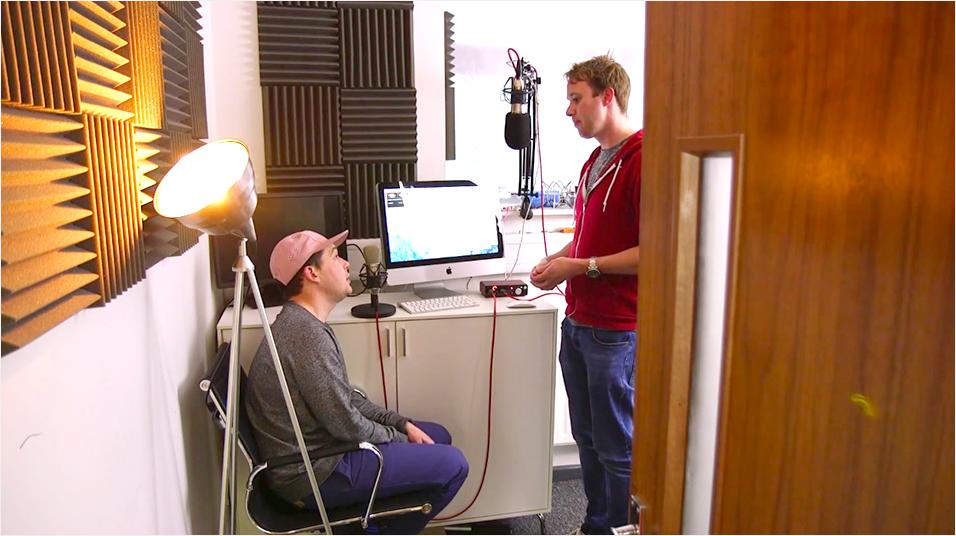
Home studios often evolve over time, at first you start off simple and cheap, then upgrade and add more advanced equipment like new microphones, stands, and other things you might not have thought about the first time around - This guide will show you ways to improve your home radio studio to get more out of your setup and recordings.
Here's what you will learn:
- Location Upgrades: How you can maximise your space to get the most out of your setup.
- Advanced Equipment: Tools of the trade used by industry leading experts you should know about.
Improve Your Home Radio Studio
Location Upgrades
Having your own space to record in is awesome, but far from professional if you don't have the correct setup. Ideally, you want to minimise reverberations by improving the room's acoustics - This can be achieved using three simple modifications.
Acoustic Panels
Noise can bounce off walls causing an echo effect, to solve this you can use foam tiles which are a great way to absorb and ultimately soundproof your room.
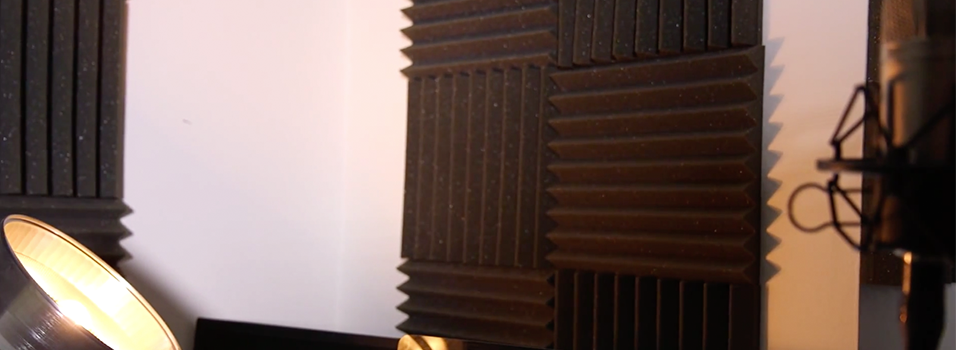
Having a few of these foam tiles positioned strategically on your walls can significantly alter your room's acoustics for better sound audio. Acoustic foam panels are quite cheap, you can pack of a dozen for around $30 / £20, plus they're quite easy to put and take down because you can use spray adhesive to put on the back of the panels and then place them on the wall.
Carpet
Wooden floors are probably one of the worst noise offenders when improving your home radio studio as they tend to bounce noise around, so microphones easily pick up footsteps or chairs moving.
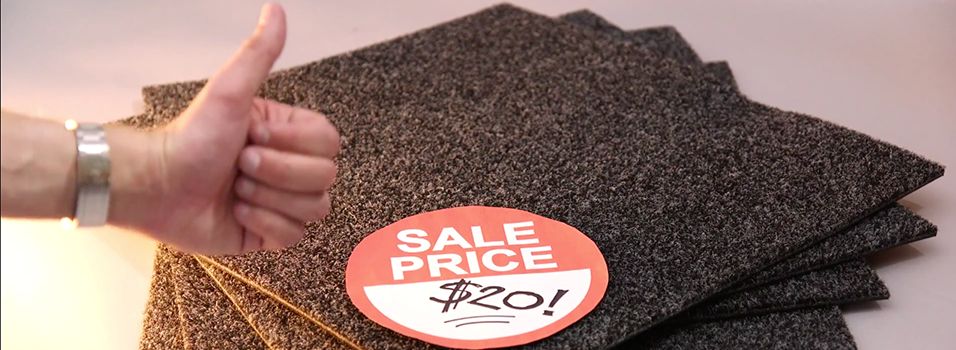
Laying down either carpet or carpet tiles is a simple way to absorb sound and really lock in audio for far better quality recordings. A pack of standard carpet tiles go around for $20 / £15 and are super easy to lay down in your studio.
Bonus tip: If you have big windows then use backdrop paper to cover them up, this way sound is absorbed instead of being bounced off glass, plus it blocks any distractions from your view so you can create your own atmospheric radio space.
Advanced Equipment
Most entry level equipment is fine for basic studios, however, if you're looking for a more advanced setup that gives you free range in terms of what you can do, then you will need to upgrade.
Microphone
The Behringer B-1 is a great mid-range condenser microphone for either live or recorded audio.
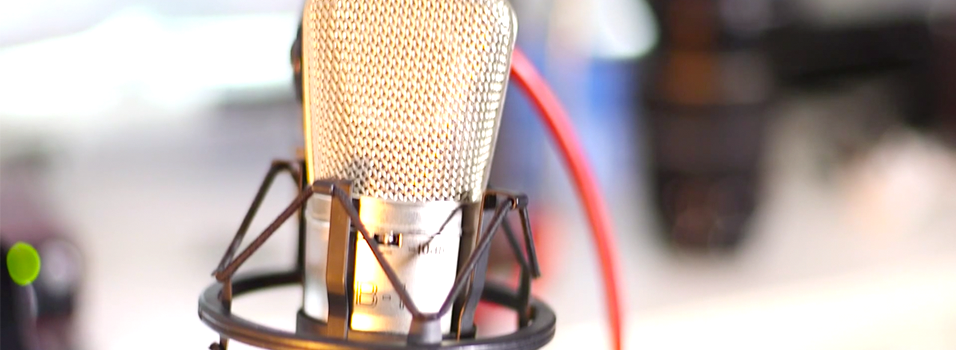
At around $100 / £70 the B-1 is a really affordable microphone, so it's worth getting two if you're looking to record interviews or podcasts with guests face to face, however, you will need a USB audio interface to power your microphones.
Audio Interface
Acting as both a pre-amp and power supply for your microphones, the USB audio interface gives you direct control over how you sound.
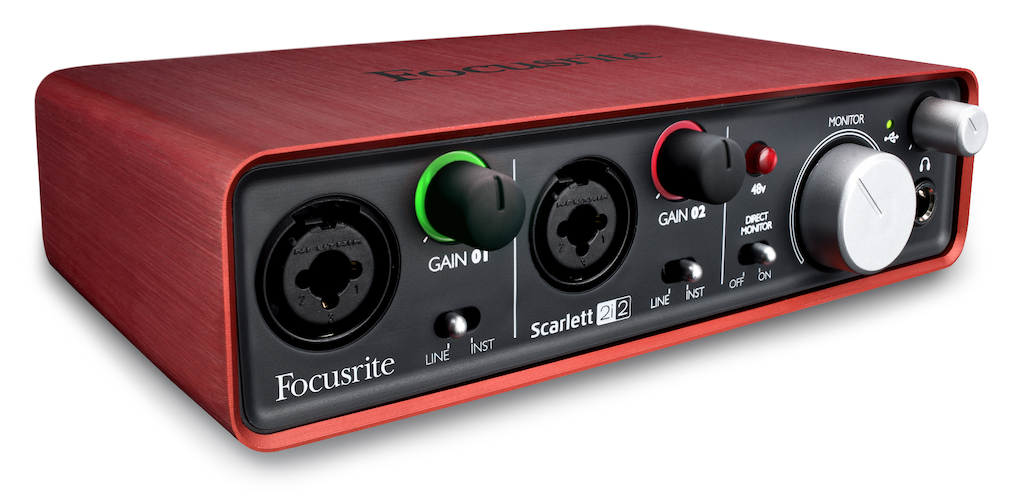
The Focusrite Scarlett 2i2 (which is about $150 / £105) has two XLR connections for your condenser microphones. Broadcasters have found that the processor inside the unit gives your voice a smooth sound commonly heard in the radio industry.
Now that you have everything up and running you can get a guest on board for a chat. That's it, this guide on how to improve your home radio studio is an advanced setup that enhances the audio quality of your broadcasts and creates a more versatile studio so you can interview guests with ease.
If you need a quick refresher about the basics like room placement and the essential equipment you need then check out Build a Basic Home Radio Studio.
The team at Radio.co can help answer any questions on this setup and help get started in no time as our in-house experts are always on standby to lend a helping hand.


