Need advice? Let's talk.
Get straightforward guidance from your broadcasting partner. Schedule a call to chat with the team about your radio station.
Book DemoVoice Tracking Radio Shows to Sound Live
Record voice tracking in your radio shows to sound live. Click a button in your browser and add audio directly to your playlists.
Programming radio shows used to involve preparing well in advance, but now you don't have too! Record voice tracking links, mix songs, and add jingles to create the perfect playlist that sounds like you are broadcasting live. Access this cool new feature along with better scheduling and live broadcast recordings in your Radio.co Dashboard.
Voice Tracking Explained
Broadcasters usually talk in between tracks when on-air, like what's just played, what's up next, or discussing a topic. Automated shows do not allow you to speak between tracks as easily as a fully live broadcast.
Voice tracking lets you create a playlist of tracks and insert recorded segments in between them. This way you can prepare well in advance and free up time for more important things. Previously, you could record audio on your computer using software like Audacity and upload tracks to your station's music library, adding them in manually to playlists.
Radio.co voice tracking aims to simplify this process, allowing you to record directly from the browser without using an unnecessarily complicated desktop software. Before you start recording voice tracks there are a few prerequisites you should know first:
- Browsers: Voice tracking requires advanced browser technologies. We recommend using either Google Chrome (recommended), Firefox, or Microsoft Edge.
- Plans: Voice tracking is available on the Broadcaster and Station plans. If you are on the DJ plan then upgrade in Radio.co Dashboard > Settings > Billing > Change Plan.
- User Roles: Station Owner, Station Manager, and Music Controller are the only users that have permission to access voice tracking.
Accessing Your Microphone
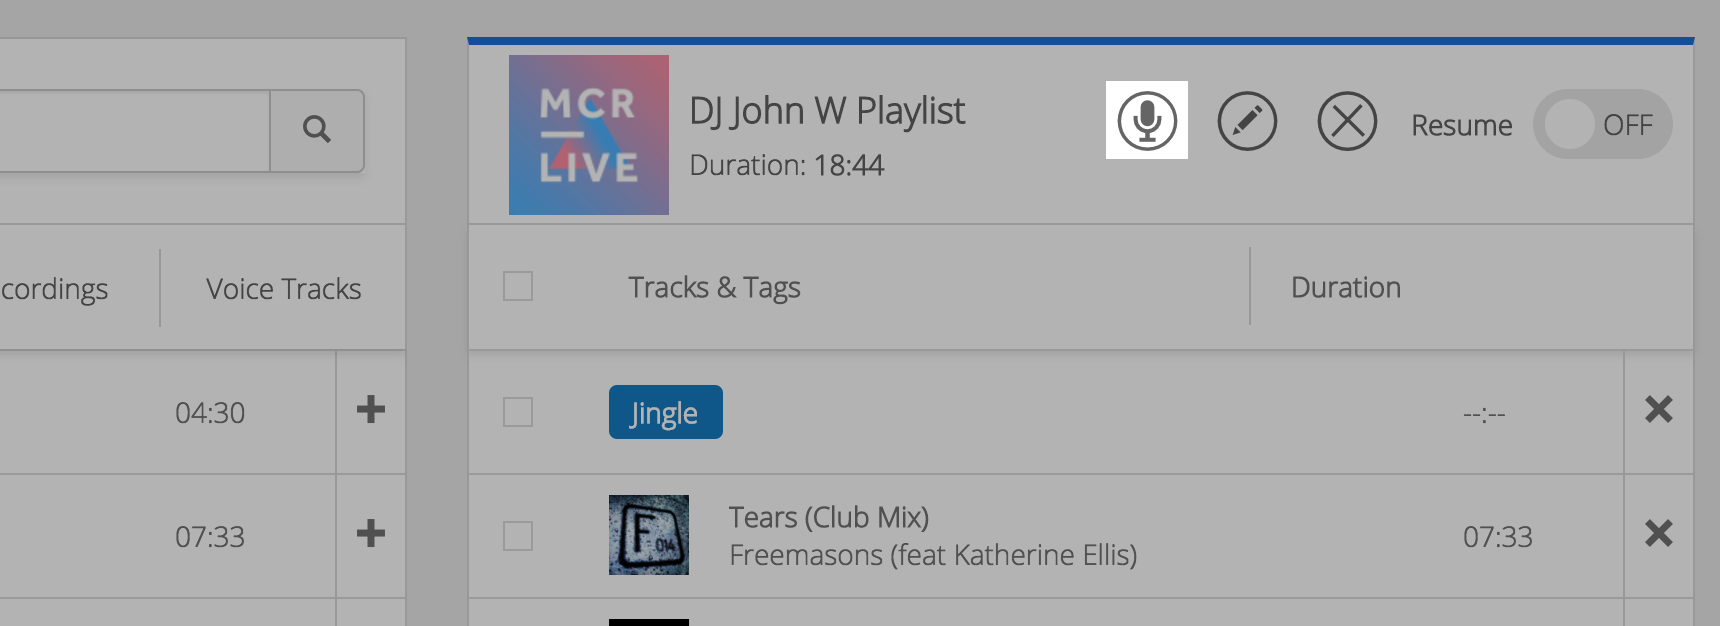
Voice tracking audio is captured through your microphone. Set it up by going to your Radio.co Dashboard > Playlists and choosing a playlist you want to add a voice track too. Click the microphone button to bring up the recorder.
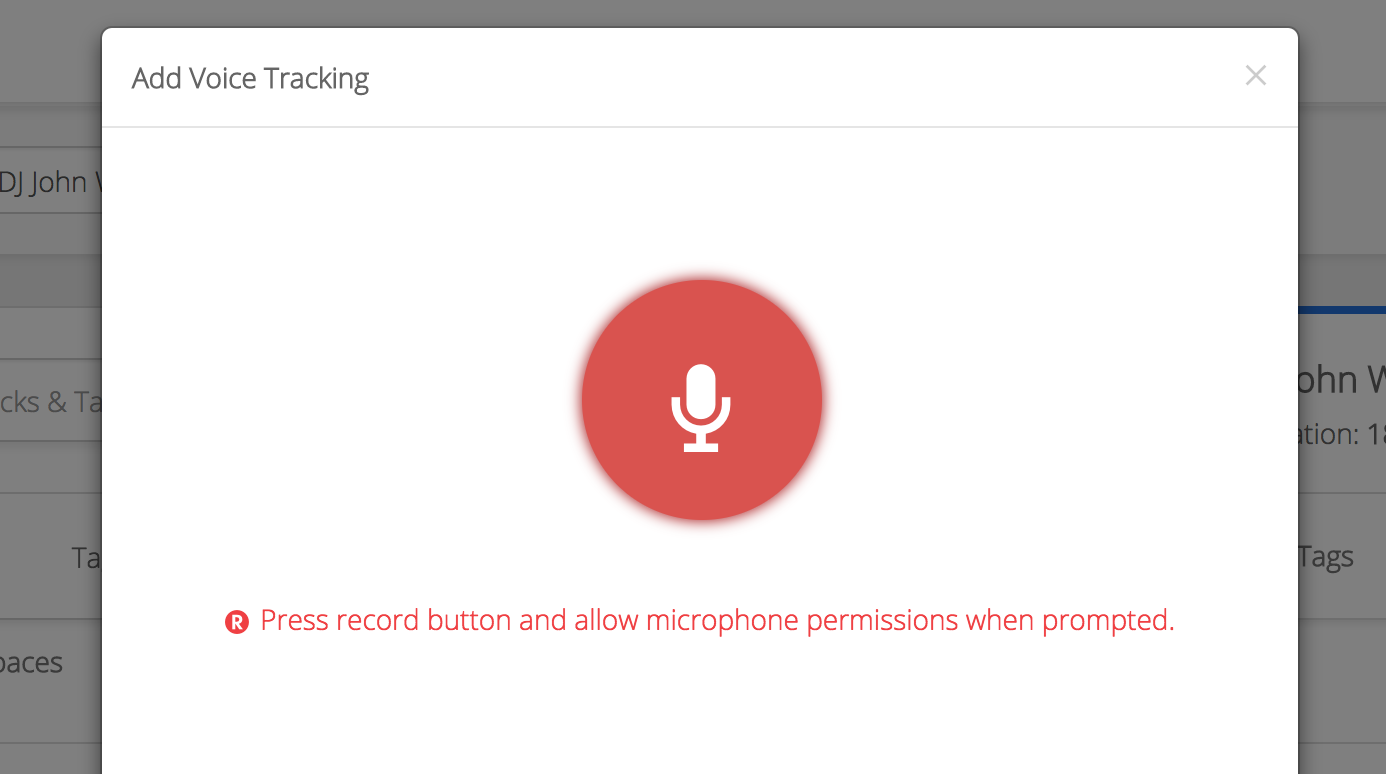
Then the voice track management pop-up will appear.
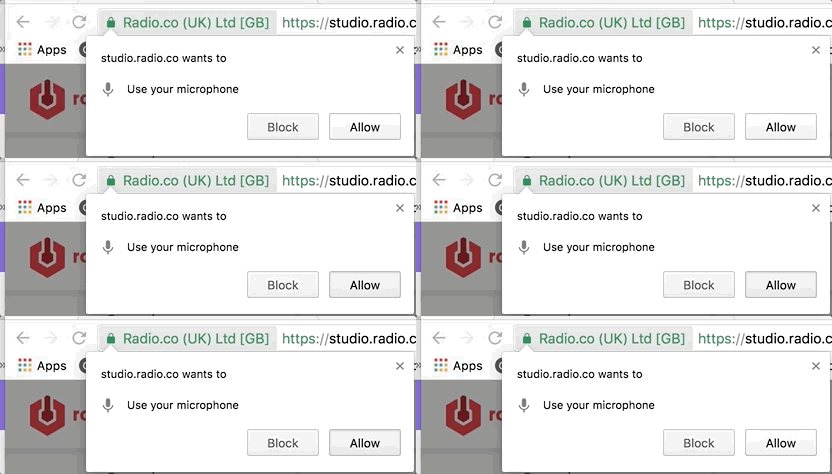
If it's the first time you have used the voice tracker, a notification will appear requesting access to your microphone. Allow it to give permission for Radio.co to use your selected microphone during voice recordings.
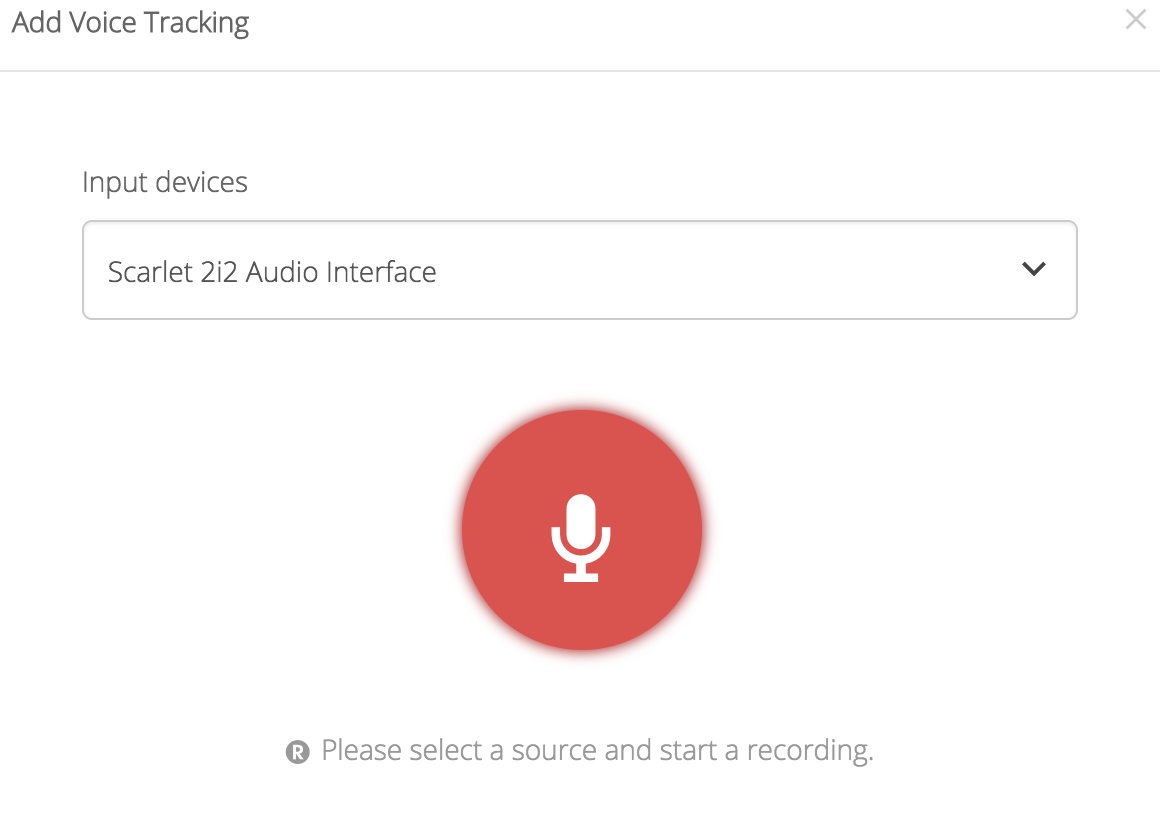
Choose a microphone you want to use in the drop-down menu. For example, this could be a built-in mic, USB plug and play mic, or audio interface like the Scarlet 2i2.
Recording Voice Tracks
Now you can start recording segments for your playlists. Click the red microphone button to begin. Recordings can last up to 10 minutes.
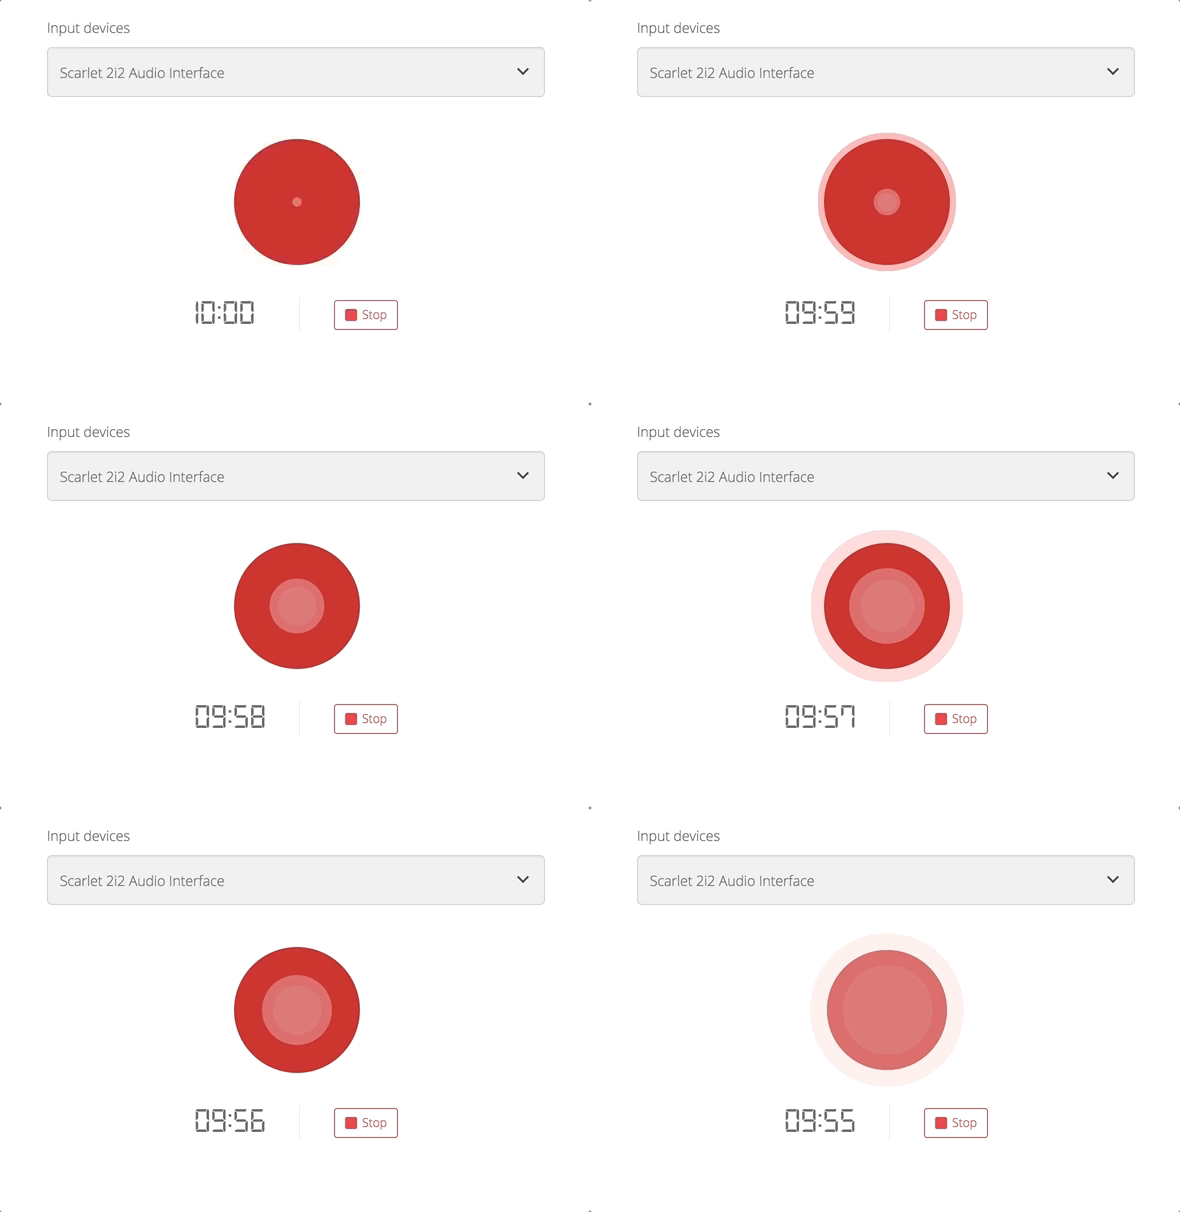
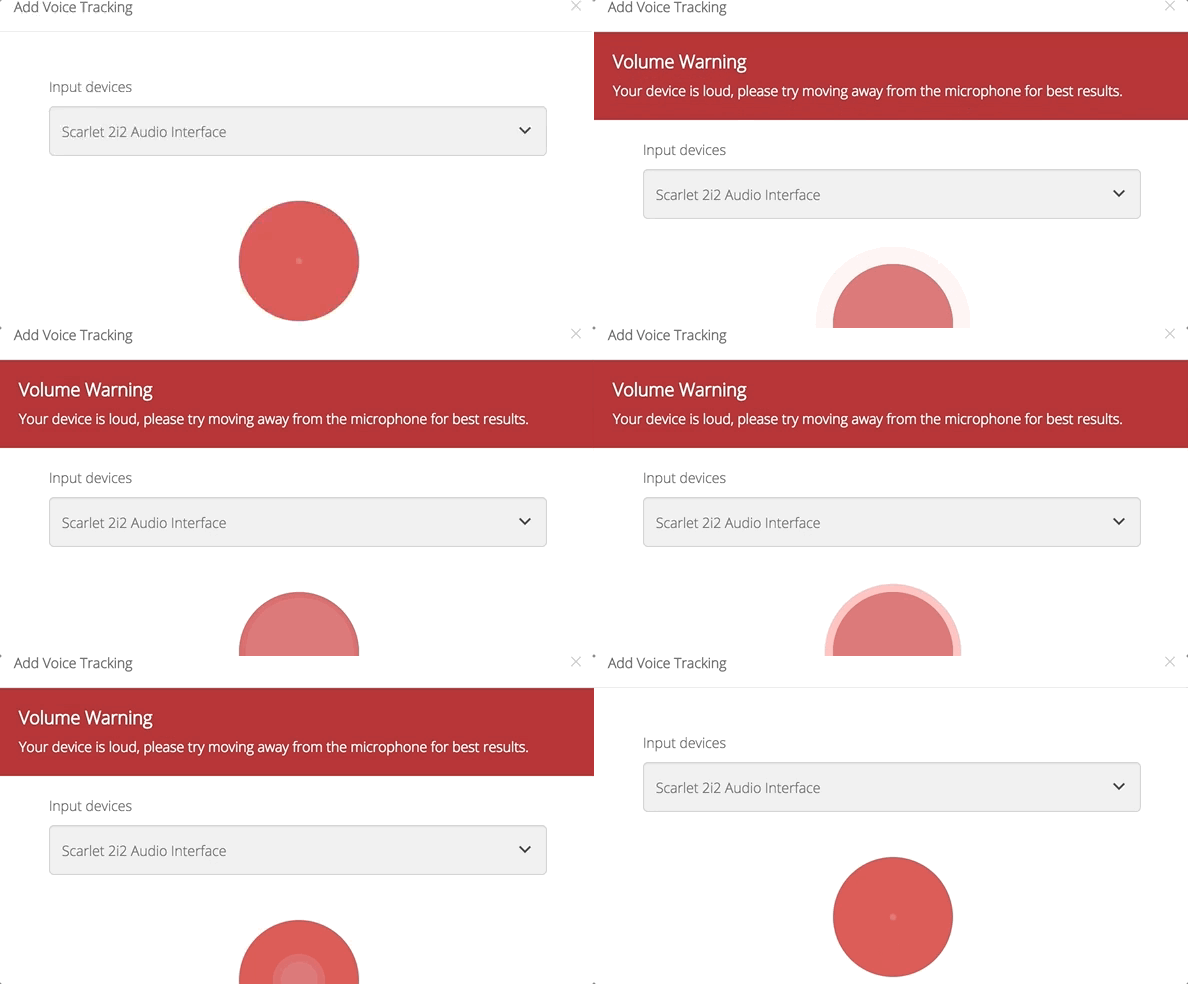
Your volume levels are represented in the red button. If you are too loud a warning will let you know. Either turn down your volume or try moving away from your mic. However, if the volume is not showing your audio levels then it may be too low. Try stopping the recording, adjusting your volume levels, and starting again.
Once you have finished recording click the stop button. A green play button will appear so you can preview the voice track.
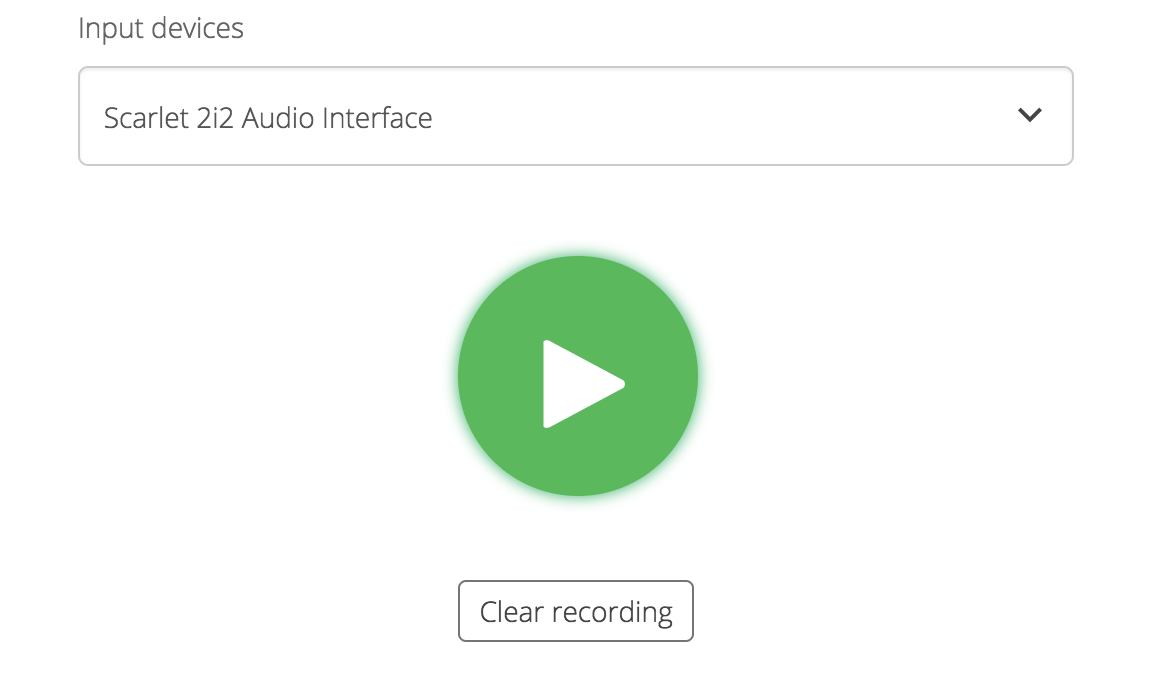
Not happy with your recording? Clear it and start again. This will delete the voice track so you can try again.
Once you are happy with your recorded voice track then add a title and artist in the track meta data section. The title will be will be visible to your listeners when on the air, so this should be relevant to the show.
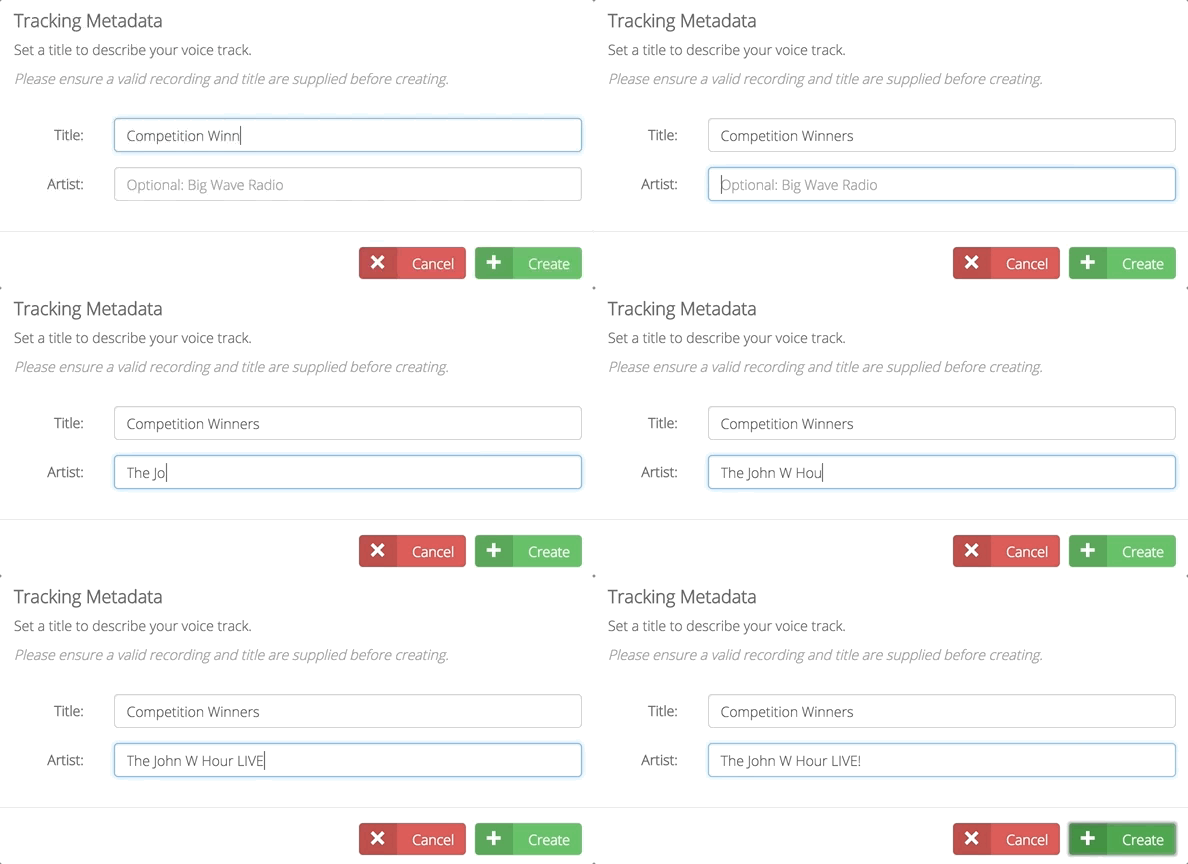
Save the voice track, it will then be uploaded to your station and added to your playlist.
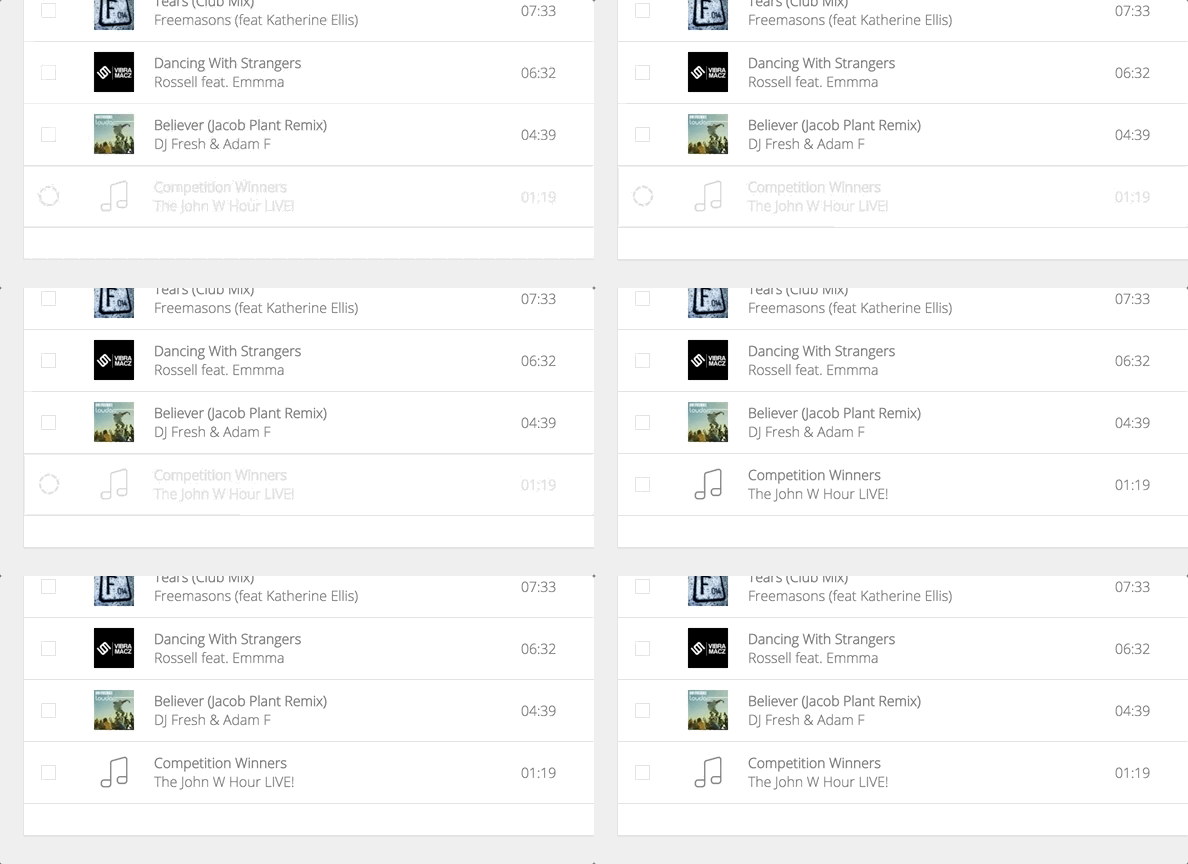
Finally, save your playlist to apply the changes. Now when your playlist airs, the recorded voice track will play like any other track. It will also be stored in your Media > Voice Tracking library.
Managing Voice Tracks
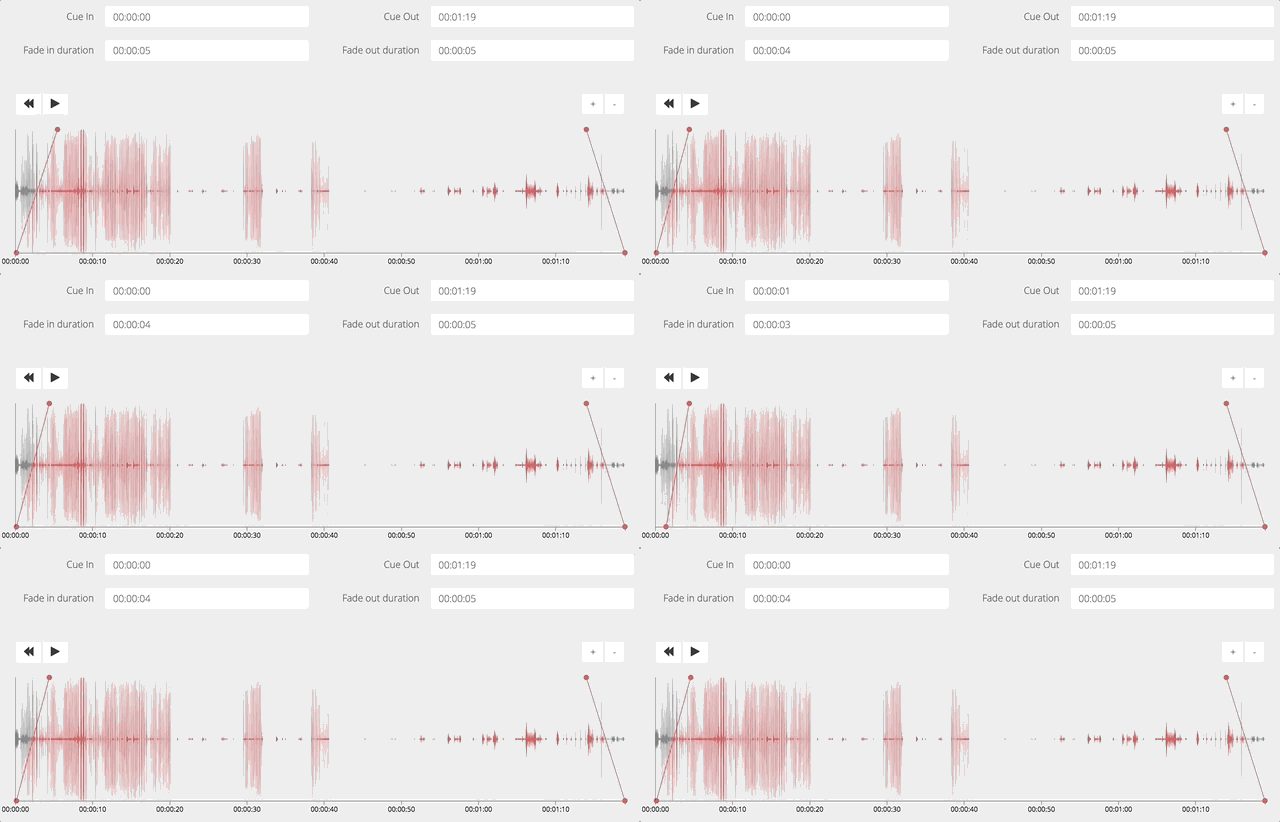
Once a voice track has been created it gets automatically added to your media in Voice Tracking. In here you can edit the track's cue and fade points, artwork, and metadata.

Select the file you want to edit in Actions > Voice Editor. Alternatively, if you would prefer to modify the track on your computer or save it for future use then you can Download Voice Track.
In the voice editor, you can adjust how the track sounds. Move the cue slider handles at either side to change the start and end time of the track. Likewise, move the top of the slider handles to adjust the fade in and out of either side.
Is the voice track old or not good enough to keep? Delete it by selecting the track and clicking the trash can icon.

For more on how the Voice Tracker works, check out the video below:
What do you think of the new voice tracking feature? How will it help your radio shows? Let us know in the comments. Keep up-to-date with news and guides like this by joining the Radio.co Blog Newsletter.


