Need advice? Let's talk.
Get straightforward guidance from your broadcasting partner. Schedule a call to chat with the team about your radio station.
Book DemoWinamp Setup to Broadcast Online Radio
Winamp setup and configuration to broadcast to your online radio station - Stream to your listeners all around the world in minutes.
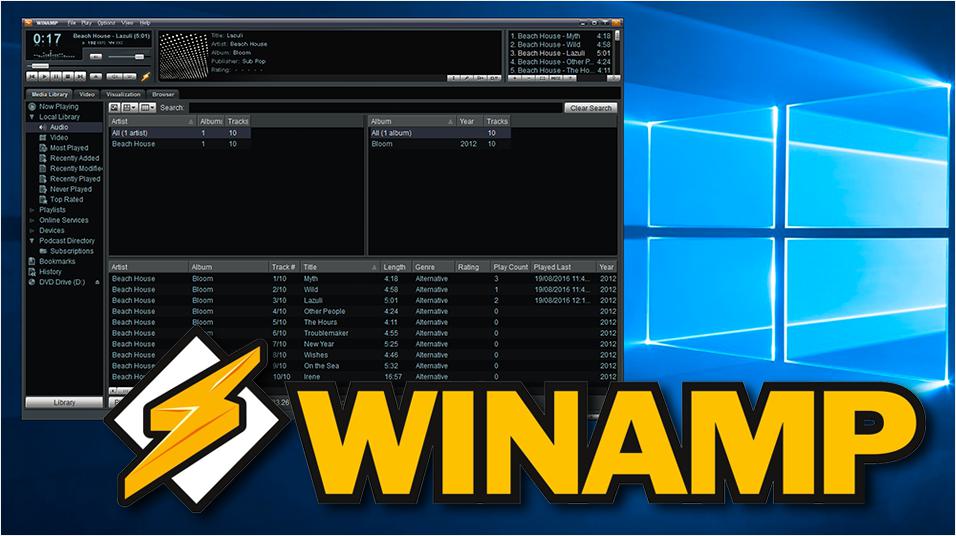
Winamp is by far the most well known media player, even along side giants like iTunes and possibly VLC. It's even been around for literally decades having been first introduced back in 1997! Let's take a look at what makes this piece of software so special and how to get Winamp setup to broadcast to your online radio station.
Winamp - What Makes it Stand Out?
Winamp has been around since 1997 (that's over 20 years!) and it's still going strong. Over that time there's been changes here and there to how it looks and functions, but the core of it has remained the same. Through thick and thin Winamp has been a media player and tool to broadcast to your online radio station.
Having stood the test of time, Winamp is definitely worth trying if you're running Windows. It's free, simple to use, and easy to configure with your Radio.co station. Coupled with the SHOUTcast DSP plugin, you manage your tracks into playlists, control your stream output with faders, and add effects whilst broadcasting to your station online.
Winamp Setup
What You Need
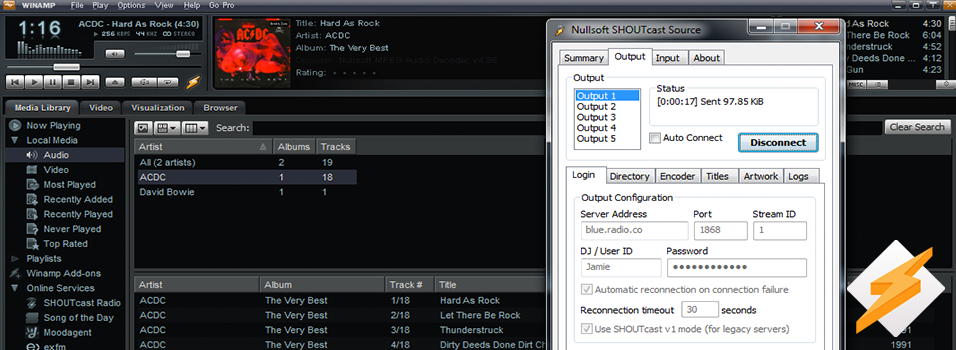
Winamp is a Windows only program, however it works with most modern versions of Windows (it even works with Windows XP!). To connect it to your radio station you need the following:
Winamp is the media player itself and the SHOUTcast DSP is the encoder to connect to your radio station online.
Setup Guide
When both Winamp and the SHOUTcast DSP plugin are installed it should look something like this:
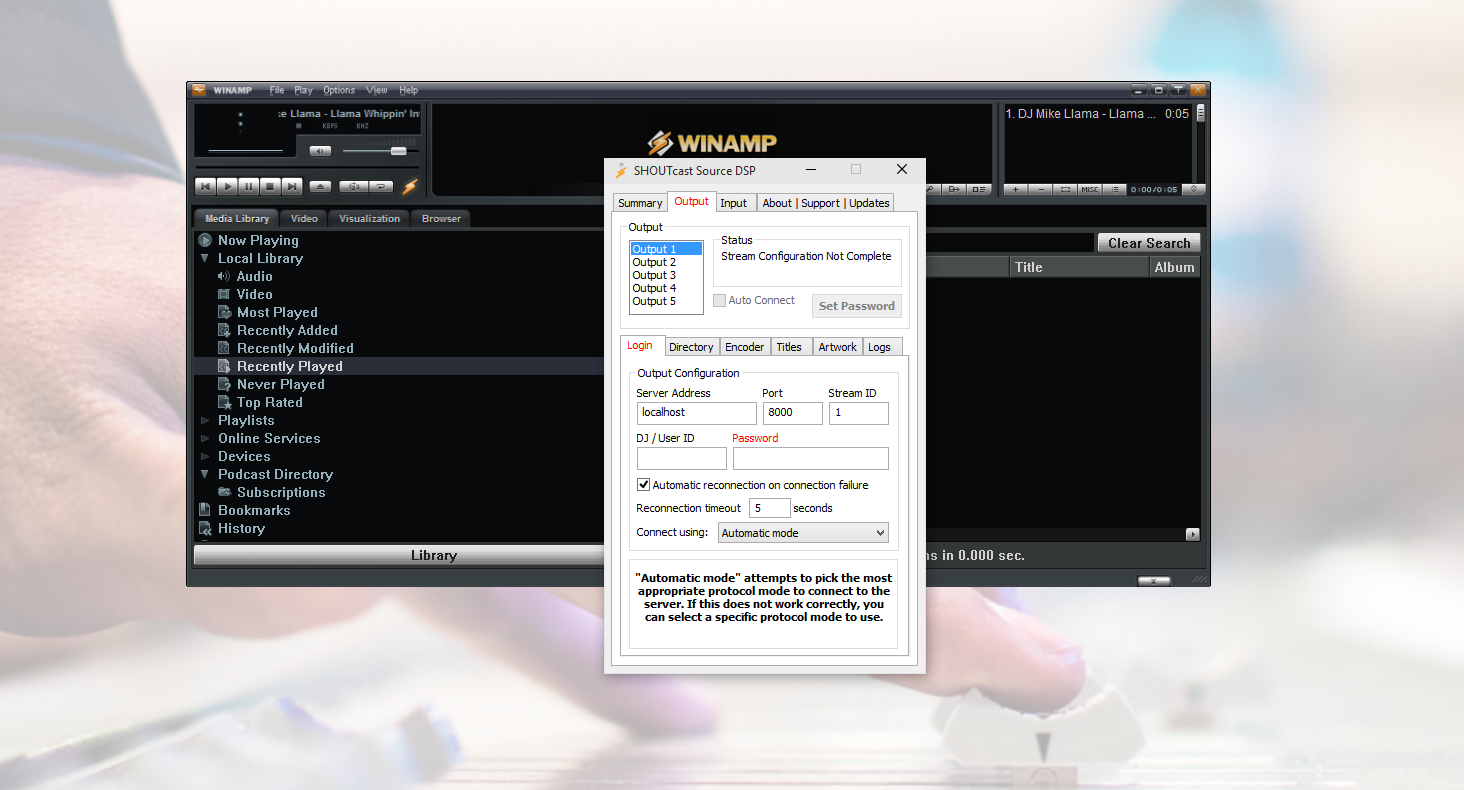
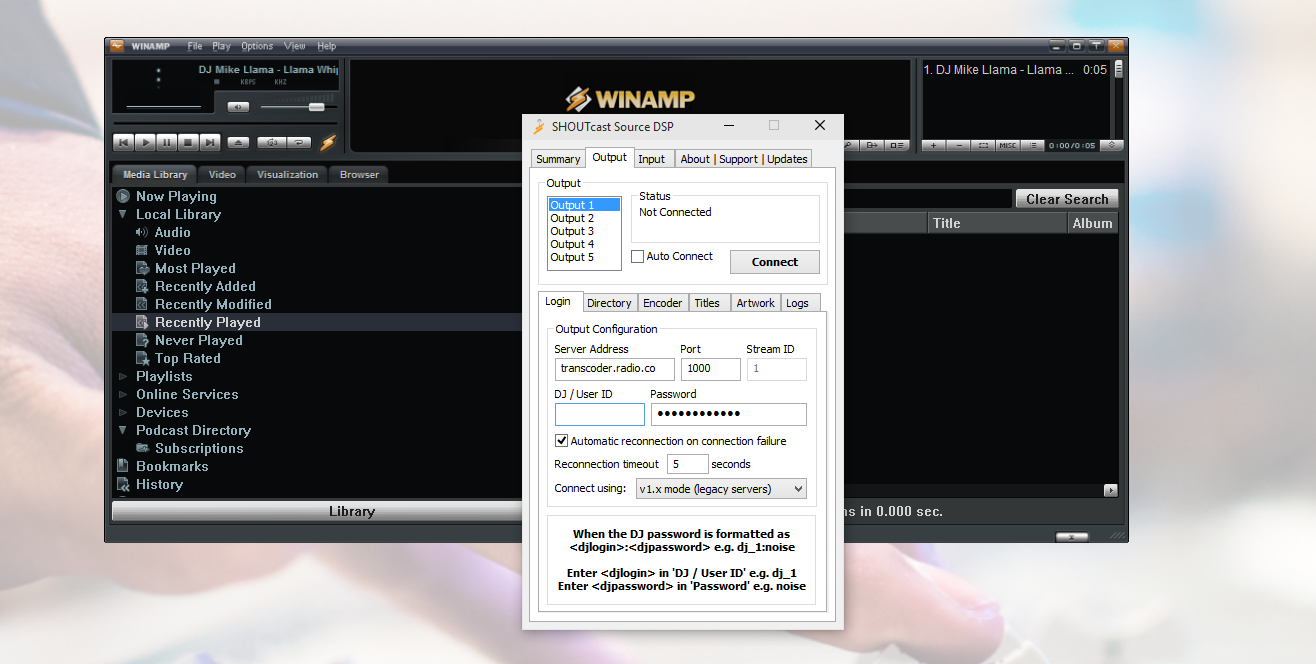
In the Source DSP window select the Output tab. Under the Login tab in Output Configuration enter your radio station's broadcasting details - These can be found in your Radio.co Dashboard under the Live tab.
- Server Address: Hostname, e.g. blue.radio.co.
- Port: e.g. 1234.
- UserID: Leave this blank.
- Password: Your unique hash, e.g. 18d484eeef23
- Connect Using: v1.x mode (legacy servers).
In Output, select the Directory tab. Enter your station's details in here.
- Name: e.g. MCR Live.
- URL: e.g. https://mcr.live.
- Genre: e.g. Indie.
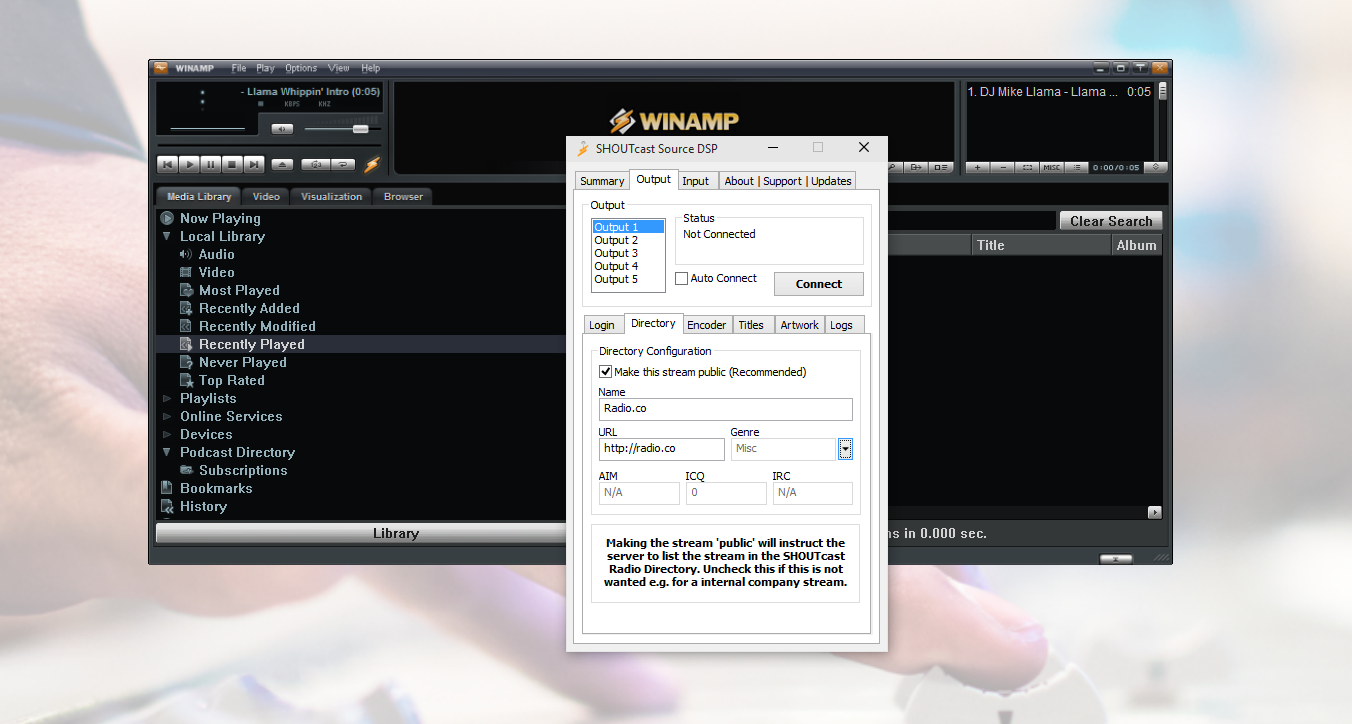
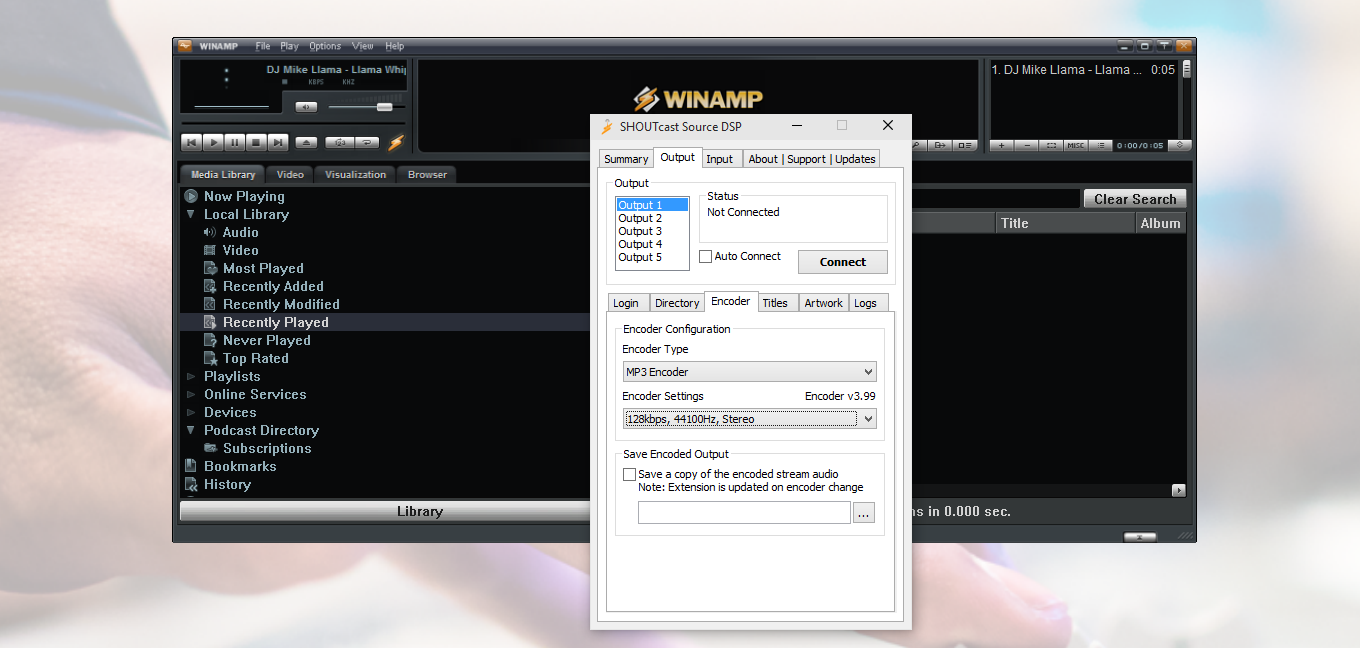
Now select the Encoder tab - Under Encoder Type choose MP3 Encoder. In Encoder Settings select 128kbps, 44100Hz, Stereo (this should match your Radio.co station's bitrate in your Radio.co Dashboard -> Settings -> Broadcast -> Audio Stream Quality).
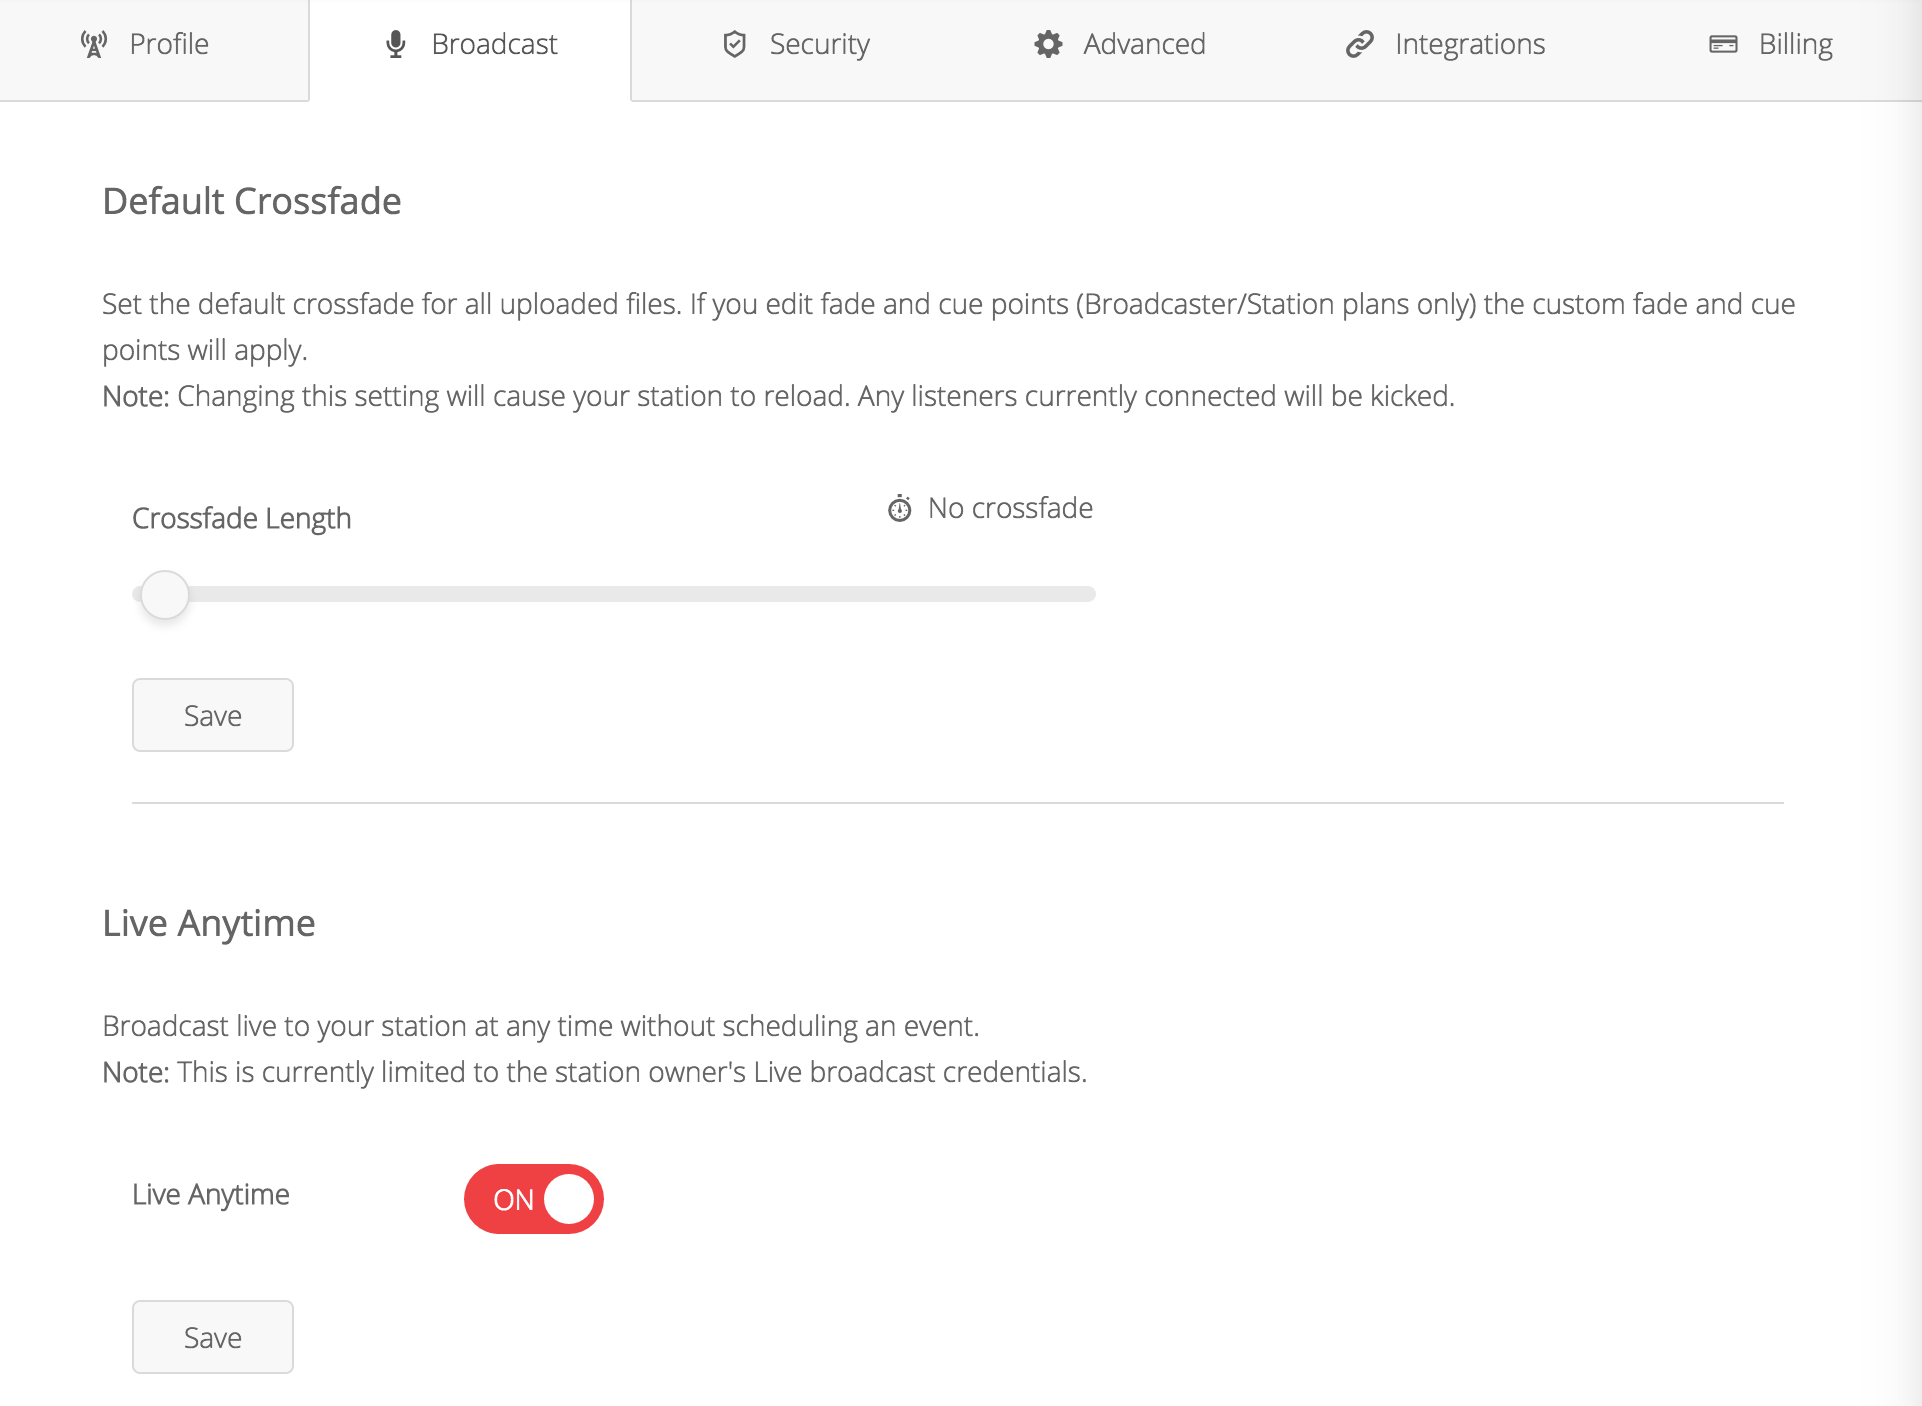
Before broadcasting, make sure you have a live event scheduled or you can connect live anytime.
Finally when you're ready to broadcast live click Connect in the Winamp DSP. The Status should change to show the time spent connected and the amount of data you're streaming. Also, in your Radio.co Dashboard you should see the Connection Status change to DJ On Air.

You're now up and broadcasting to your radio station with a Winamp setup! If you've not started your station just yet or are thinking about it then here at Radio.co we can help get you up and running in minutes. Start your 7 day free trial by clicking the button below to get broadcasting and on air in no time.


