Need advice? Let's talk.
Get straightforward guidance from your broadcasting partner. Schedule a call to chat with the team about your radio station.
Book DemoFacebook Live Audio for Online Radio Broadcasts
Share your stories with Facebook Live Audio: A new way for you to connect with your audience and potentially billions online.
In late 2016, Facebook announced a new way for you to connect with your friends and share what you’re doing with Facebook Live Audio.
What is Facebook Live Audio?
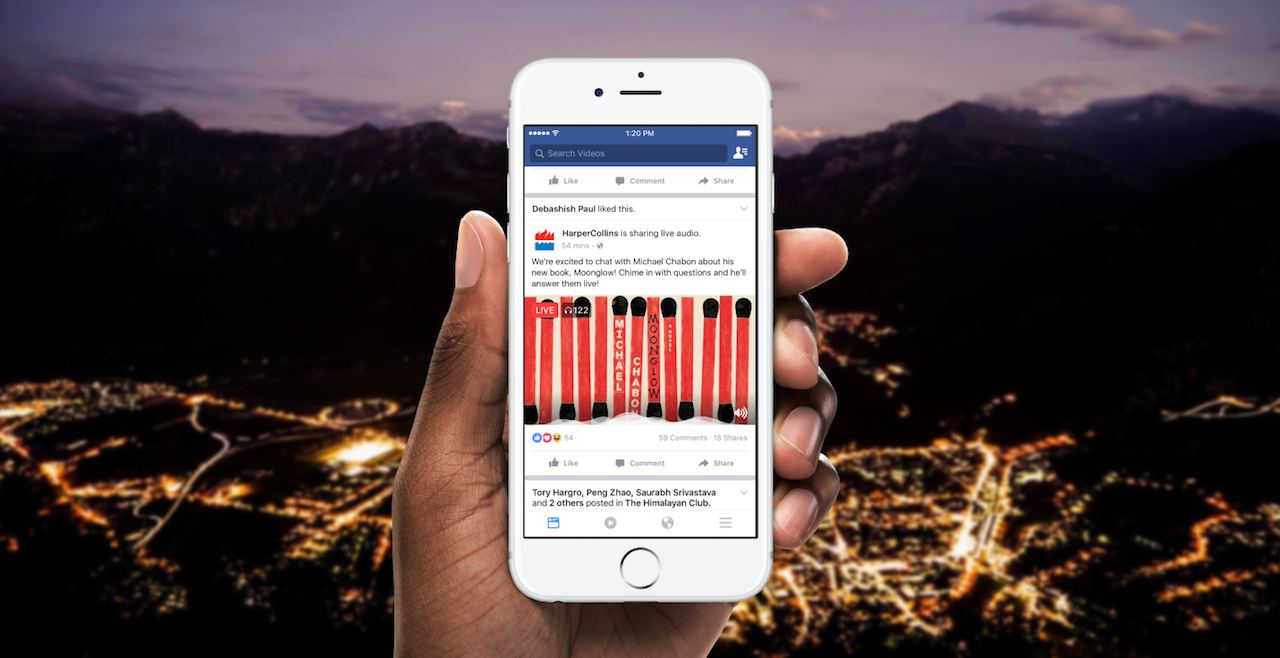
It’s a way for you to broadcast and share live audio online directly to Facebook. Just like Facebook Live, which focuses on video, Live Audio is a stream you can share with anyone who can join in on the conversation with a live written feed.
Will it Affect Radio?
Radio as a medium isn’t going anywhere. When television was introduced everyone thought radio would slowly fade into the distance, but the opposite happened. Radio, live audio, and podcasting are all now huge, which is all thanks to the accessibility and growing number of people online.
Just in the UK alone radio listening figures for online, DAB, DTV, and traditional radio have increased year on year according to RAJAR Q3 2016.
How Can I Use it?
You can start using Facebook Live here. To set it up with your radio station we recommend using OBS. Here's how you can set everything up for your radio station.
Pre-Requisites
Before starting, you will need the following:
- A computer (Mac or Windows) with Open Broadcaster Software (OBS) installed. You can download and install OBS for your computer.
- A Facebook page for your radio station. Set one up by following this guide.
- A stable internet connection. You will be streaming video and audio, so your connection will need to be able to upload at a constant speed of at least 5-10mbps. Check your internet connection speeds.
Once you've got these three requirements sorted, you're ready to start setting up your Facebook page and OBS.
Setting Up OBS for Streaming
After installing OBS, you will be presented with the default view. To start adding your webcams and audio inputs, you'll first need to create a Scene.
A Scene is a collection of your video and audio. You can create multiple scenes for different angles and audio inputs. For these purposes, just create one scene for your broadcast. Add a video feed (your webcam) and the output from the mixing desk where you have a few microphones and a music source.
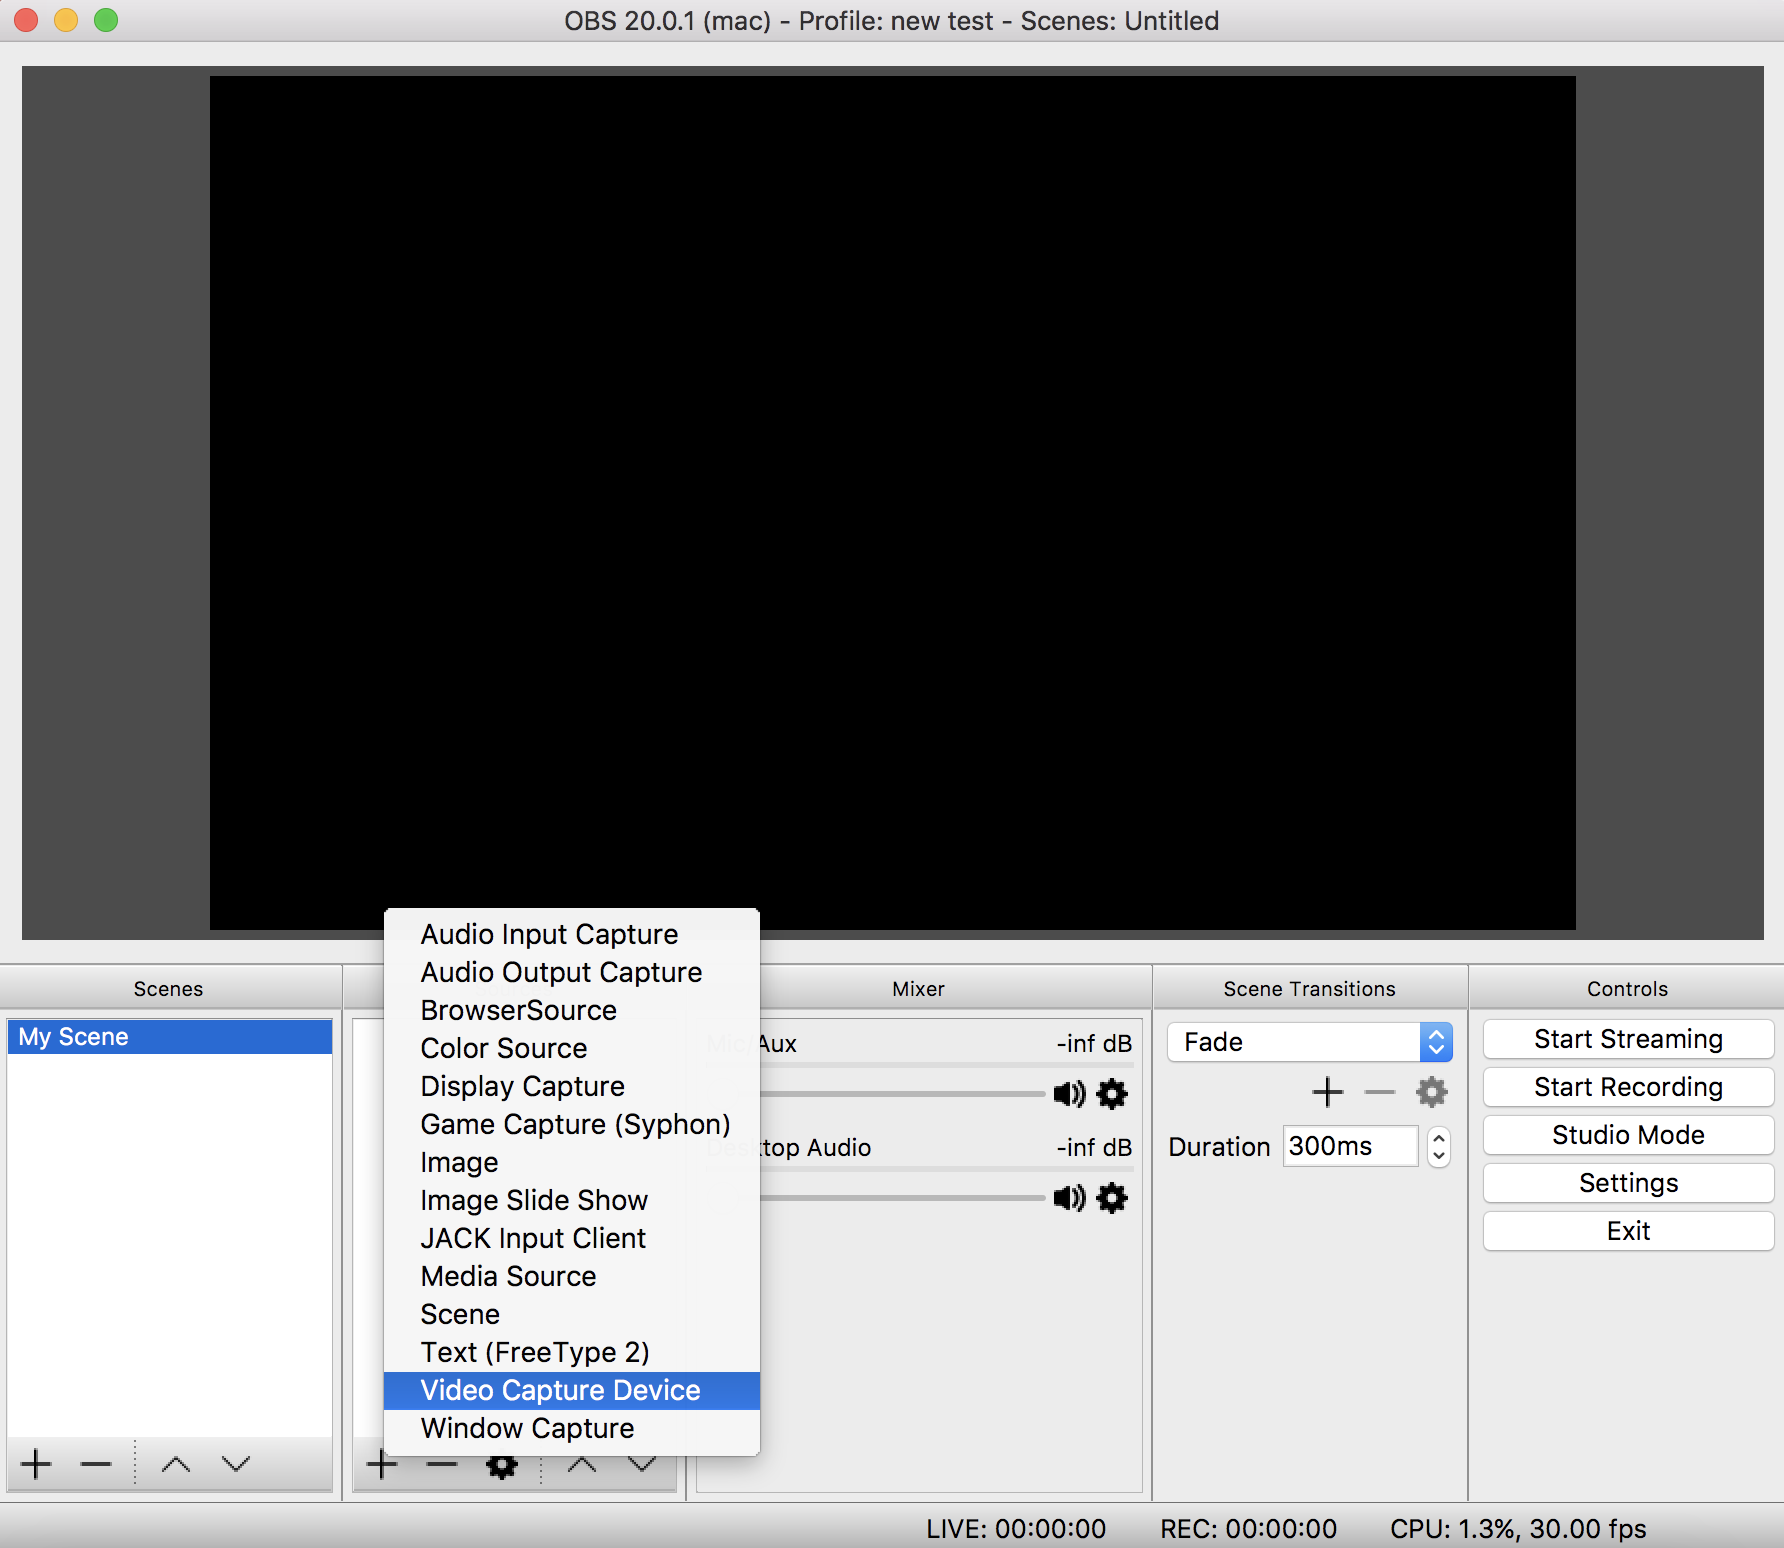
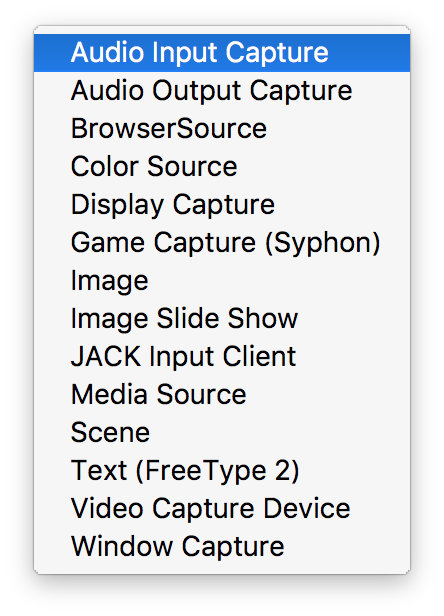
Create your first scene by adding Sources. First, click the + button in the Sources box. You will be given a list of options to pick. Choose Video Capture Device.
Name the device whatever you like, for example, "Radio Studio Webcam".
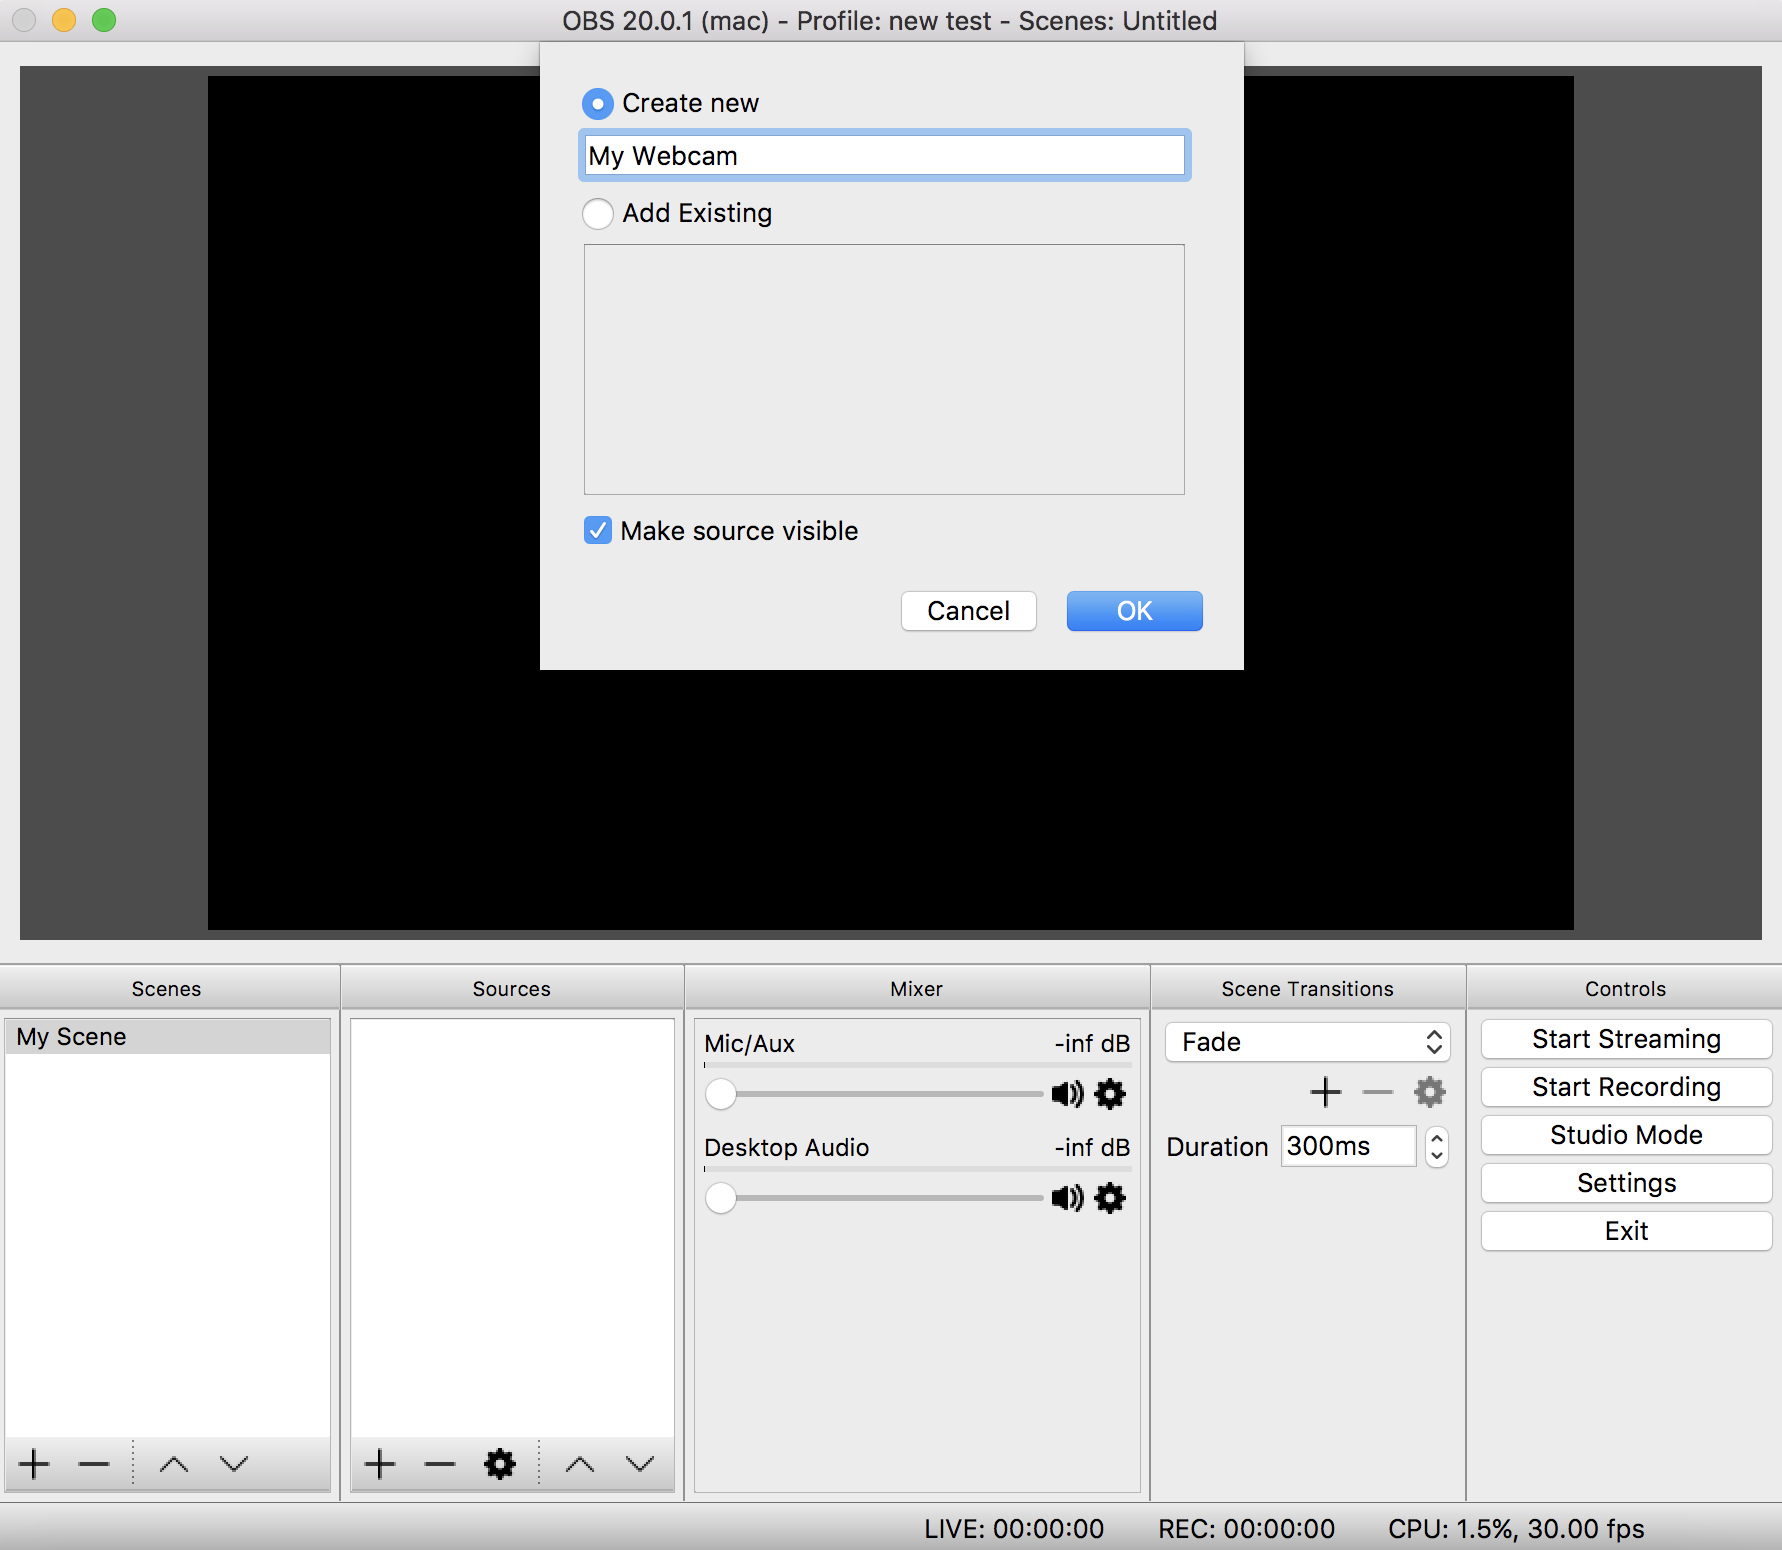
After clicking OK, choose your video device from the dropdown list and click OK.
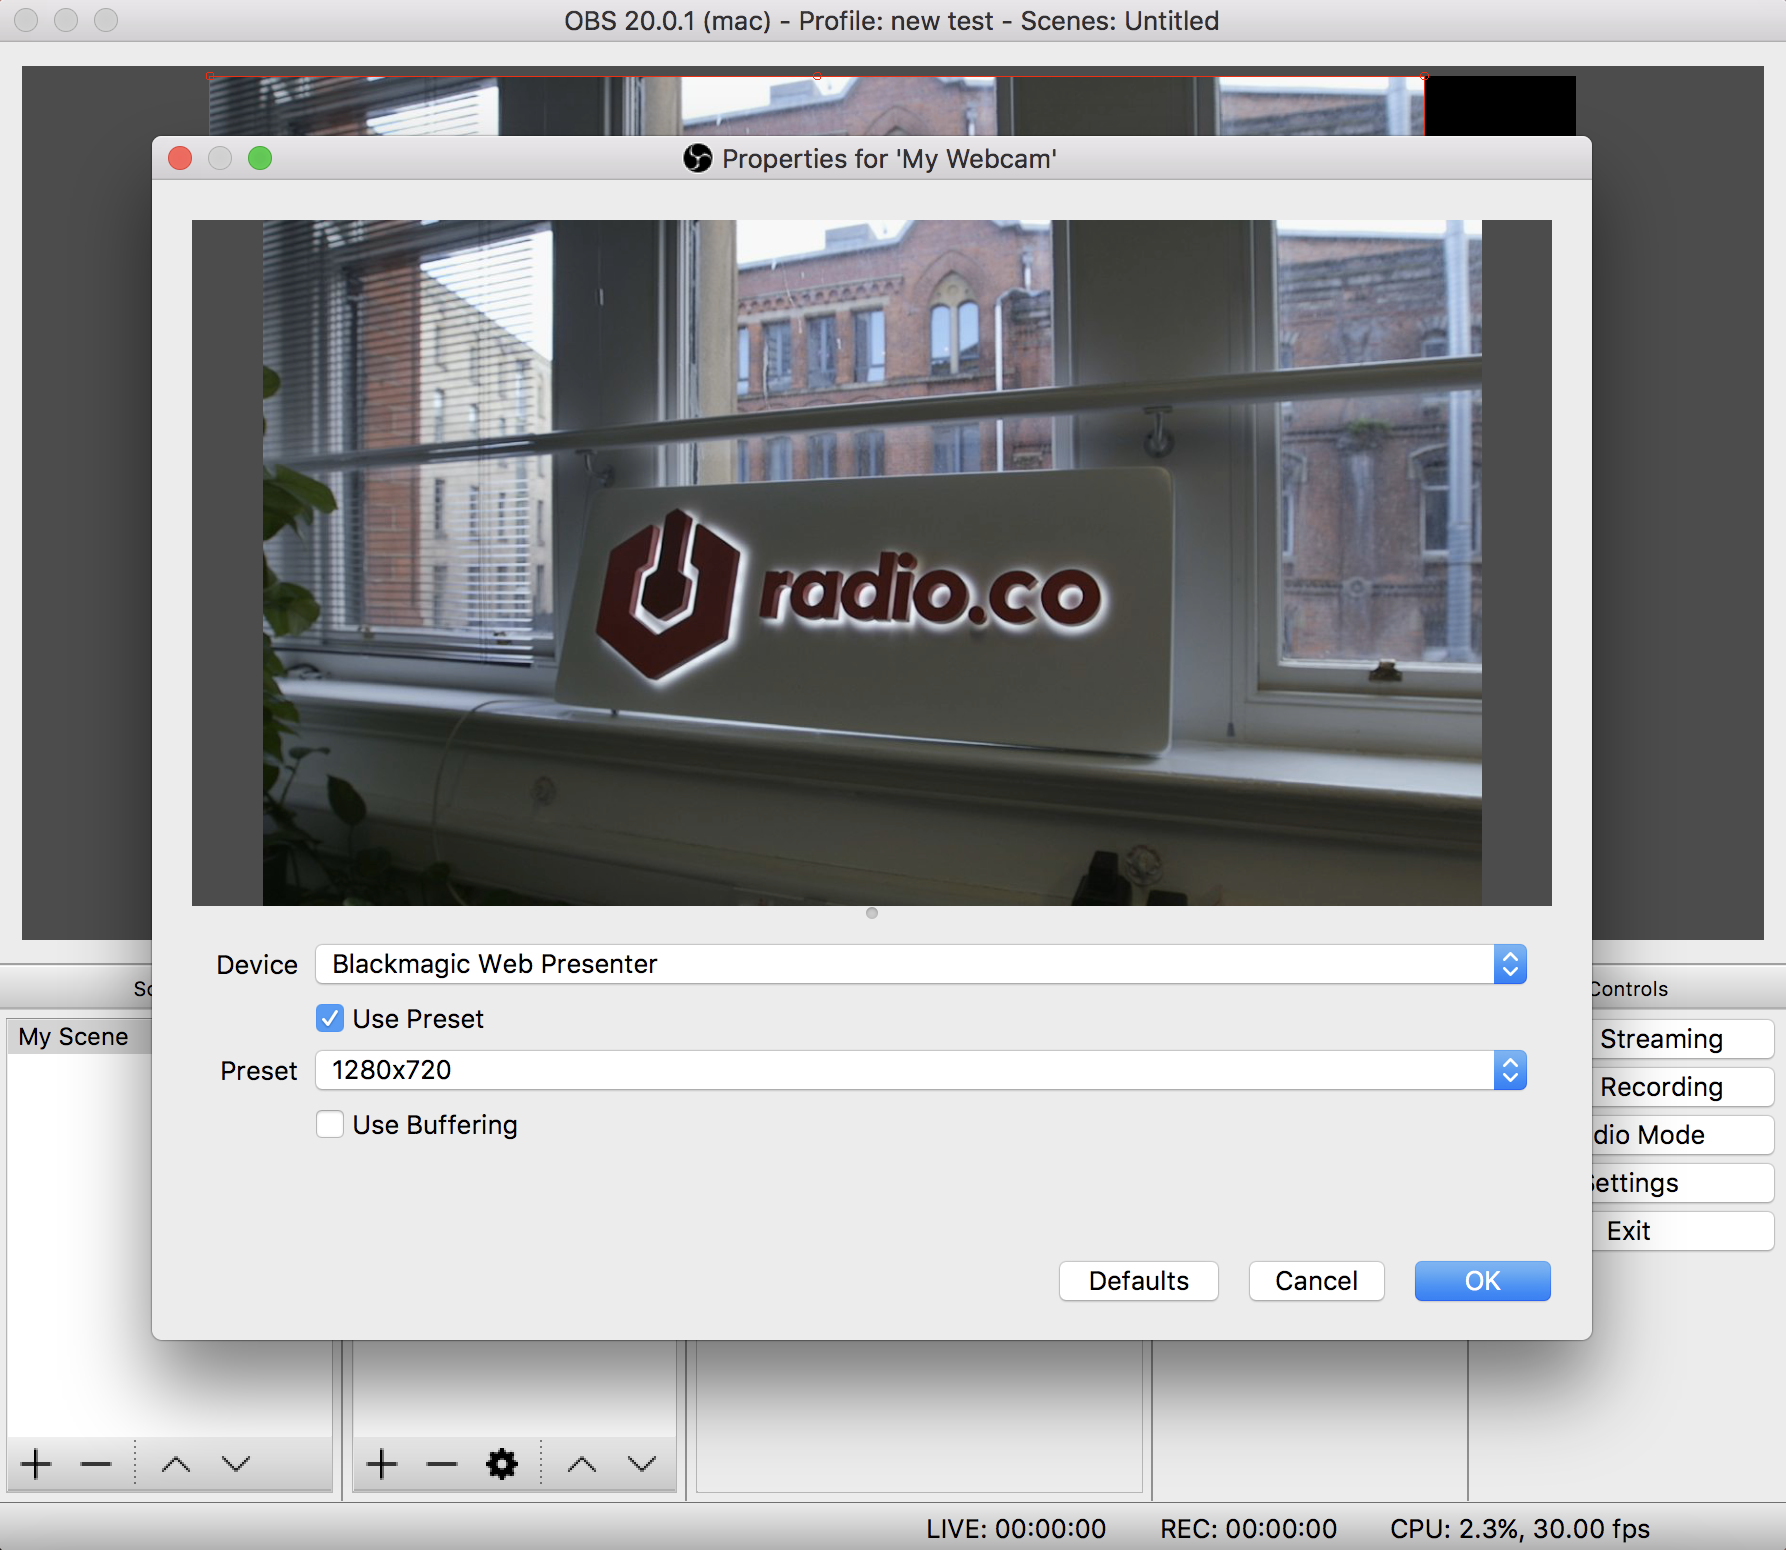
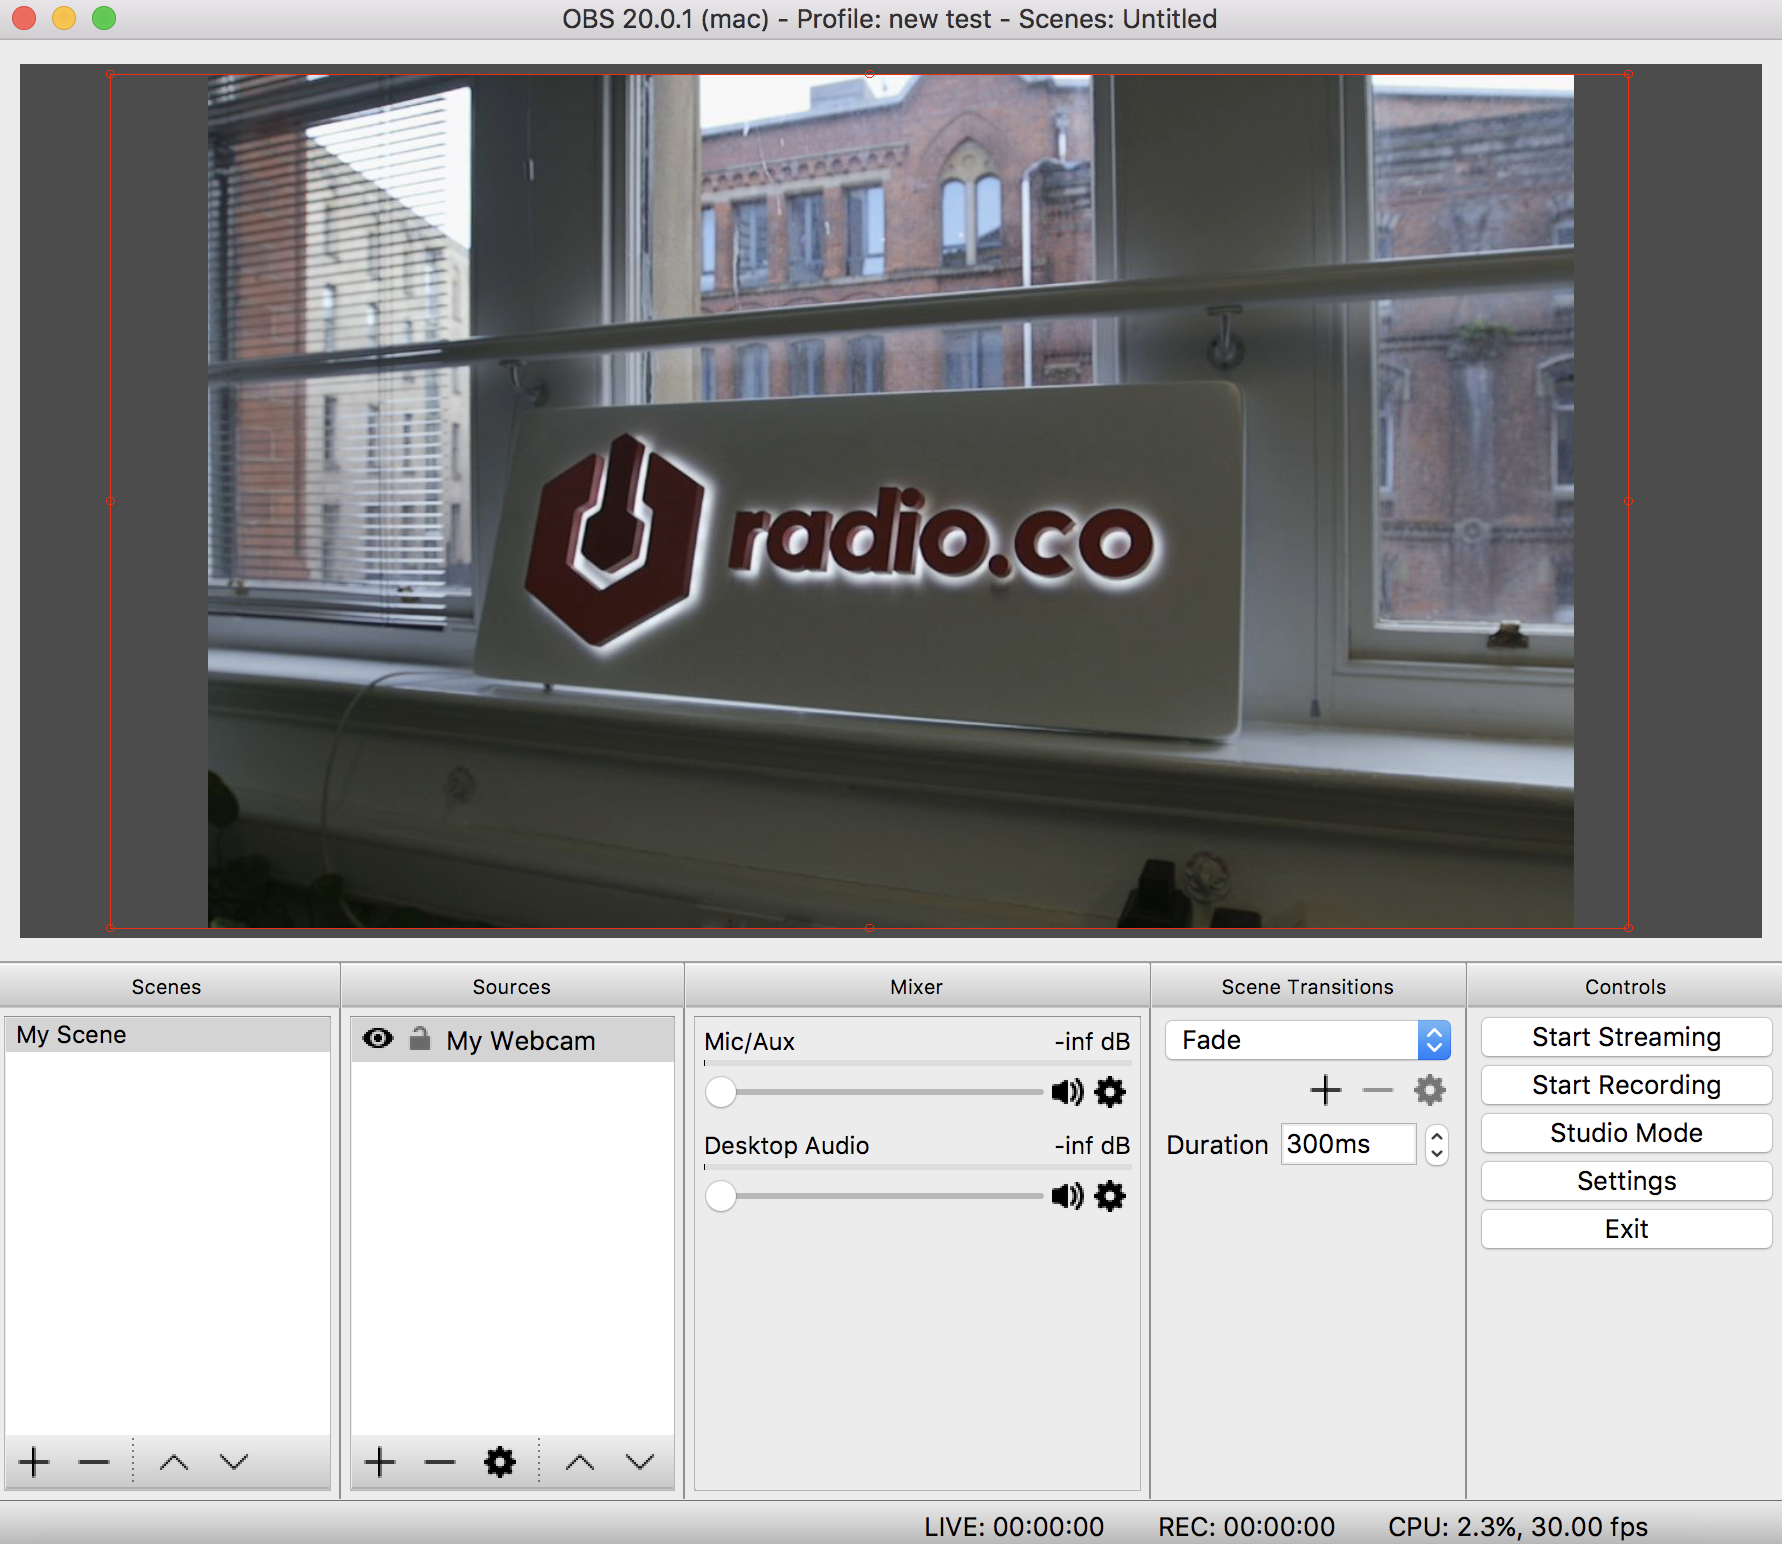
The webcam has now been added to the video space. Resize this video and position it however you like by clicking and dragging it around.
Next up is the audio input. Much like the video input, we need to click the + button and then click Audio Input Capture.
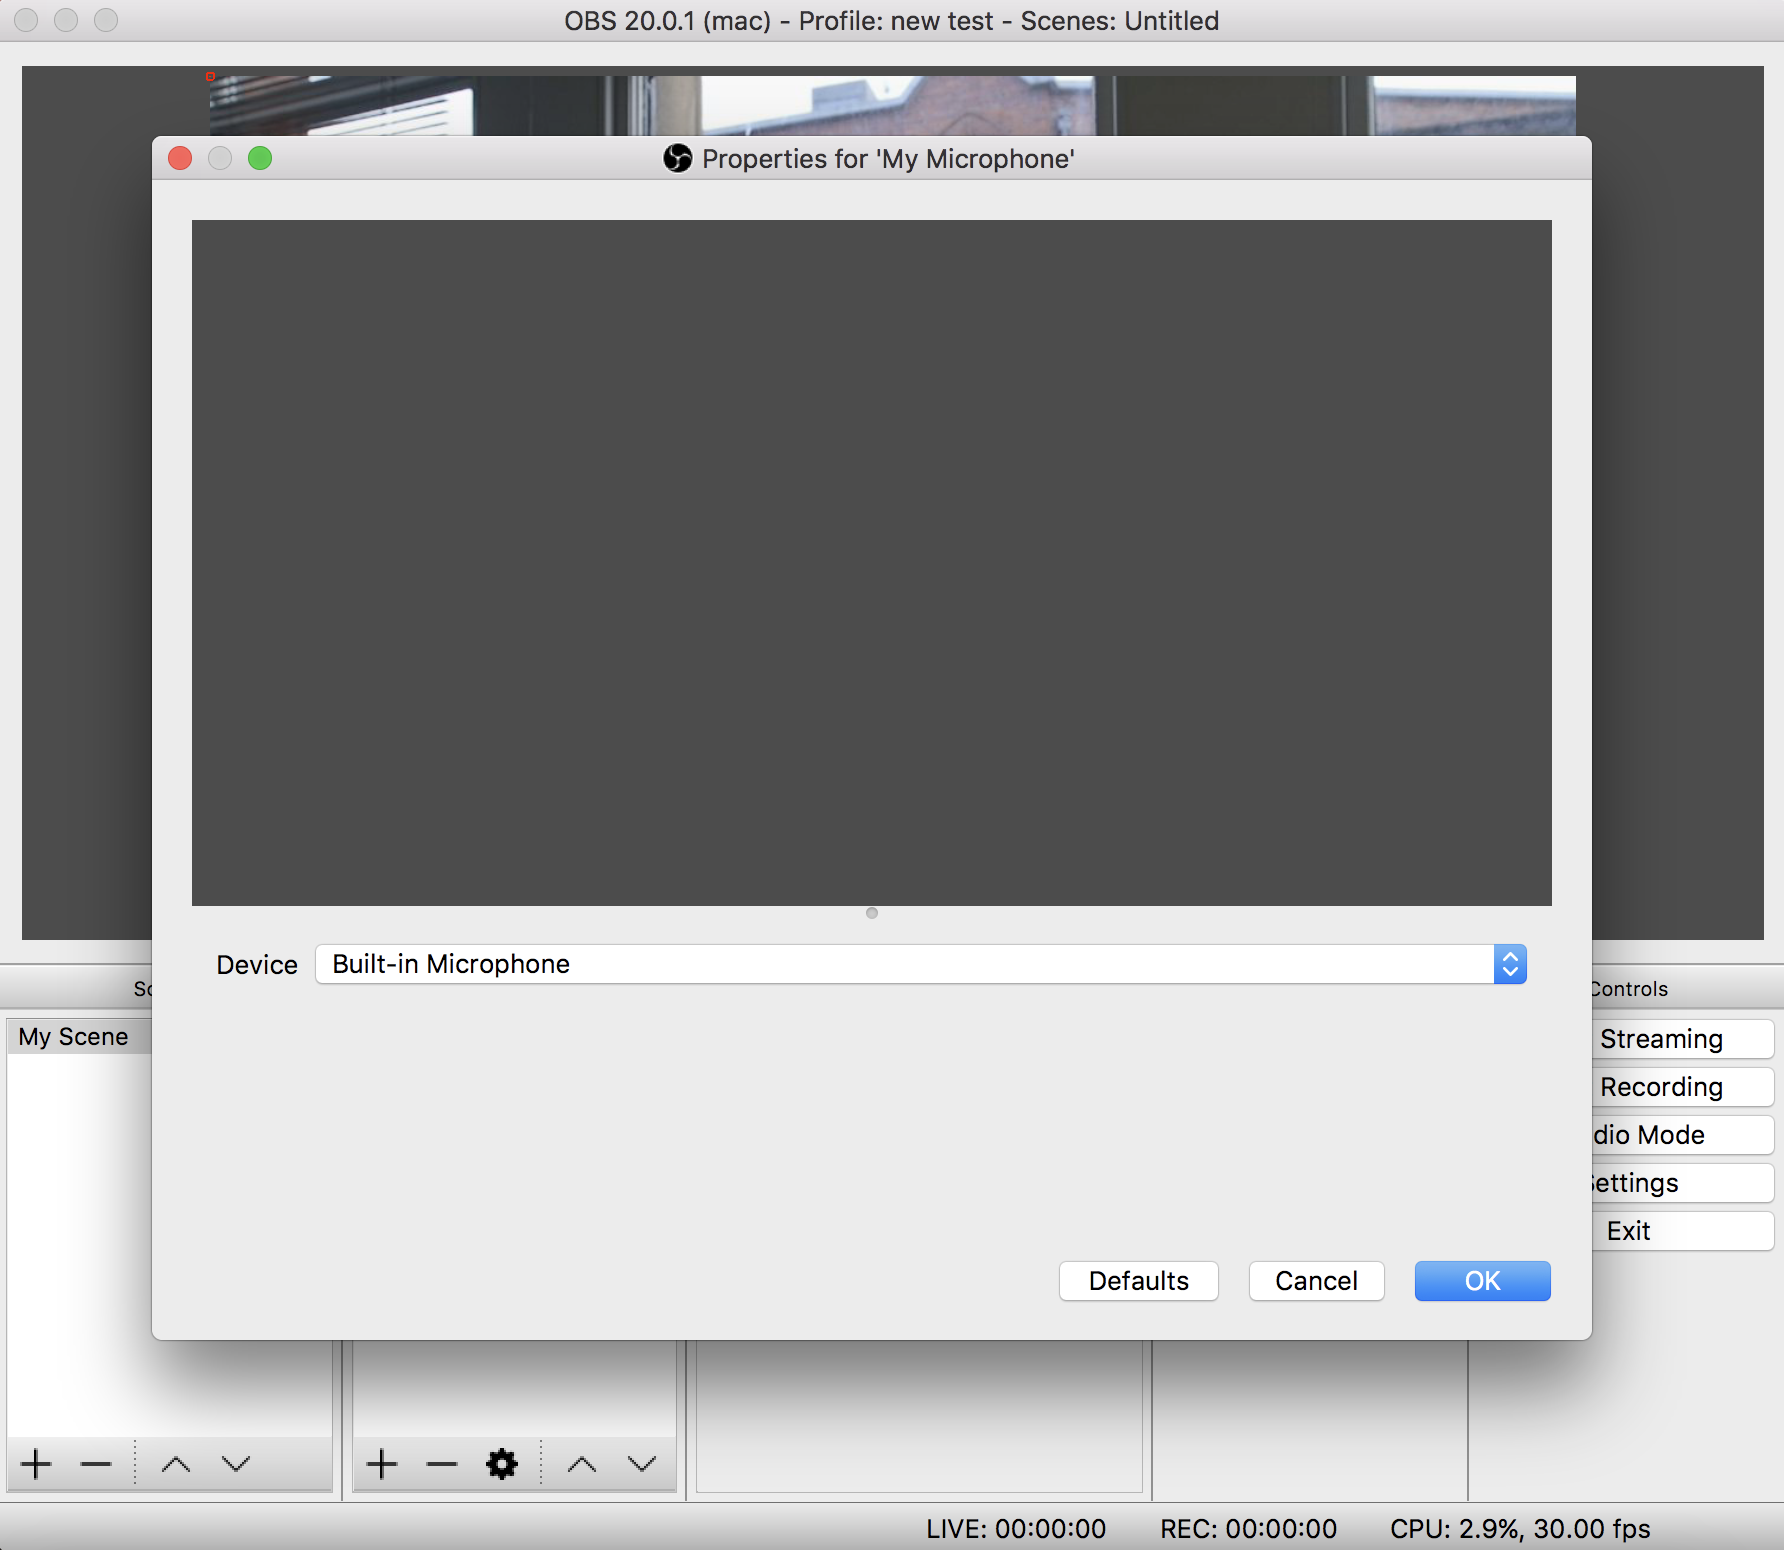
On the next screen, select the audio device you wish to use. For example, this could be a built-in mic or external mic from a mixer. Click OK to add it to the Scene.
Inject some personality into your video. Add your station's logo in Image source from the + menu.
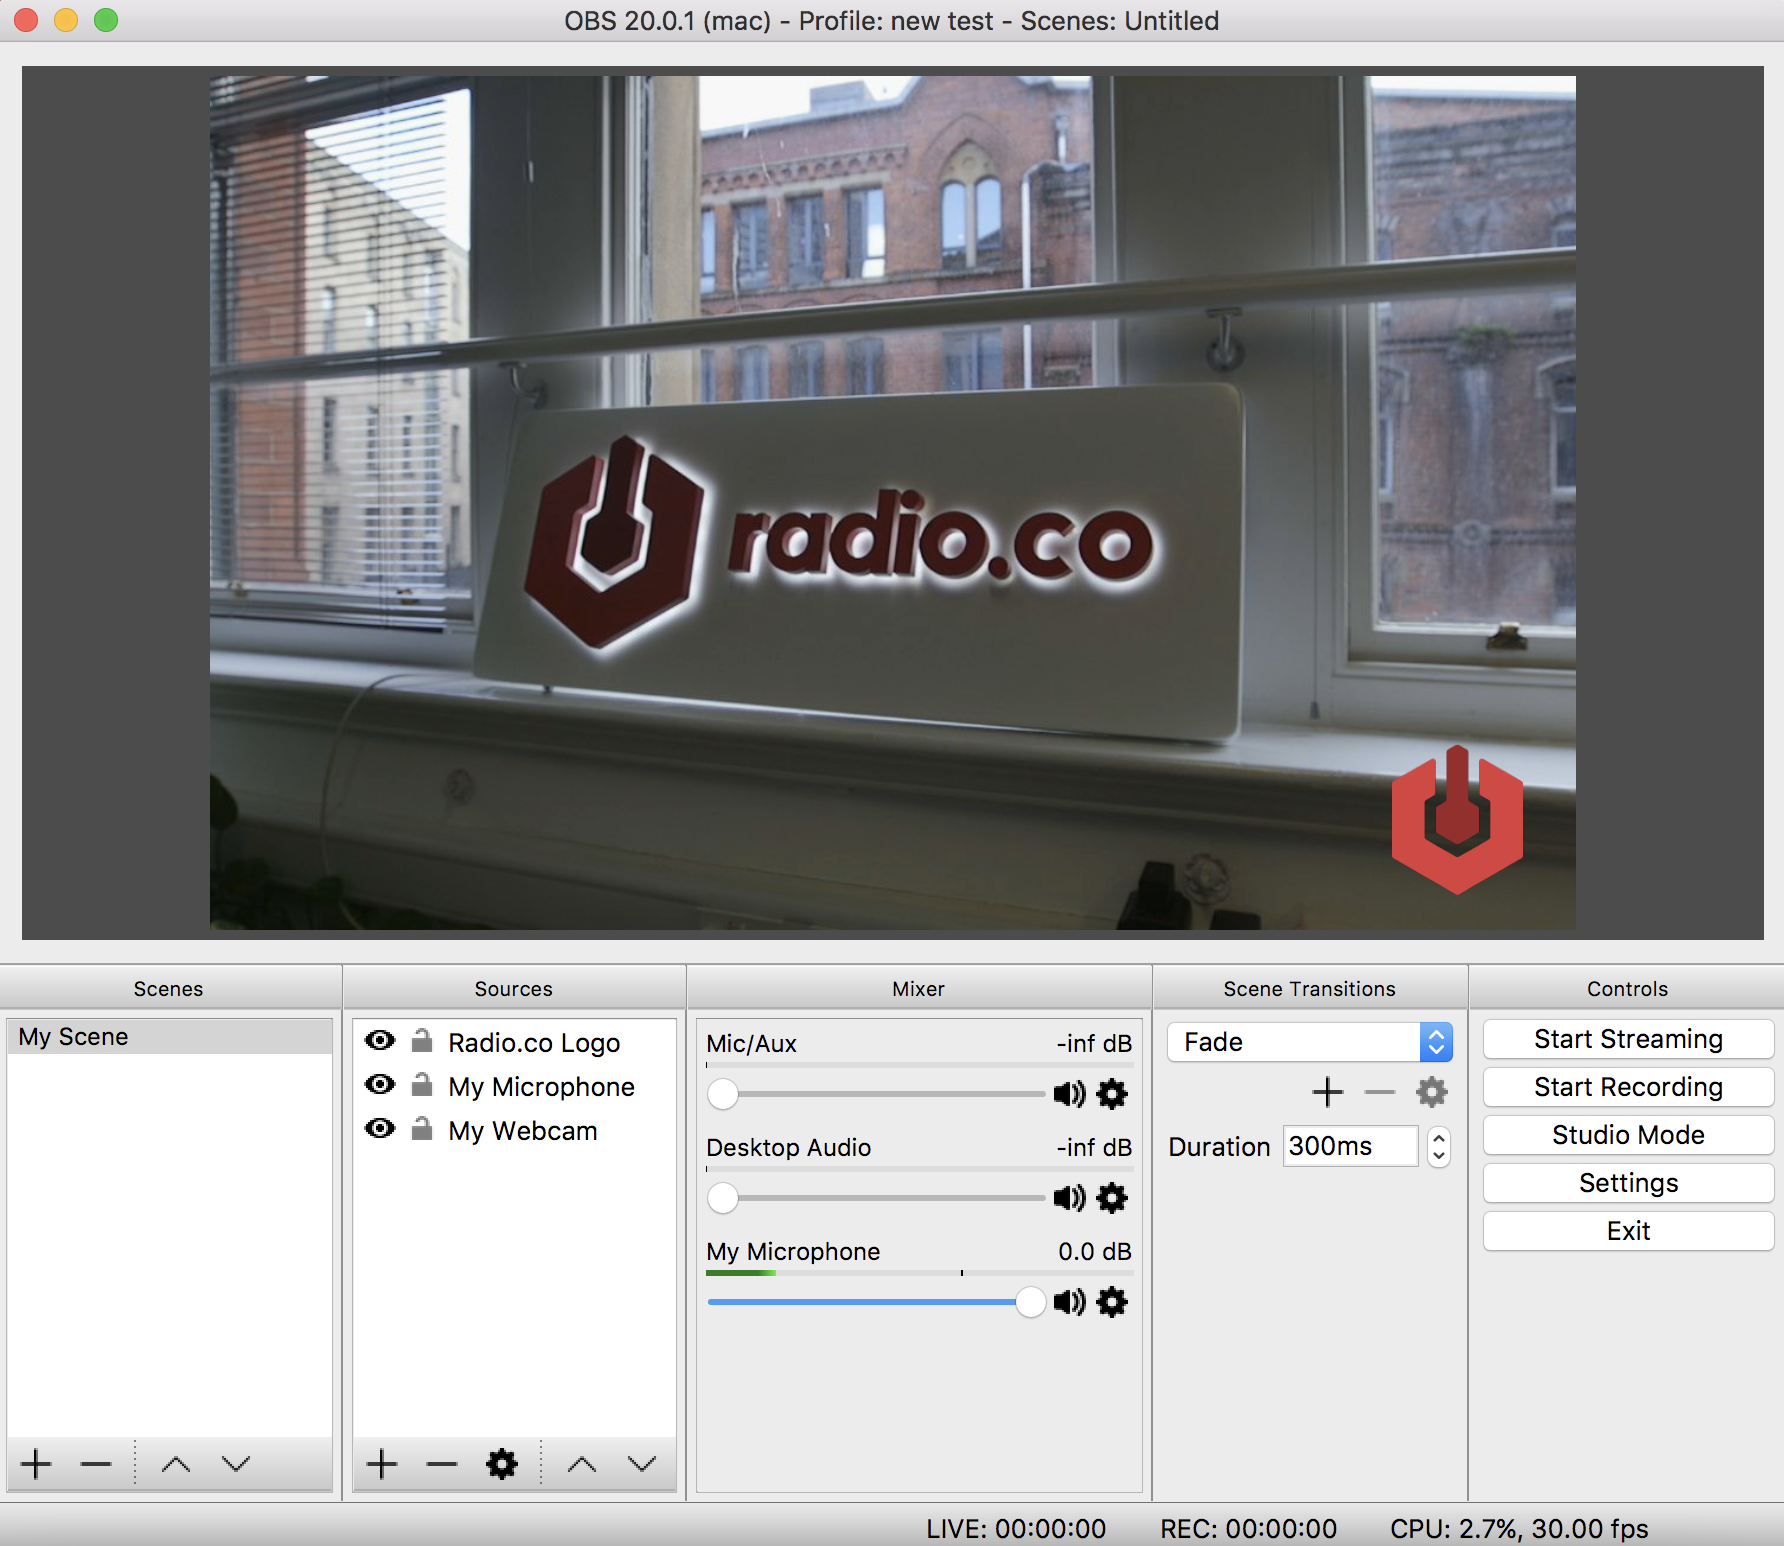
Now you're all set up! Head over to Facebook to start setting up your live video.
Creating Live Video on Your Facebook Page
Log into your Facebook page.
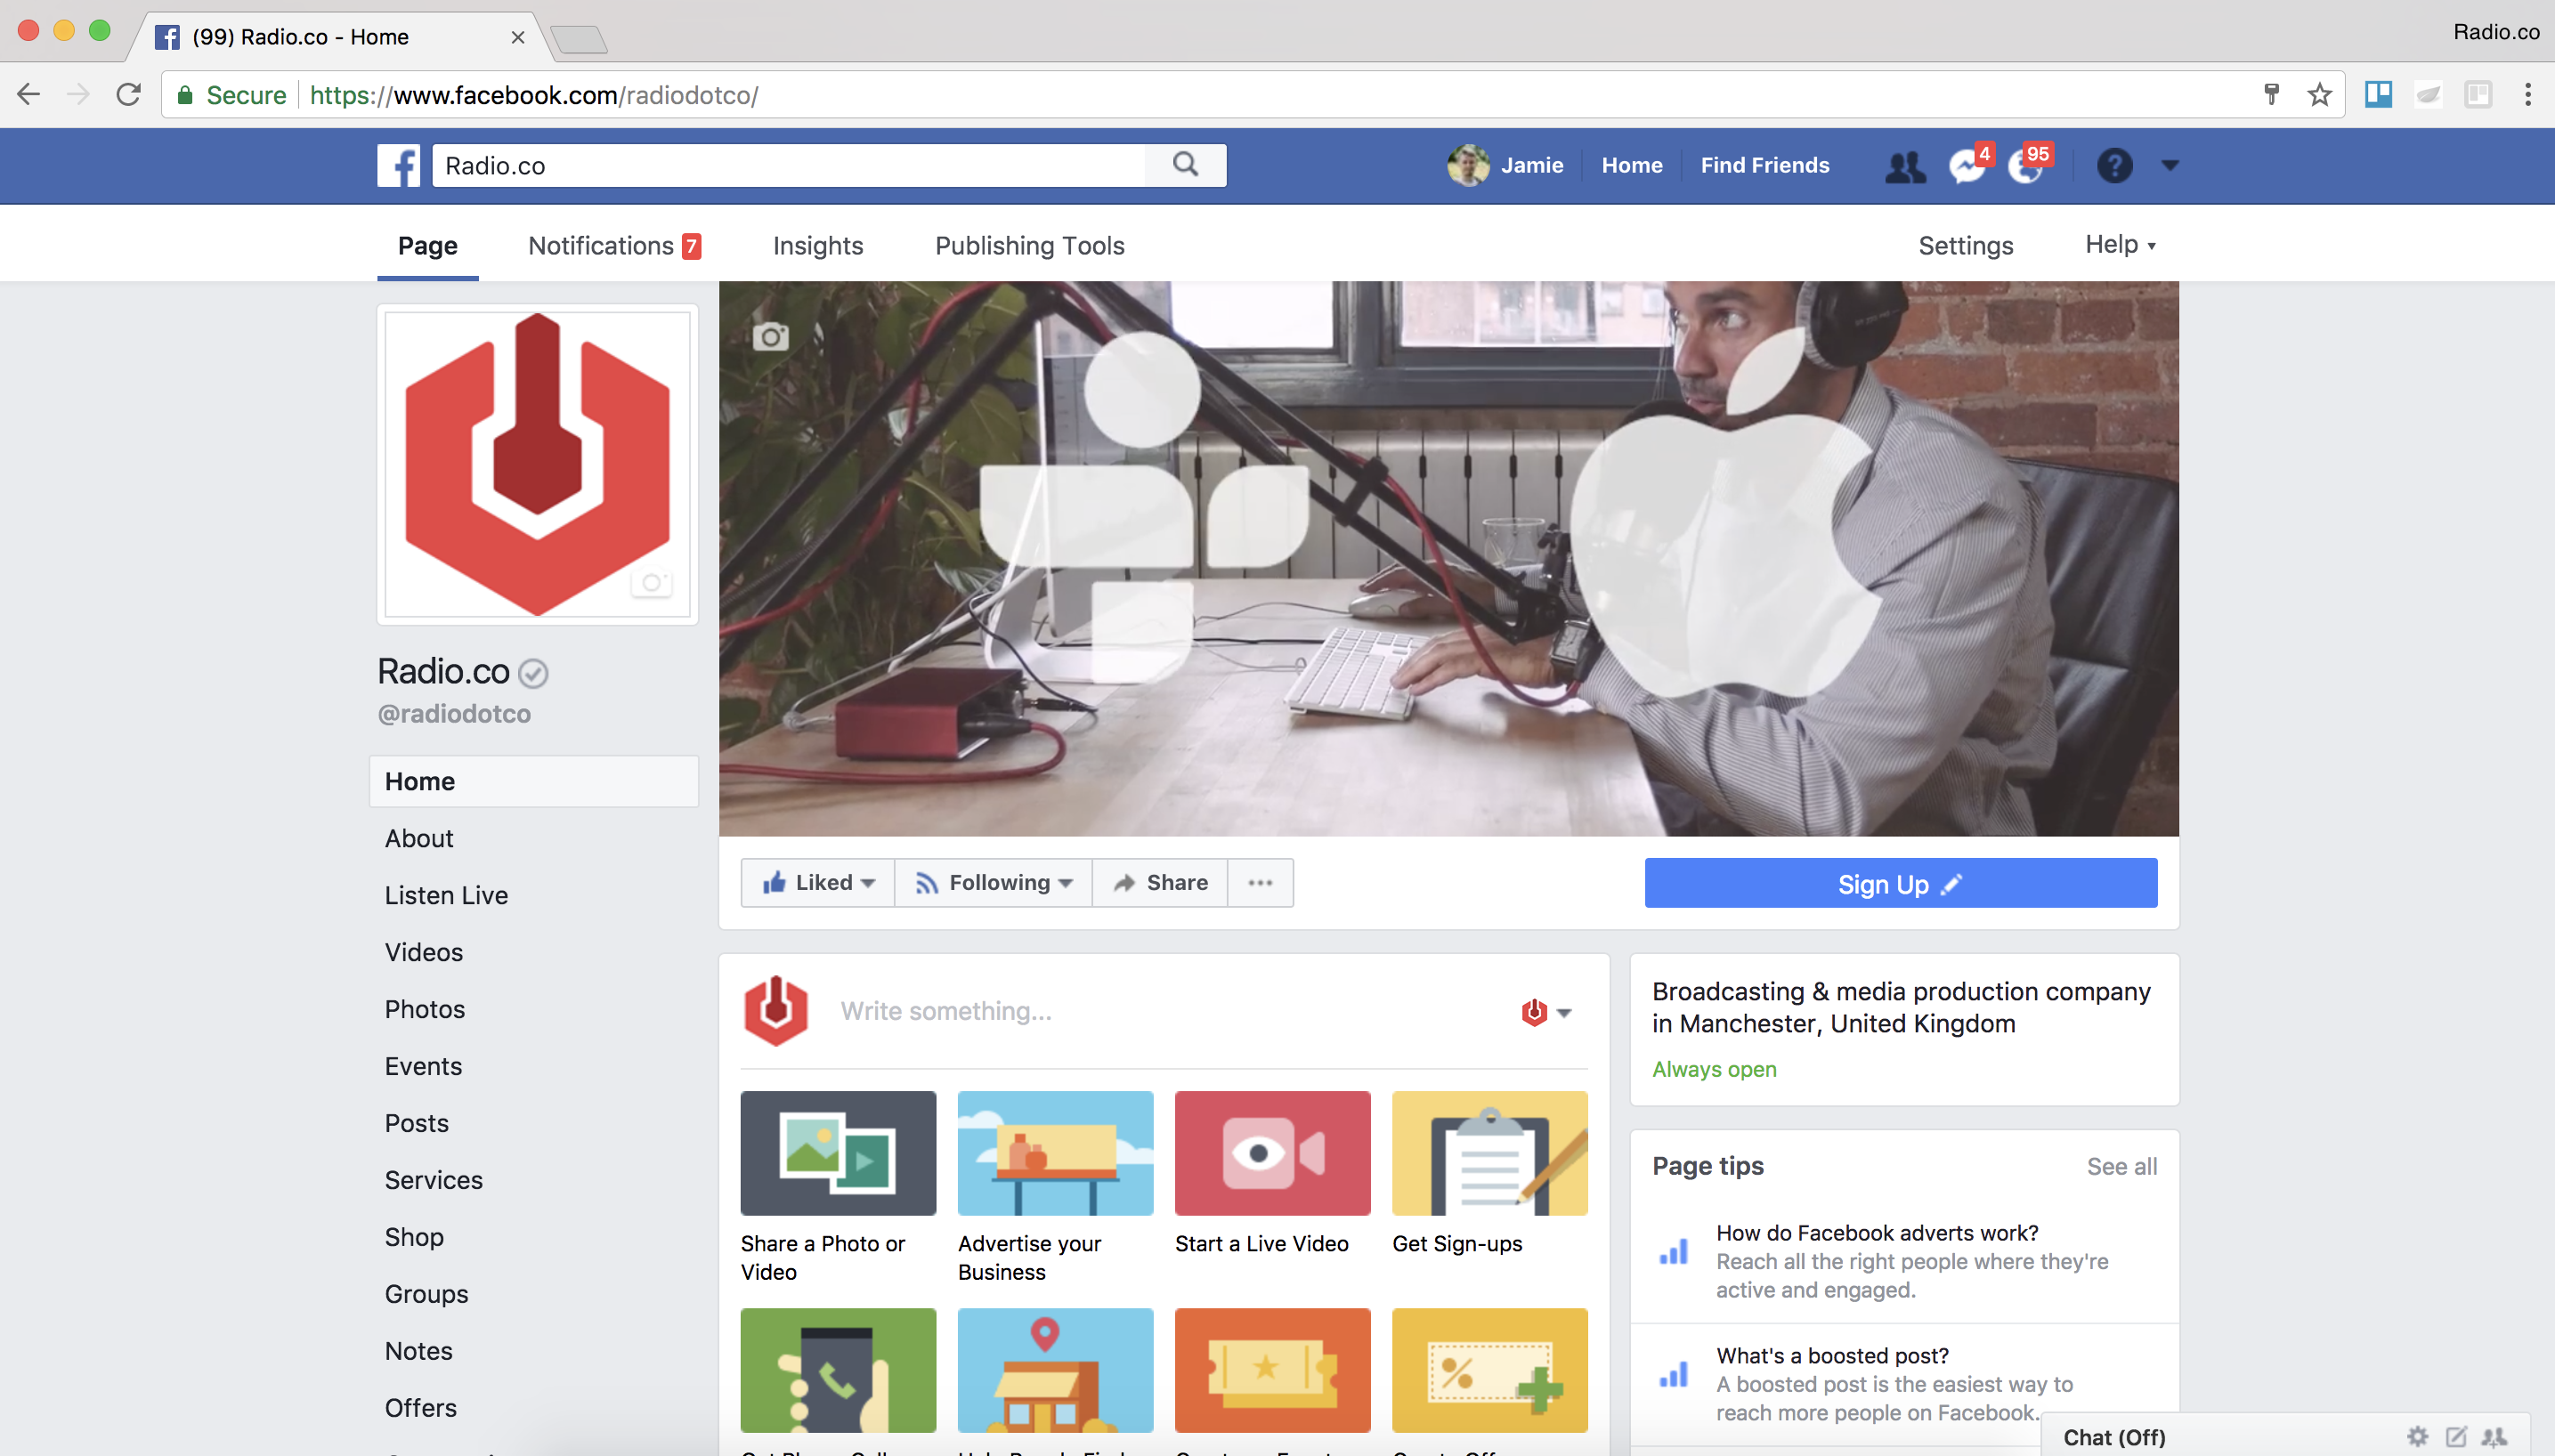
Select Publishing Tools in the top navigation bar. In the left menu, click on the Video Library option in the Videos Section.
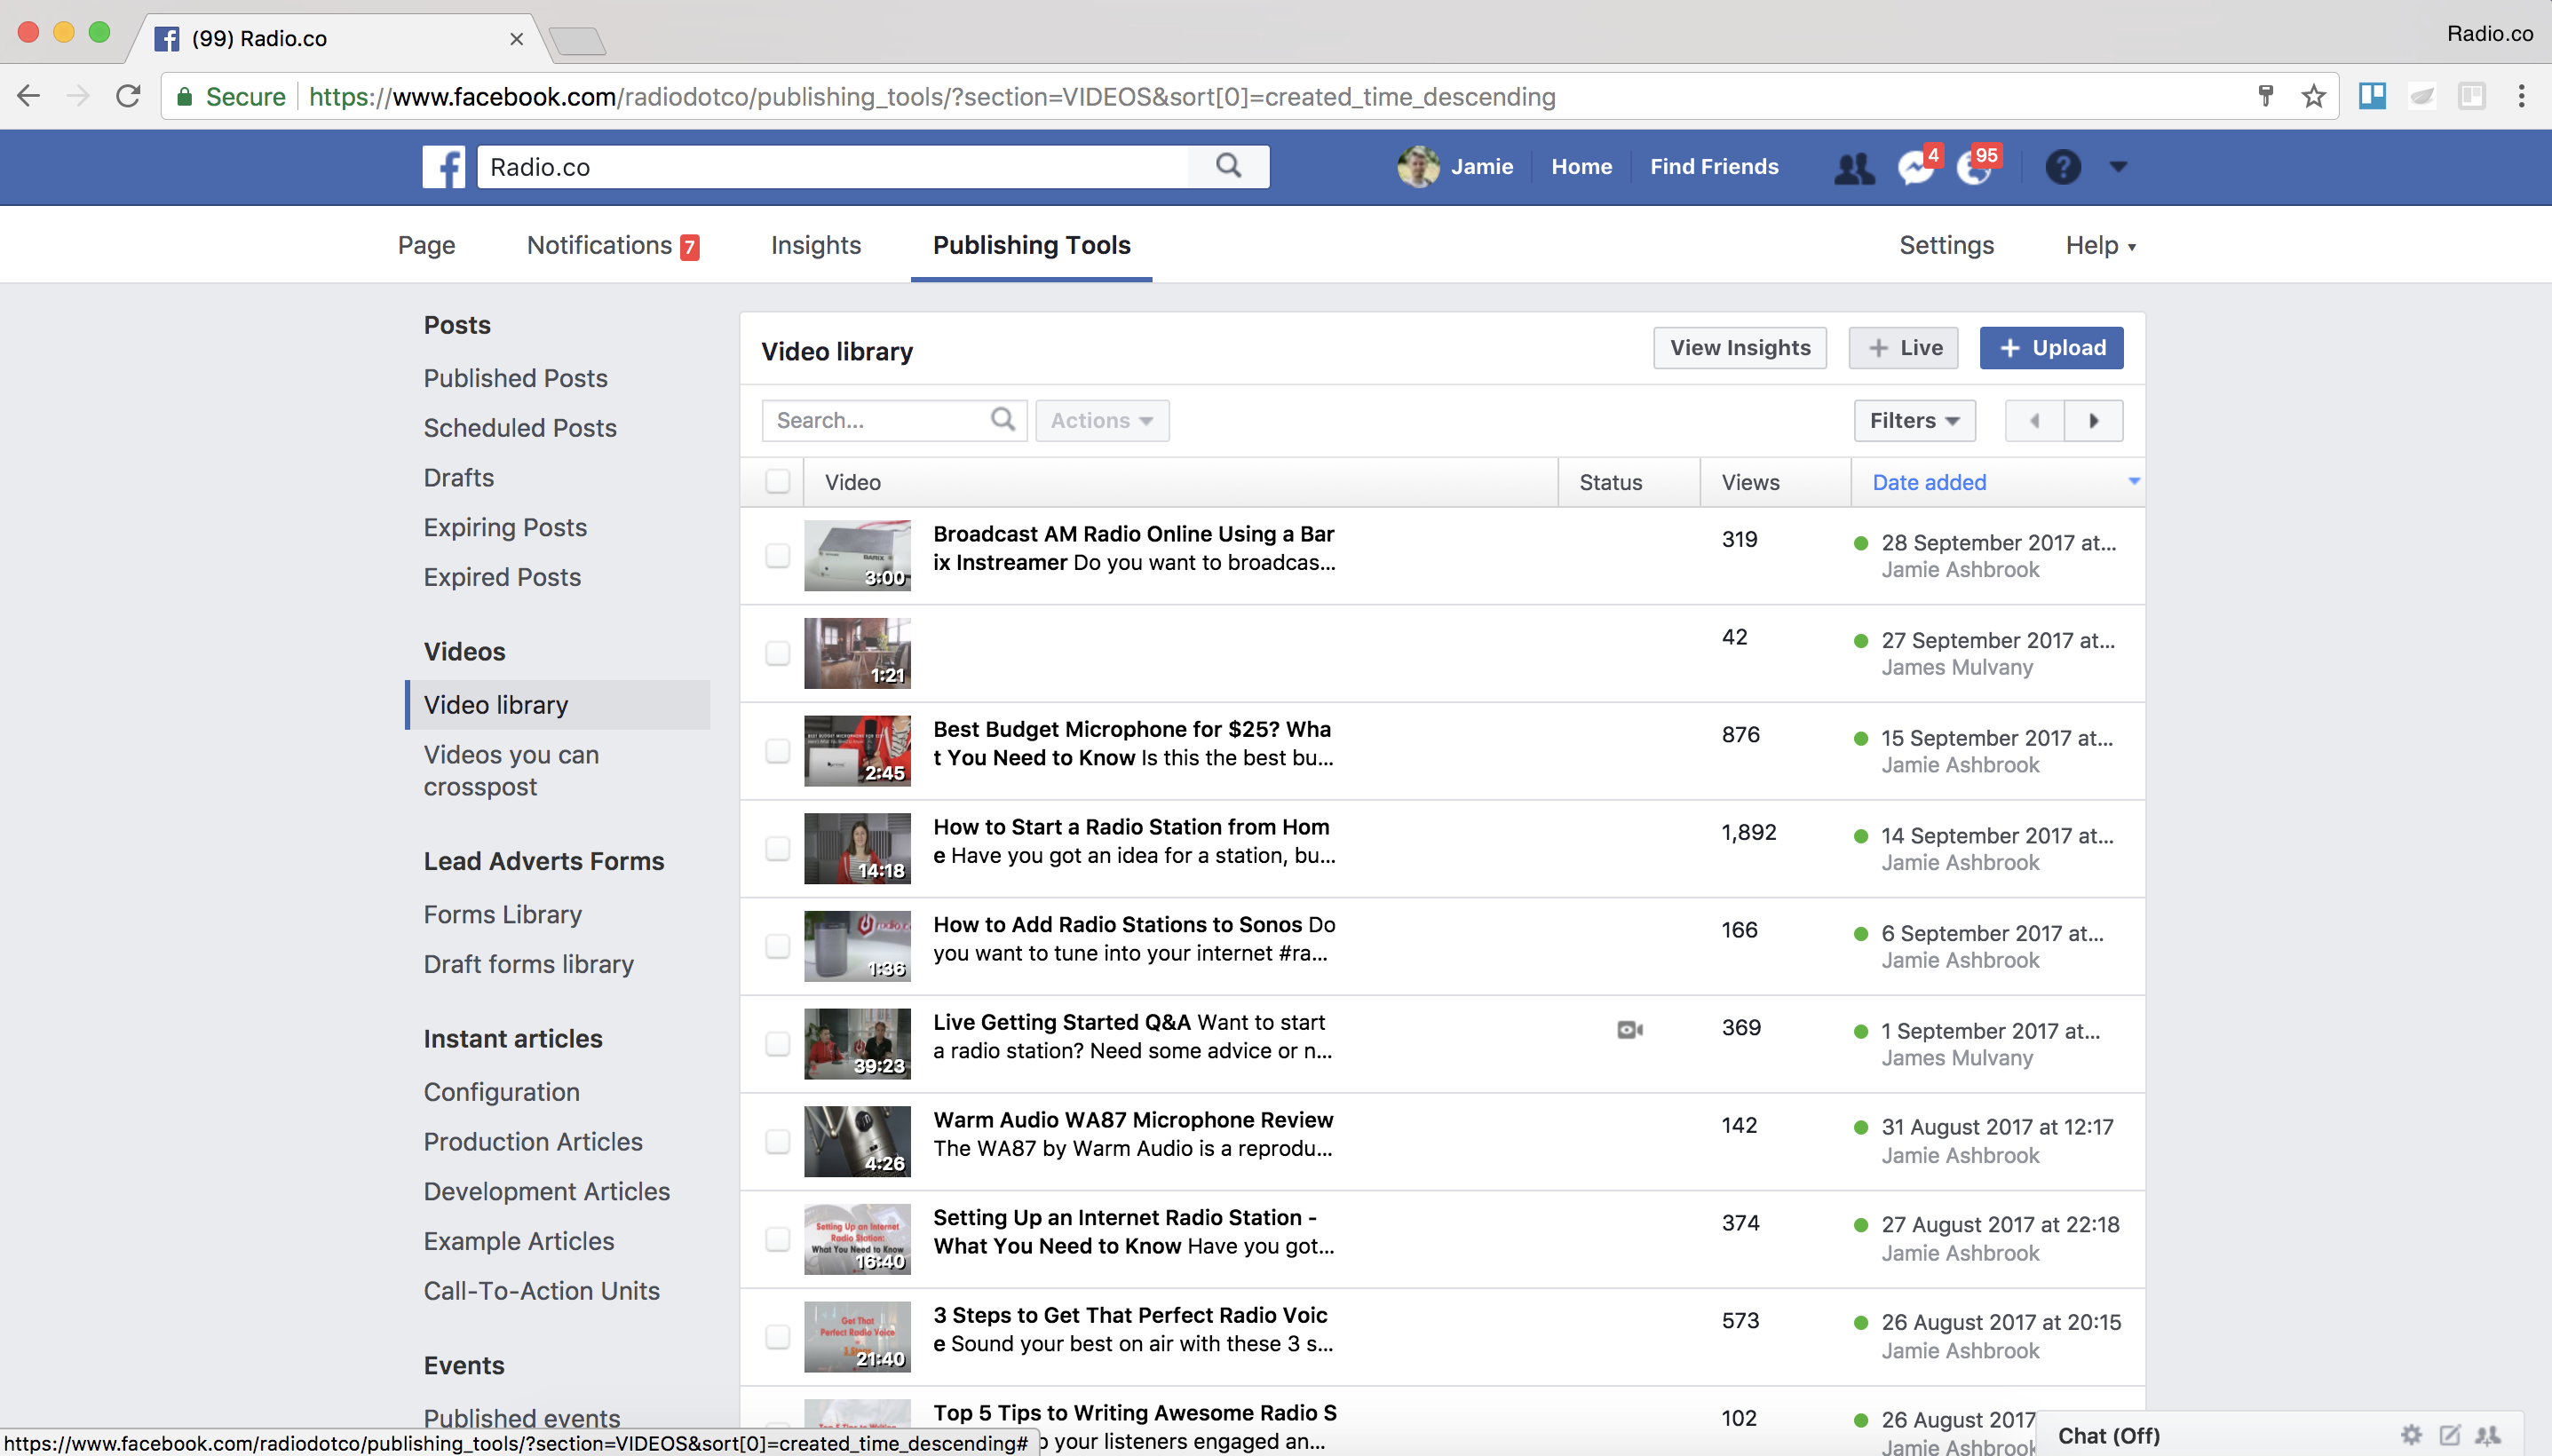
Click the + Live button in the top right corner to start setting up your video. Two options will appear as Single Field and Separate Field. As you are using OBS, copy the text inside the Stream Key box under Separate Fields.
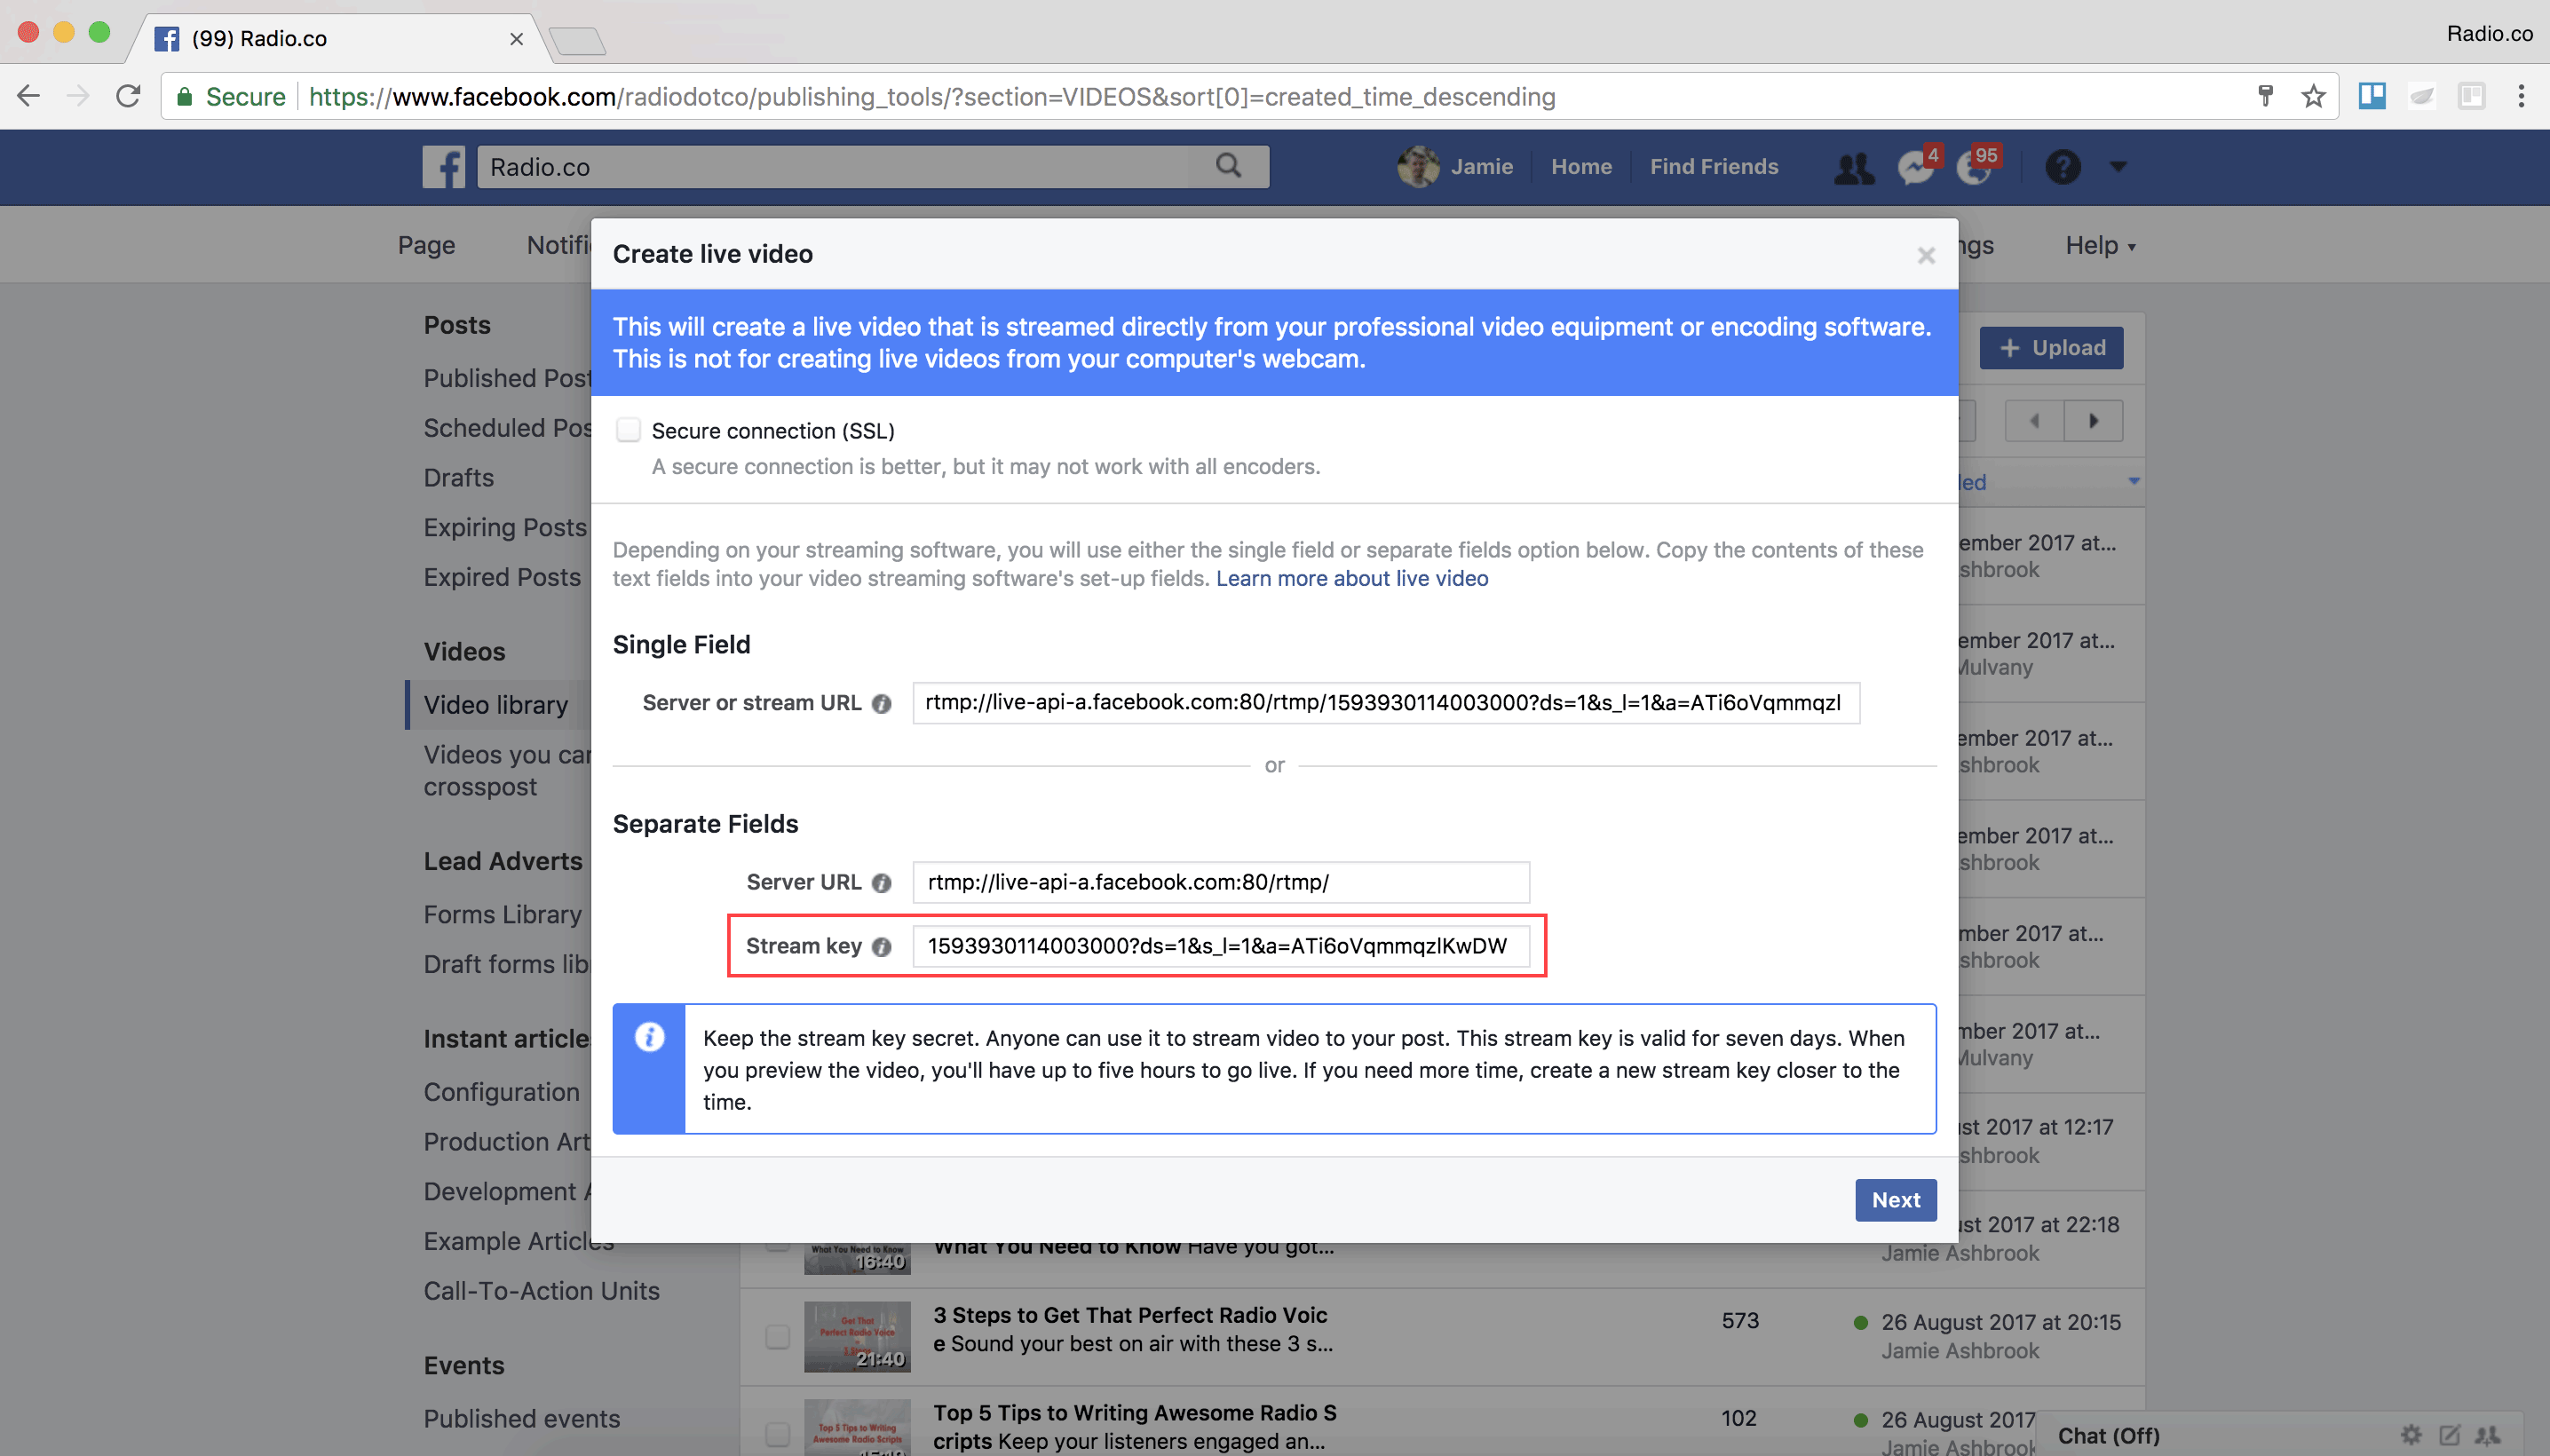
Important: The link you copy here can only be used for this live video. If you want to add another live stream, you will need to follow these steps again to get a new link to use in OBS.
Adding the Stream Key to OBS
With the stream key copied, head back to OBS. In the main window, click on "Settings" on the right-hand side. Then on the window that pops up, click Stream. Change the Service drop-down menu to "Facebook Live" and paste the key into the "Stream Key" field.
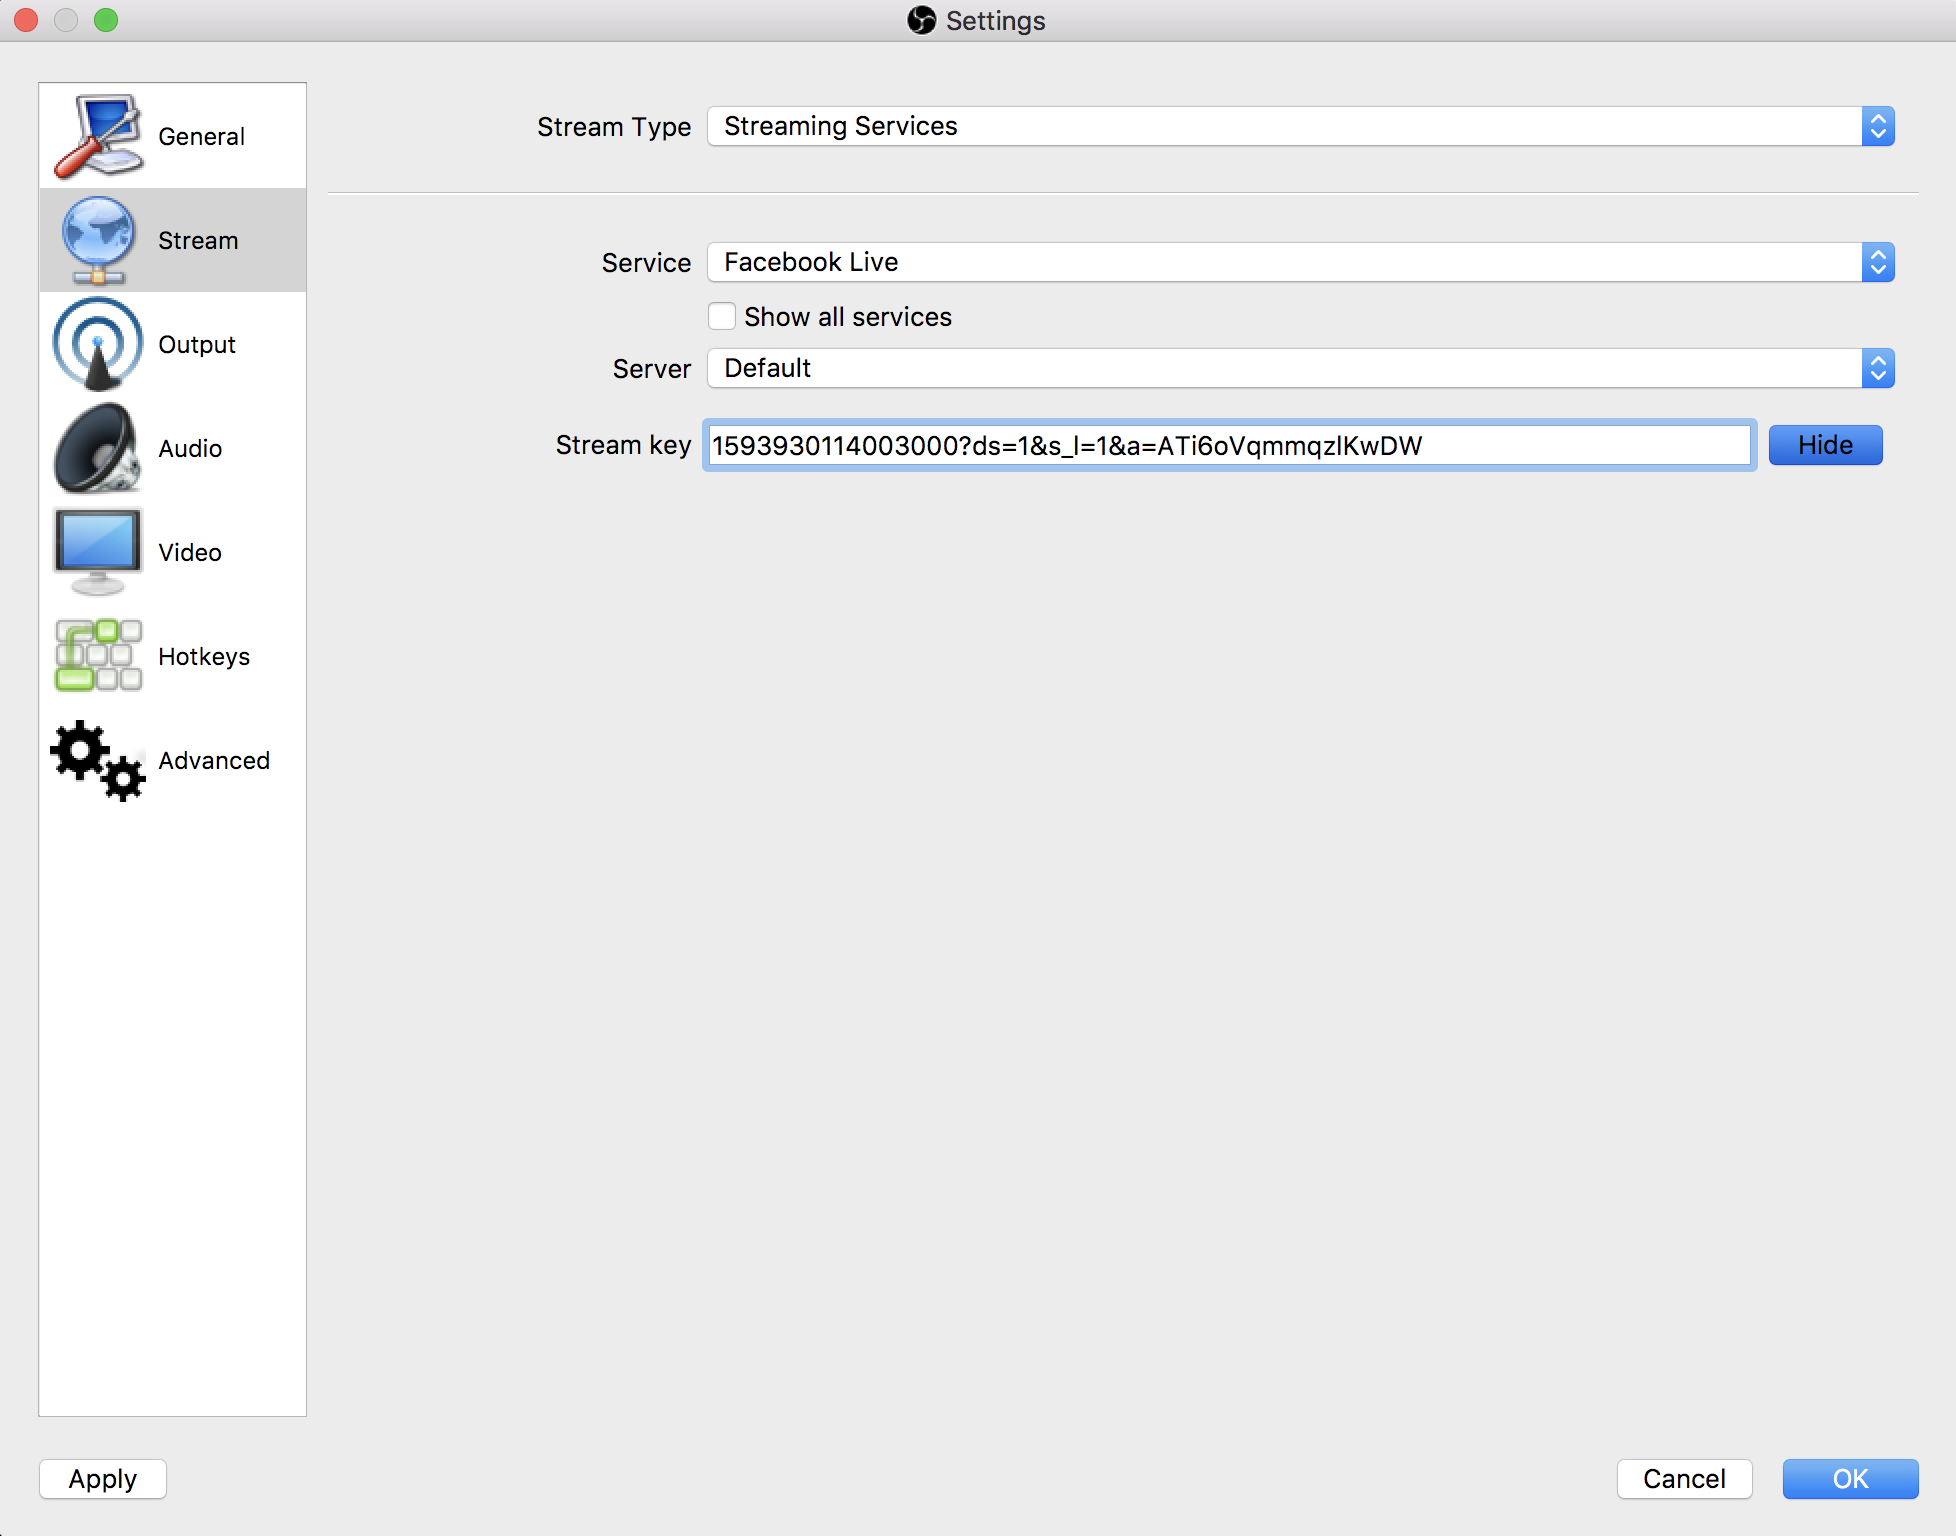
Click OK to save your changes. OBS is now set up and ready to go. Finally, you need to go back to your Facebook video to finish setting up before going live.
Finishing the Facebook Video Setup
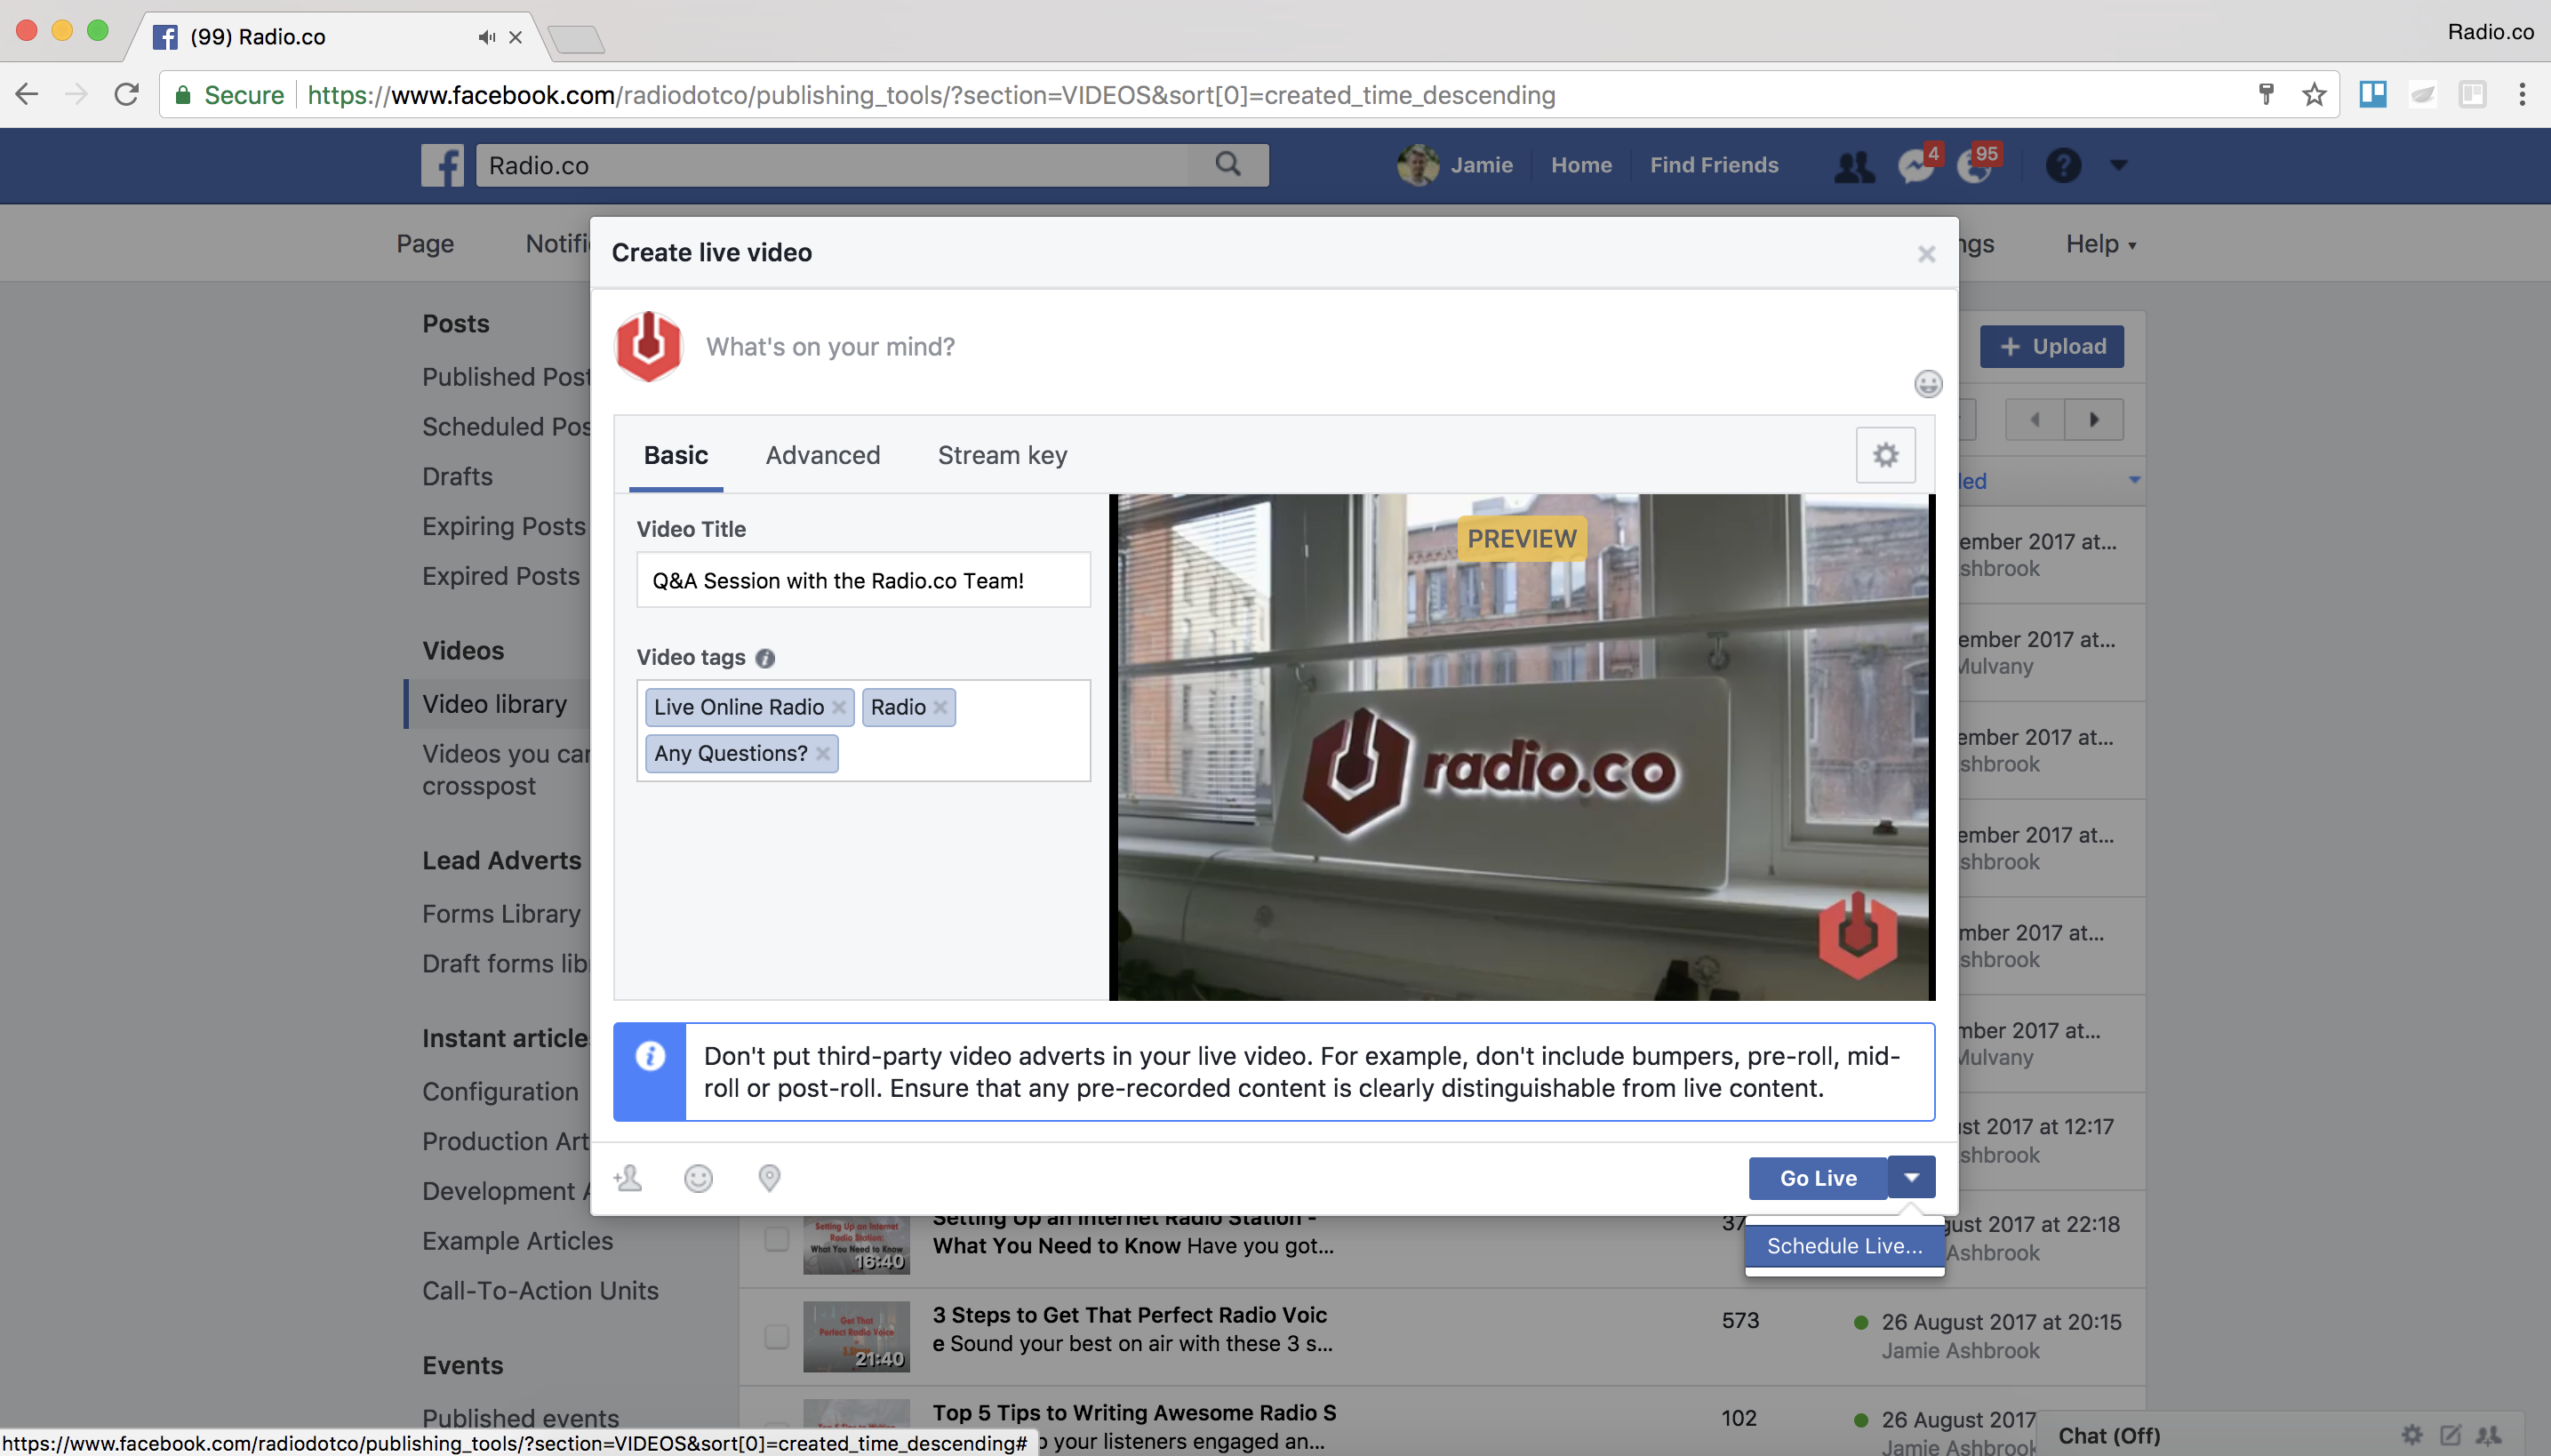
If you have still got the window open with the Single and Separate Fields, click Next. You will then be given the option to add a title and tags to your video. In here you can set up Audience Restrictions to specify age ranges, locations, and languages.
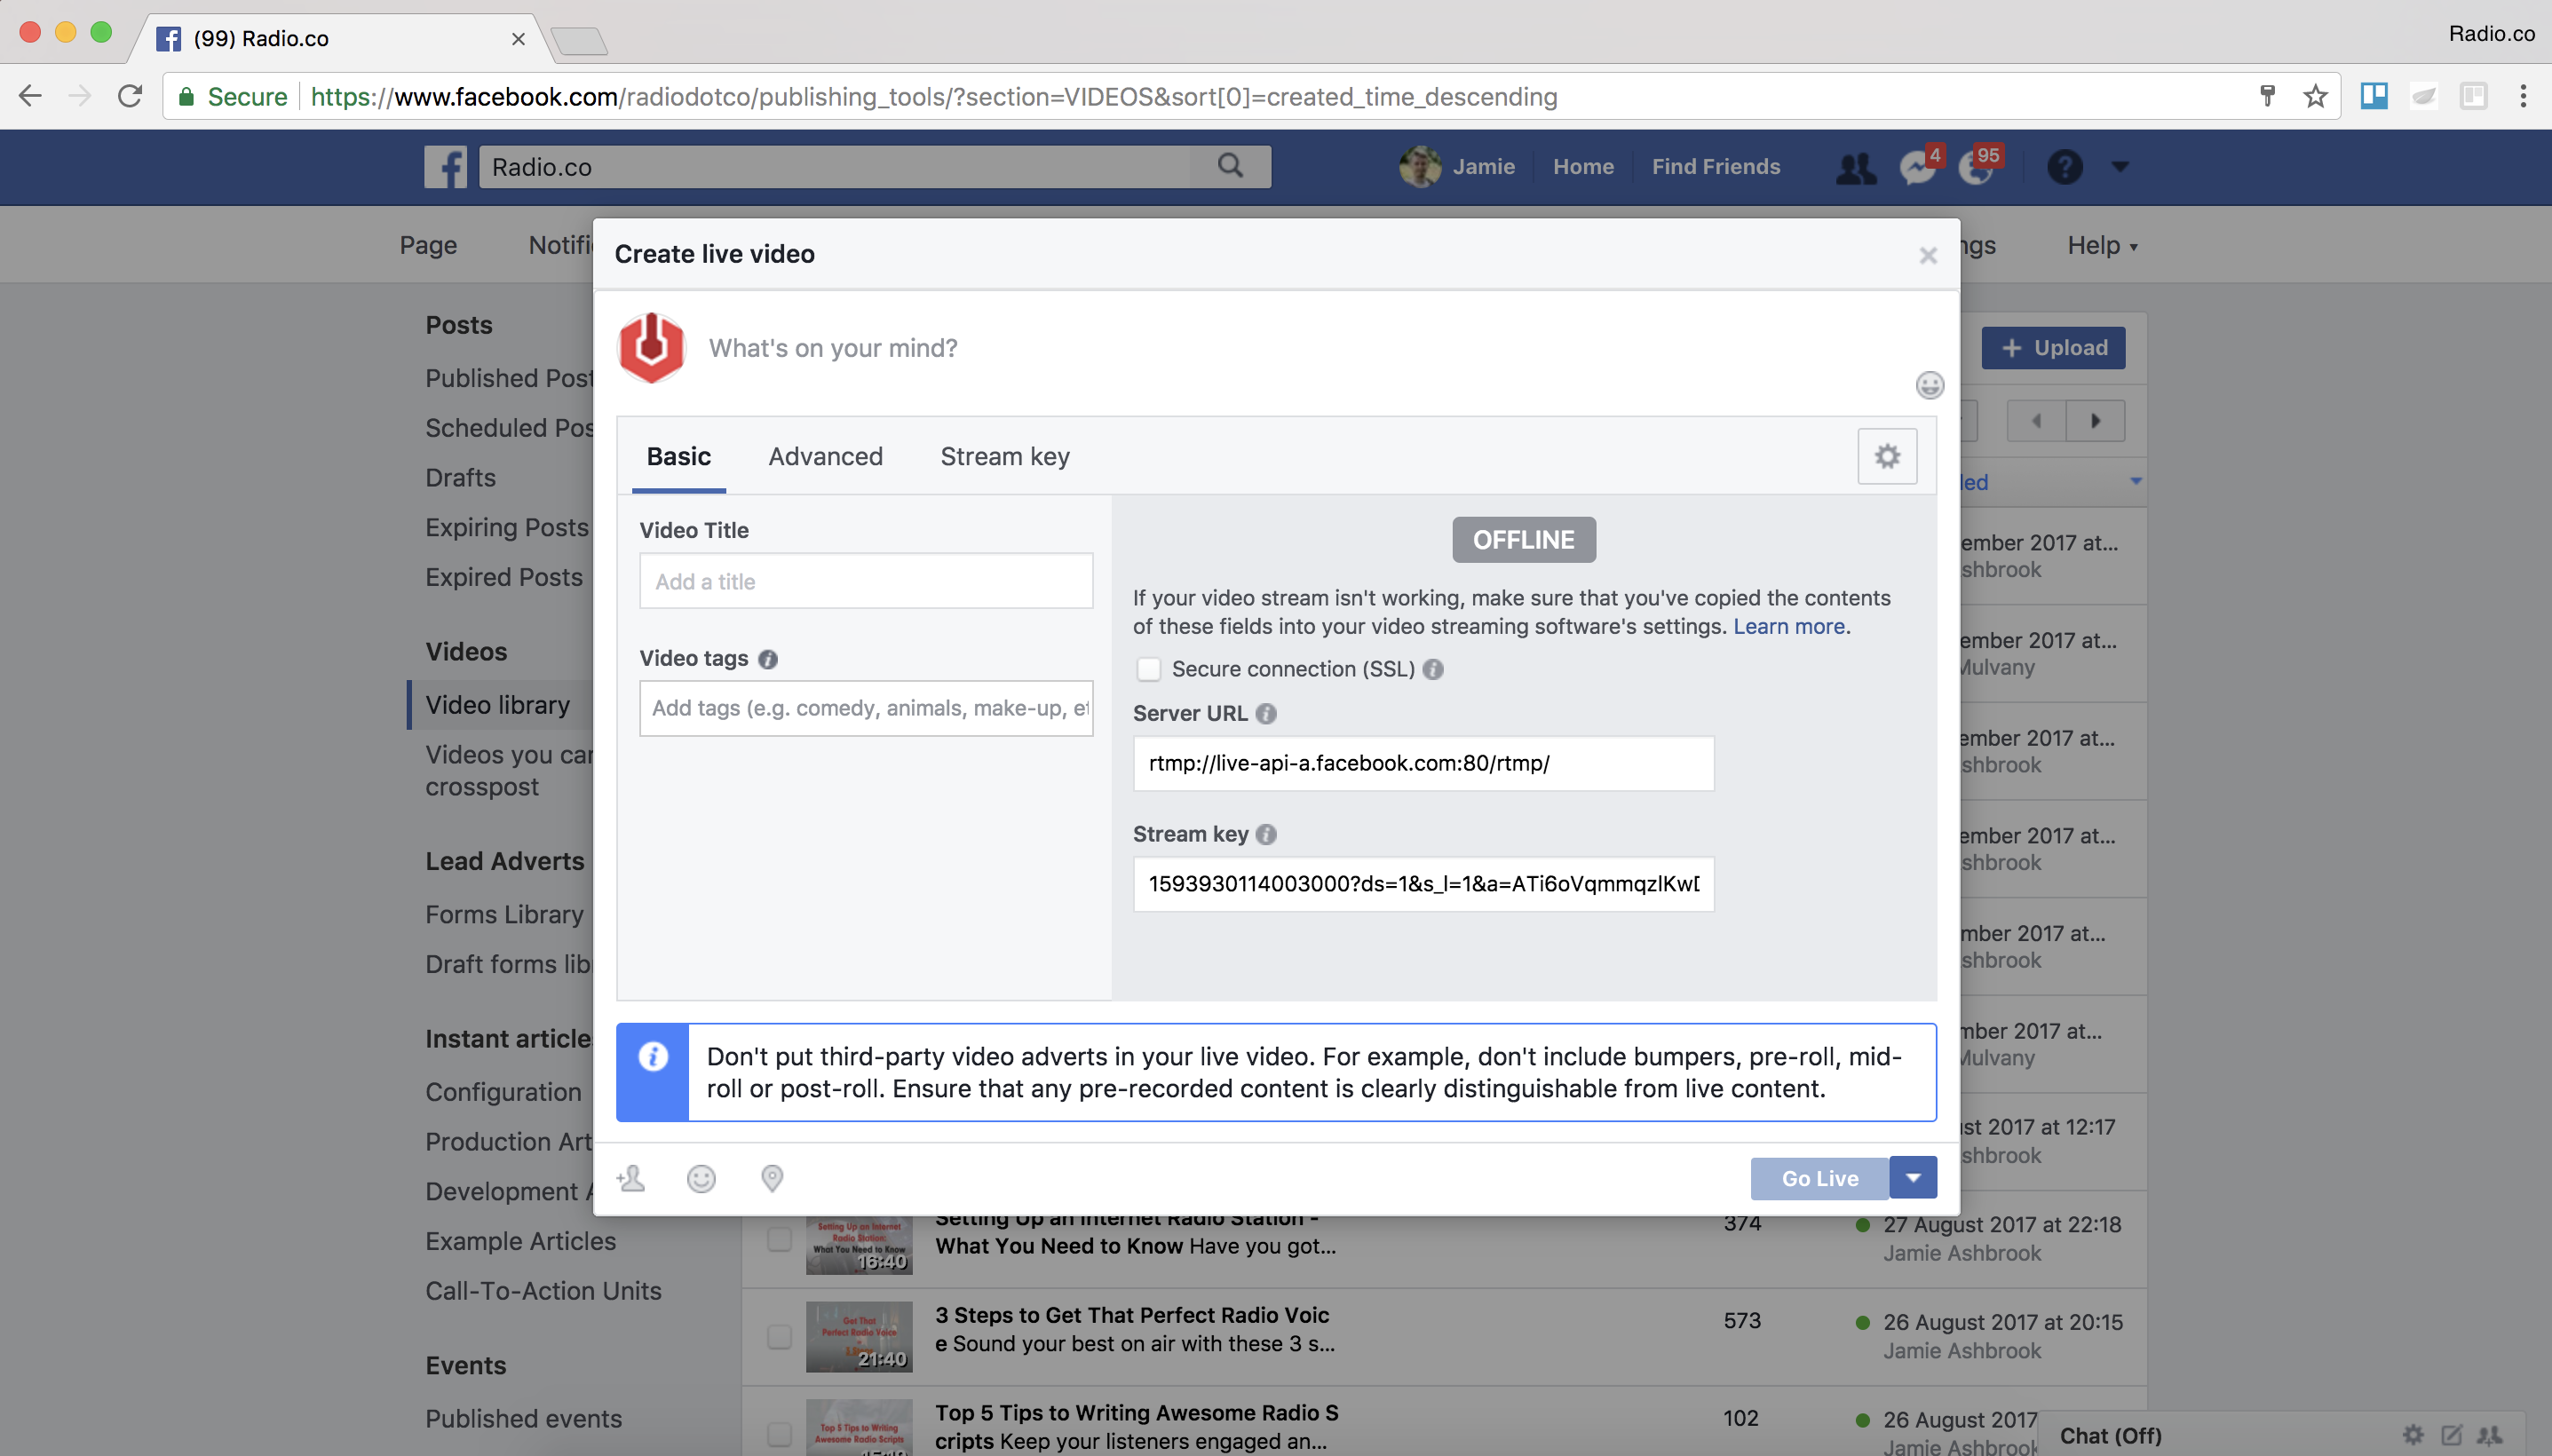
When you are ready to connect, go back over to OBS and select "Start Streaming". OBS will then connect to Facebook after about 30 seconds depending on your connection's speed. You will then see a preview when you have connected.
Click the "Go Live" button on Facebook to get started or schedule the live video for later if you would like to prepare beforehand.
Broadcasting with Facebook Live for Your Radio Station
After clicking "Go Live", your audience will be able to tune in and enjoy your broadcasts with you. During your show, listeners will be able to comment in real time, send reactions, and share your video. You will also be able to see how many people are watching.
When your video has finished, it will become available in your video library after it has finished processing. Share it with listeners that may have missed out on your live show.
We've started using Facebook Live ourselves. Every month or so we answer questions from broadcasters like yourself. Interestingly, we found that we generate much more interest and engagement by using Facebook Live. Check us out in action!
Radio.co makes it easy to integrate with services like Facebook, Twitter, and much more so you can easily share your stream. Try Radio.co today for free with your 7 day trial by clicking the button below.


