Need advice? Let's talk.
Get straightforward guidance from your broadcasting partner. Schedule a call to chat with the team about your radio station.
Book DemoHow to Livestream to Facebook and YouTube (At the Same Time)
Are you broadcasting a live radio show? Why not livestream to Facebook and YouTube! Here's how we do it for our webinars and how you can too.
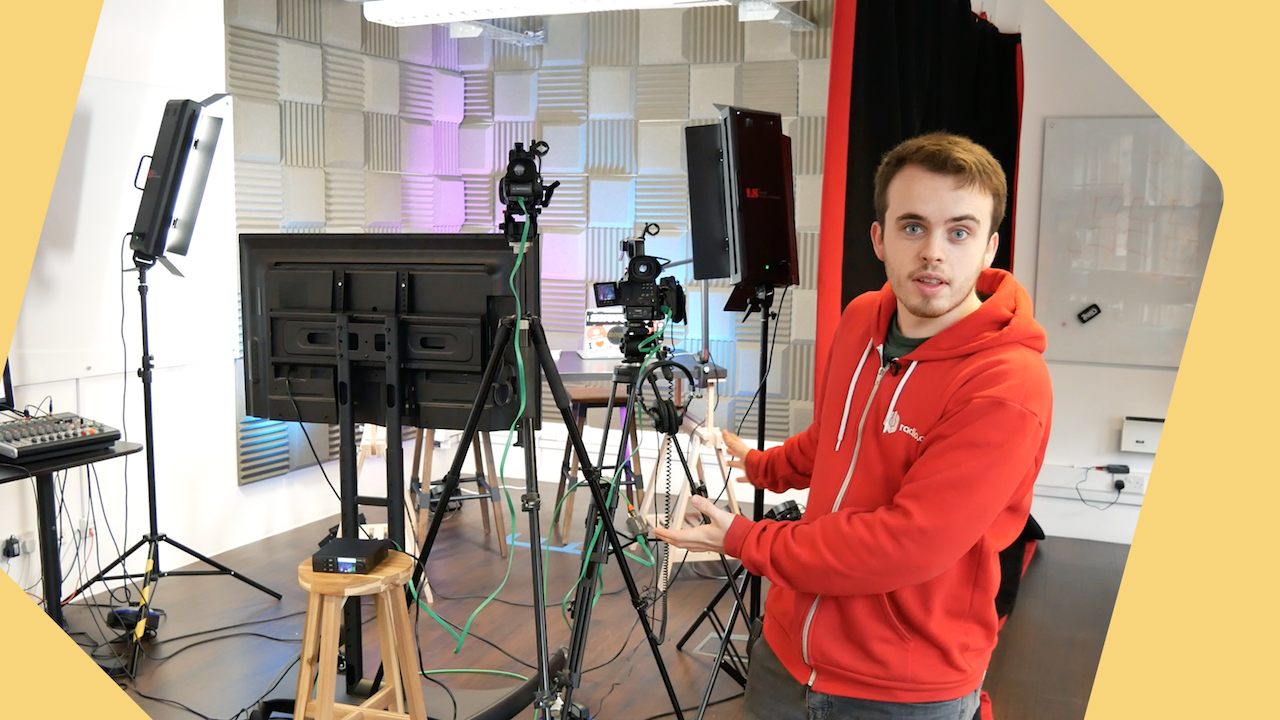
Every so often at Radio.co we livestream to Facebook and YouTube for talks on everything radio related. A big question we get asked often is how we go about broadcasting these live events. So we thought we would walk you through what we use and how we set everything up to connect with viewers on both Facebook Live and YouTube Live.
How to Livestream to Facebook and YouTube
Microphone Setup
The microphones we regularly use are the Neumann TLM 103. These are hooked up to a pair of boom arms, both of which are identical so they look nice on the stream. The mics are using just simple XLR cables at the bottom of each one and this then feeds into our mixer.
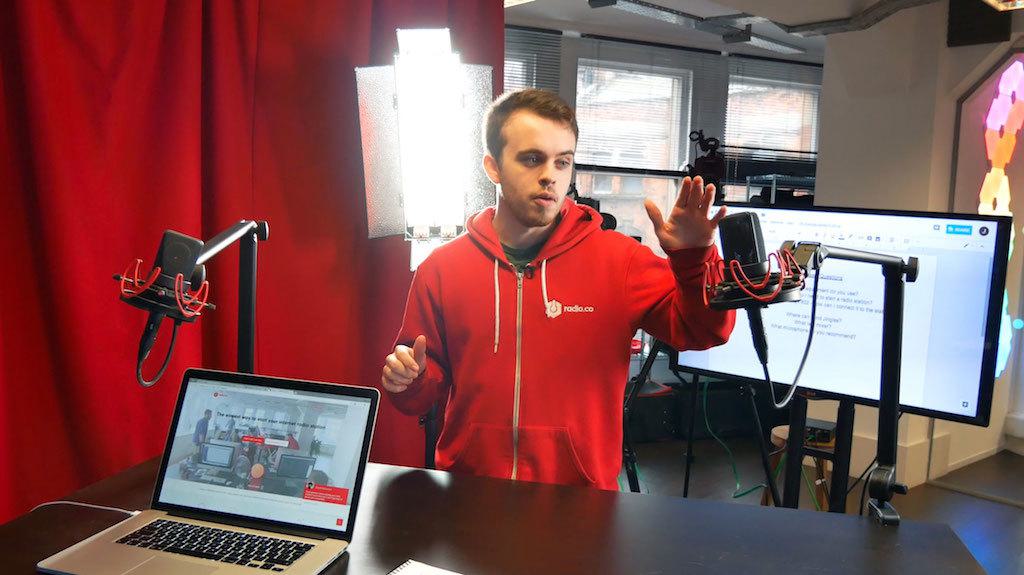
Both the boom arms are clamped to an Ikea desk. This can be raised in height as need be for standing or sitting talks with a pair of stools so we can sit at the right height for the camera setup.
Soundproofing
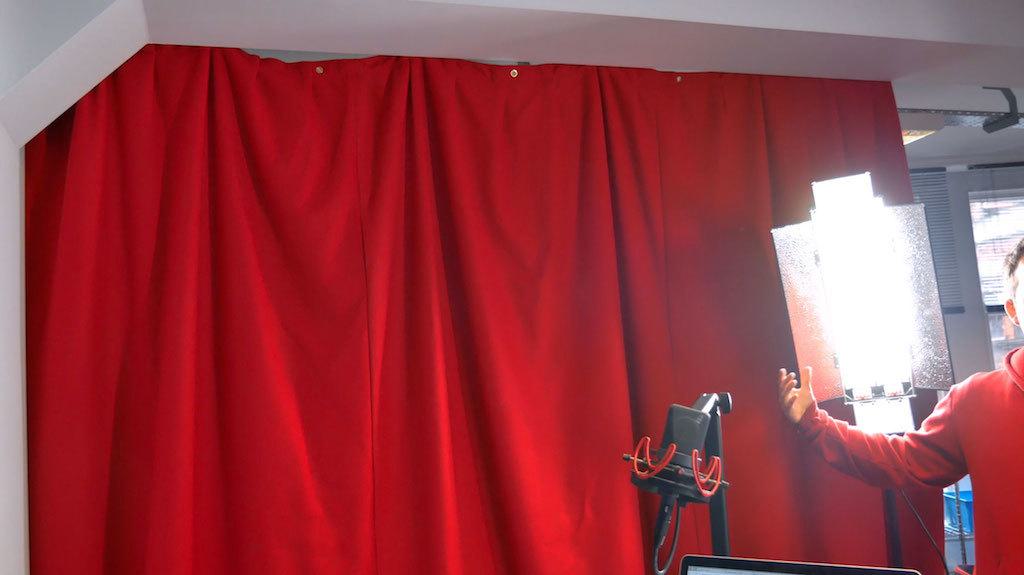
At Radio.co we're based next to a busy high street, so we need a lot of soundproofing so mics don't pickup outside noises. We use a specialised soundproof curtain that blocks out a lot of noise from the main road.
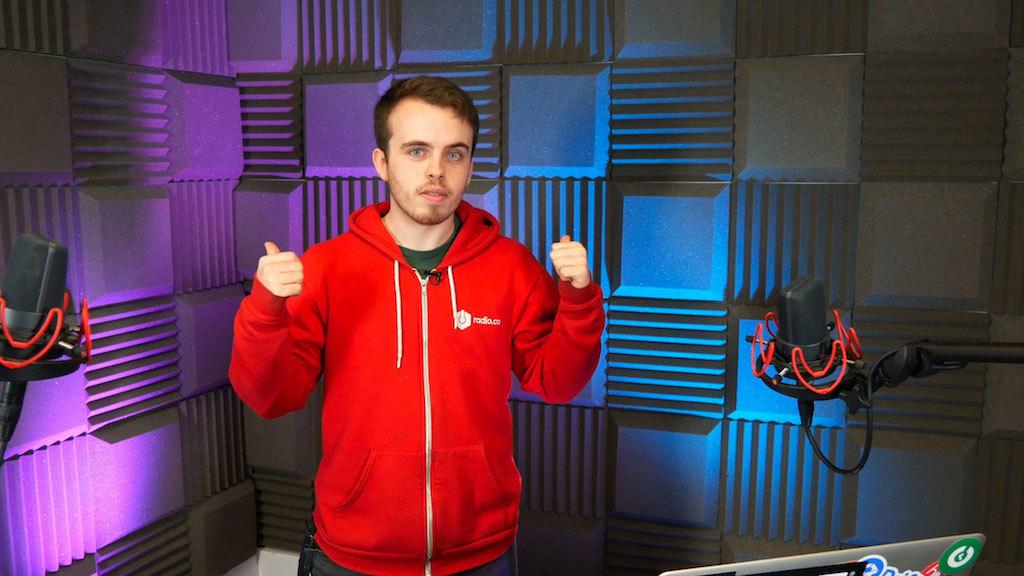
Behind the live setup, we have a bunch of foam padding on the wall. This provides more soundproofing. Just to make the backdrop look a bit nicer, there's accent lighting on the floor pointing at the wall.
Microphone Feeds to the Mixer
Taking the feed from the microphones, we use long XLR cables which run down under the desk and into the Behringer Zenyx 1222 USB mixer. The mics go into channels 1 and 2.
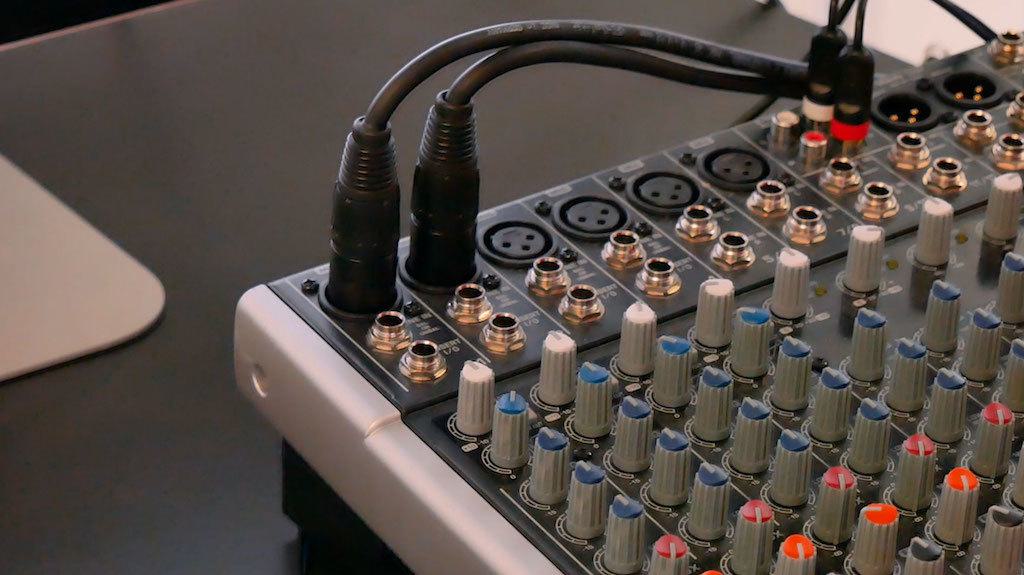
We can control the levels of each channel with the faders on the mixer. For example, if someone is not speaking loud enough we can turn them up. We also monitor the master channel (which is all channels combined) to make sure everything sounds fine using a pair of Beyerdynamic DT 770 PRO headphones via the output jack.
Mixer to Video Encoder
We take the output from our mixer using an RCA cable from the stereo master output and over to the Blackmagic Web Presenter.
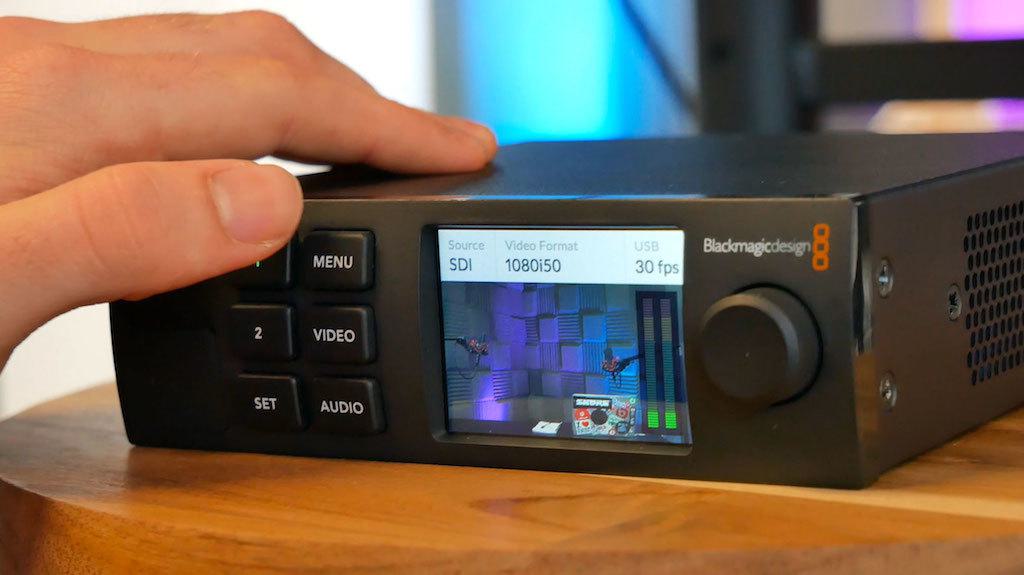
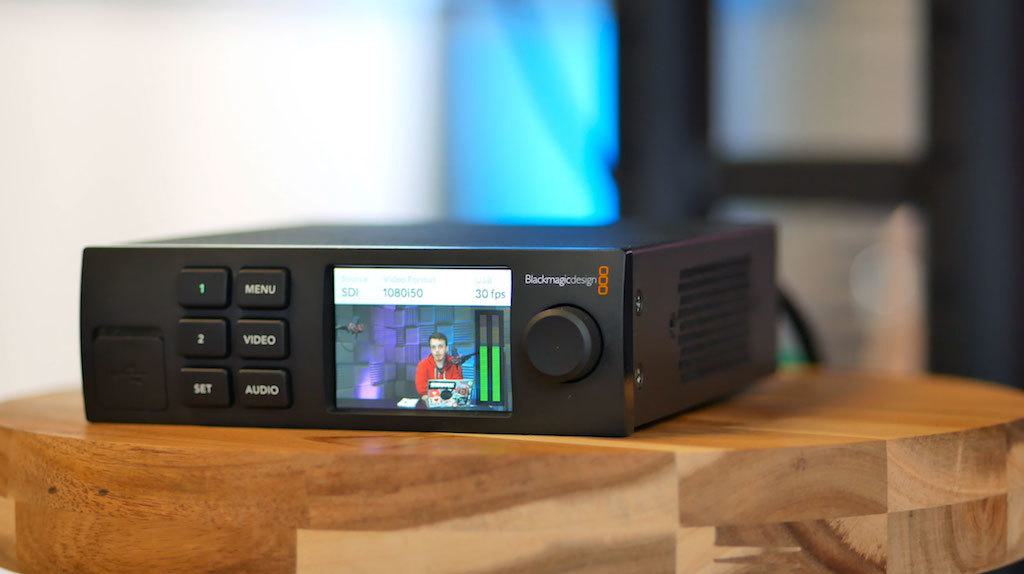
This handles the video input for both of the two cameras we use and the input from our mixer. What the Blackmagic box does is it allows you to manage two cameras at once. You might not necessarily need something like this if you just use one camera. The likelihood is you can just plug a one camera setup straight into your computer with an adaptor cable. This setup works well for us because we're going to be using two cameras and syncing up the audio from the mixer to the cameras.
The Blackmagic box lets us switch between cameras. This means we can switch views on the fly for the one we like best. For example, we use this for one main cutaway shot and another for more zoomed in shots for close ups like showing off equipment on the desk.
Camera Setup
For the main camera, we use the Canon EOS C100. We use it for cutaway shots, which is what we use most of the time for livestreams.
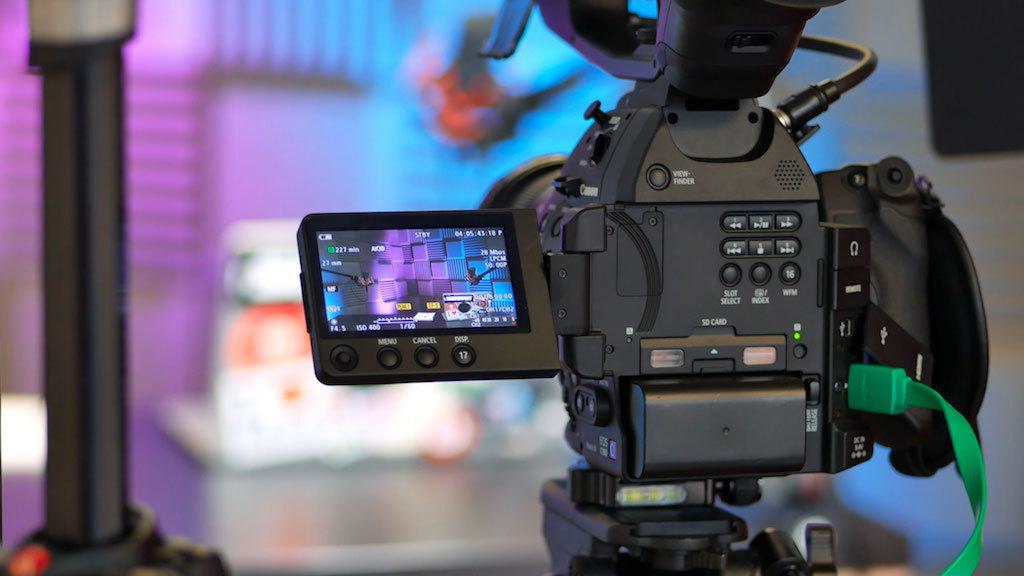
For the second camera we use the Panasonic Lumix GH5. This is used more for close up shots. Using the Blackmagic box, we switch between these two cameras to give live events a more professional look.
Camera Output
To get the output from the video cameras, we use a pair of HDMI cables. These plug into the HDMI output of each camera.
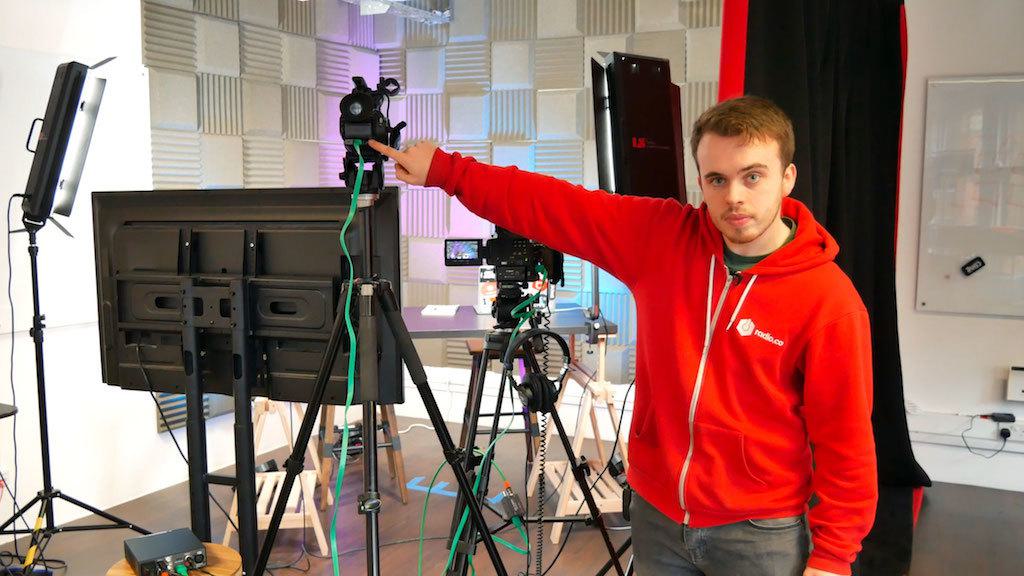
These then go into the Blackmagic box.
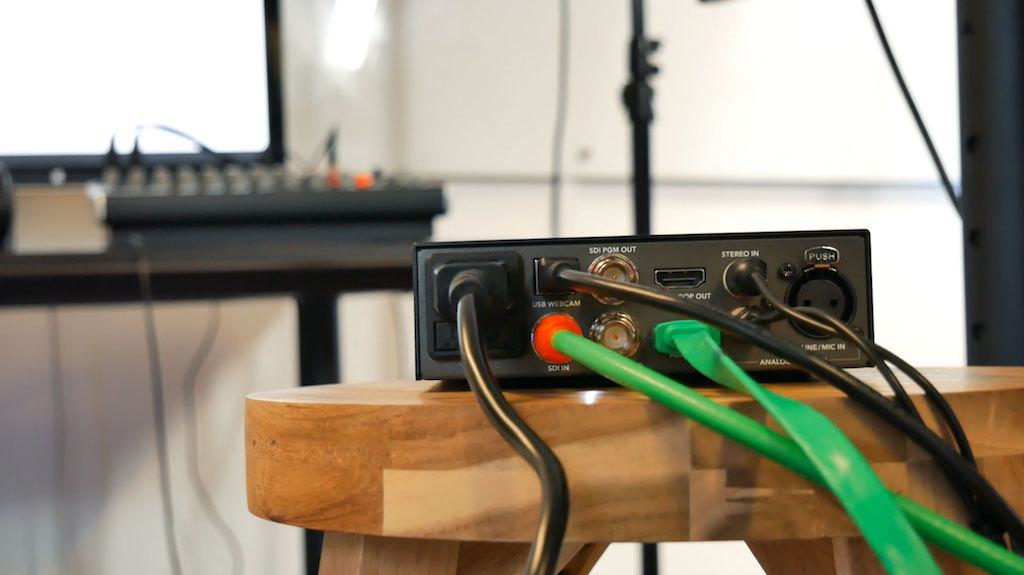
At the back of the Blackmagic box we use one HDMI cable coming in from one of the cameras. We've also got an SDI cable. As we don't have another SDI camera, what we've done is use a HDMI to SDI converter.
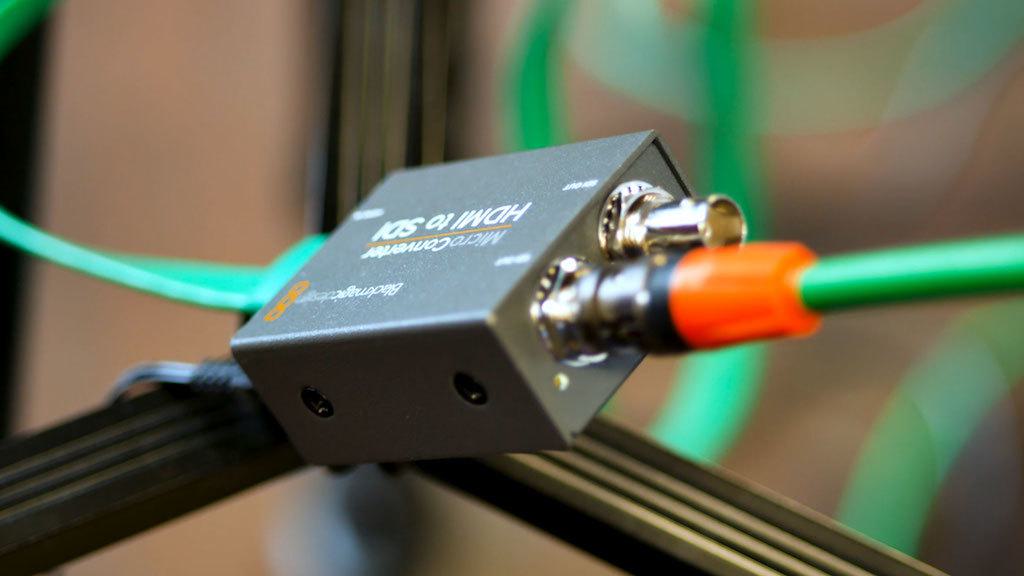
That allows us to use two HDMI cables for the outputs, then for the inputs use one HDMI and one SDI cable.
Mixer Output
Instead of going from the mixer to the computer, we go through the Blackmagic box connecting to the "Stereo In" ports using an RCA audio cable (this also hooks up to the mixer's L/R audio ports).
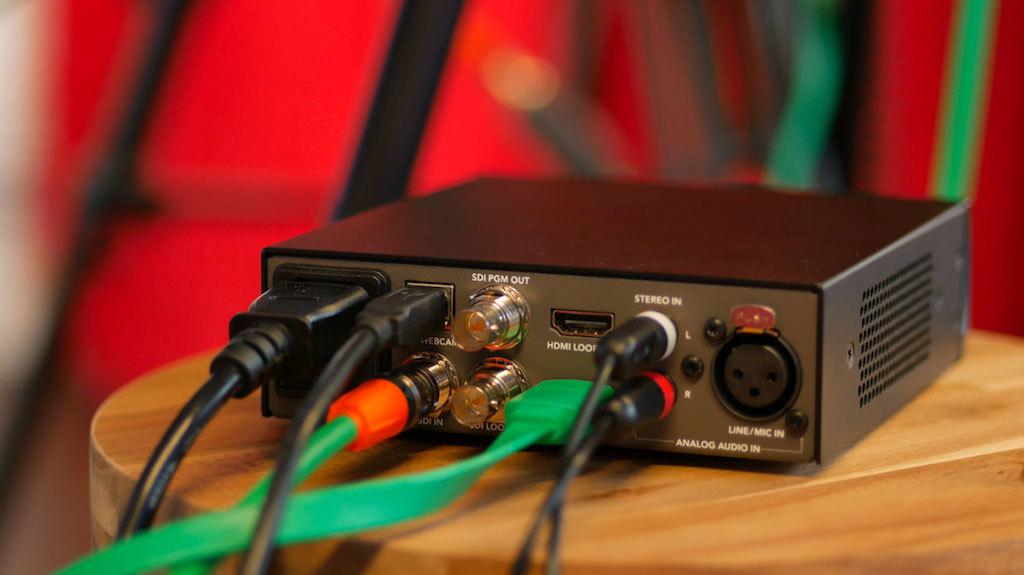
The reason we've done this is because the audio will be synced up to the video stream, this way everything is combined together.
Broadcaster Software Setup
We use a piece of software called OBS (which is free) to manage all the hardware mentioned. You can setup all of your cameras and audio equipment to feed through this program. For a full guide on how to setup OBS then click the button below.
Broadcasting to Facebook & YouTube
We use a piece of software called Restream which broadcasts our live feed to different platforms at the same time. In this case that's Facebook and YouTube.
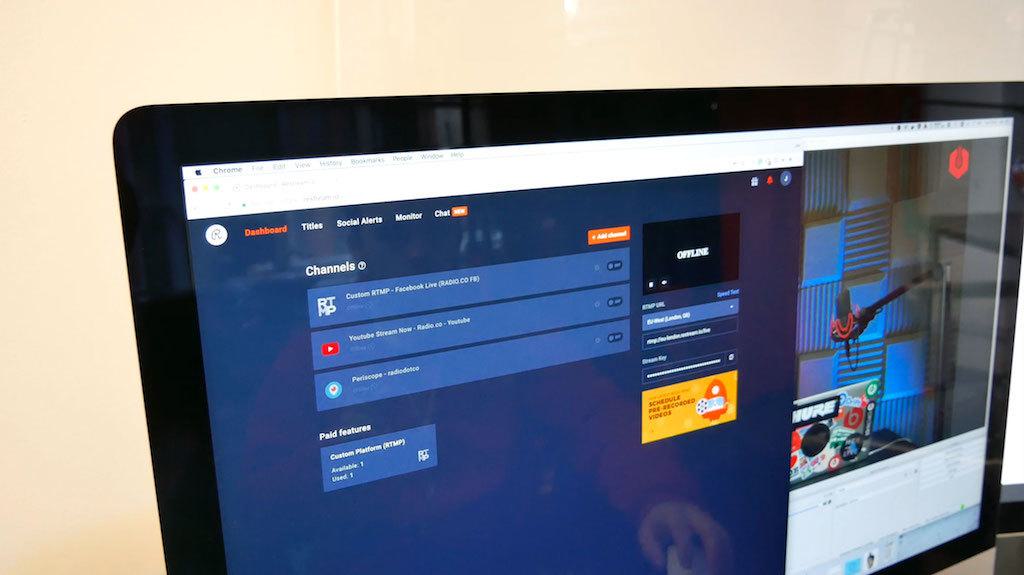
Setting up Restream is really simple. Copy in your Restream stream key into OBS. For a full guide on how to setup Restream with OBS then click the button below.
How to Setup Restream with OBS
Once you're ready to broadcast, click the "Start Streaming" button in OBS to start your live event.
Answering Questions Live
We like to take questions whilst we're streaming on both Facebook, YouTube, and Twitter. What we do is have someone from the team monitor all questions and add them to a Google Drive document.
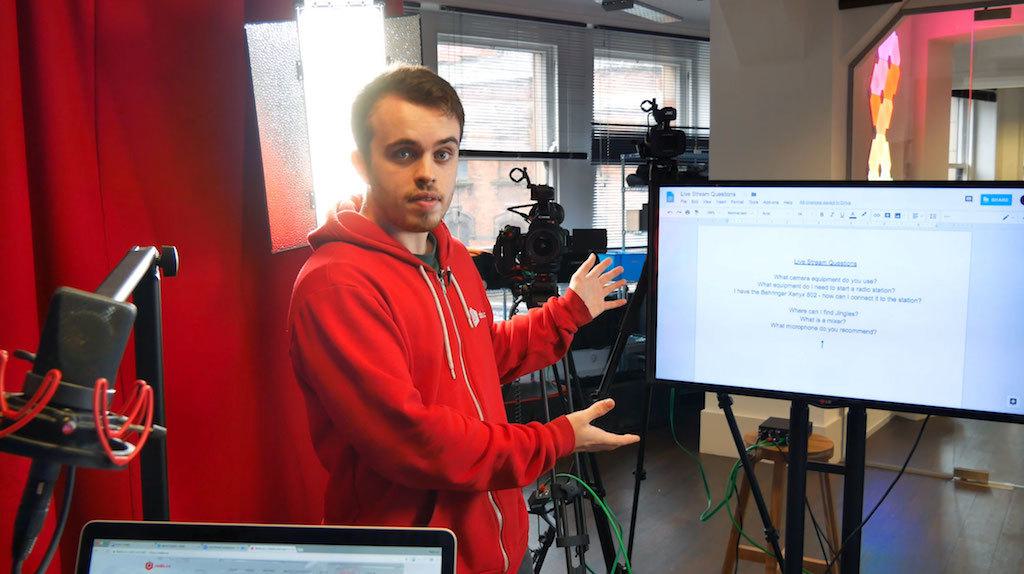
The way we achieve this is by using a TV with a Chromecast plugged into it. One of the team that's monitoring questions will cast what they have on their screen to the TV. This way the presenters can easily glance at what questions are being asked without being overwhelmed.
Over to You!
Hopefully, that's covered everything you need to know to get up and running for live events on Facebook and YouTube. One thing to note is that you don't need a setup as extravagant as this one.
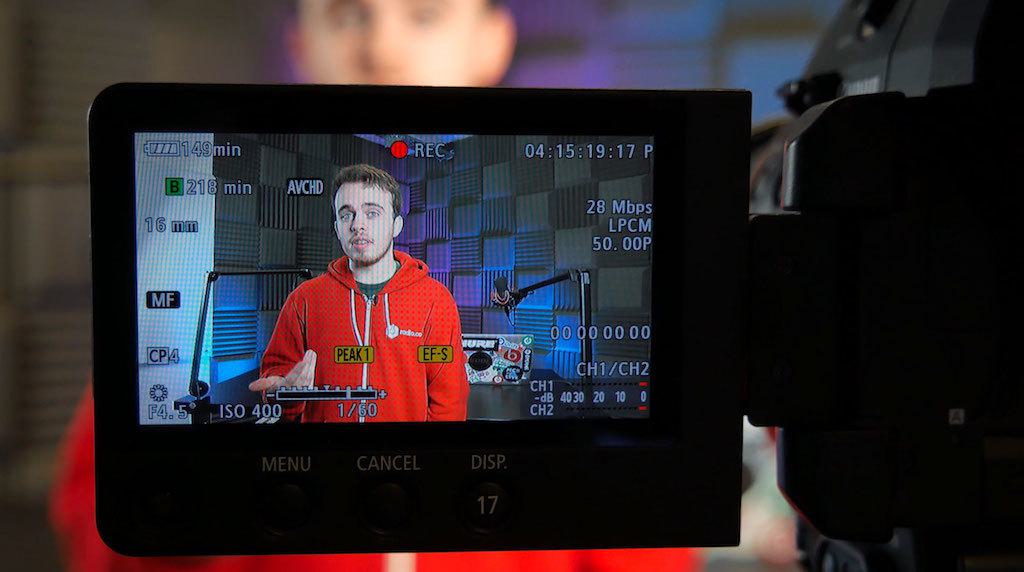
If you plan on broadcasting just a simple interview then we recommend having at least two cameras as it adds a layer of professionalism. However, if you're broadcasting a quick live DJ set then you could achieve similar results with a web camera and output from your mixer.
Let us know what you think of our setup in the comments. Did you like it? Is there anything that you would change or add? If you've seen any of our streams is there anything that you like about our setup? Feel free to let us know!


