Need advice? Let's talk.
Get straightforward guidance from your broadcasting partner. Schedule a call to chat with the team about your radio station.
Book DemoRode Connect Setup for Radio
Simple software is a saving grace for beginner broadcasters. Get the simplicity of the Rodecaster Pro condensed into a handy desktop broadcaster - discover the Rode Connect setup for radio.

Good broadcasting software can be hard to find. There’s a lot of broadcasters out there that work great, but you need to find what works for you. If you’re a beginner broadcaster who just wants to get started, Rodes newest product, Connect, is just what you need to get going quickly.
Rode Connect: Record and Broadcast
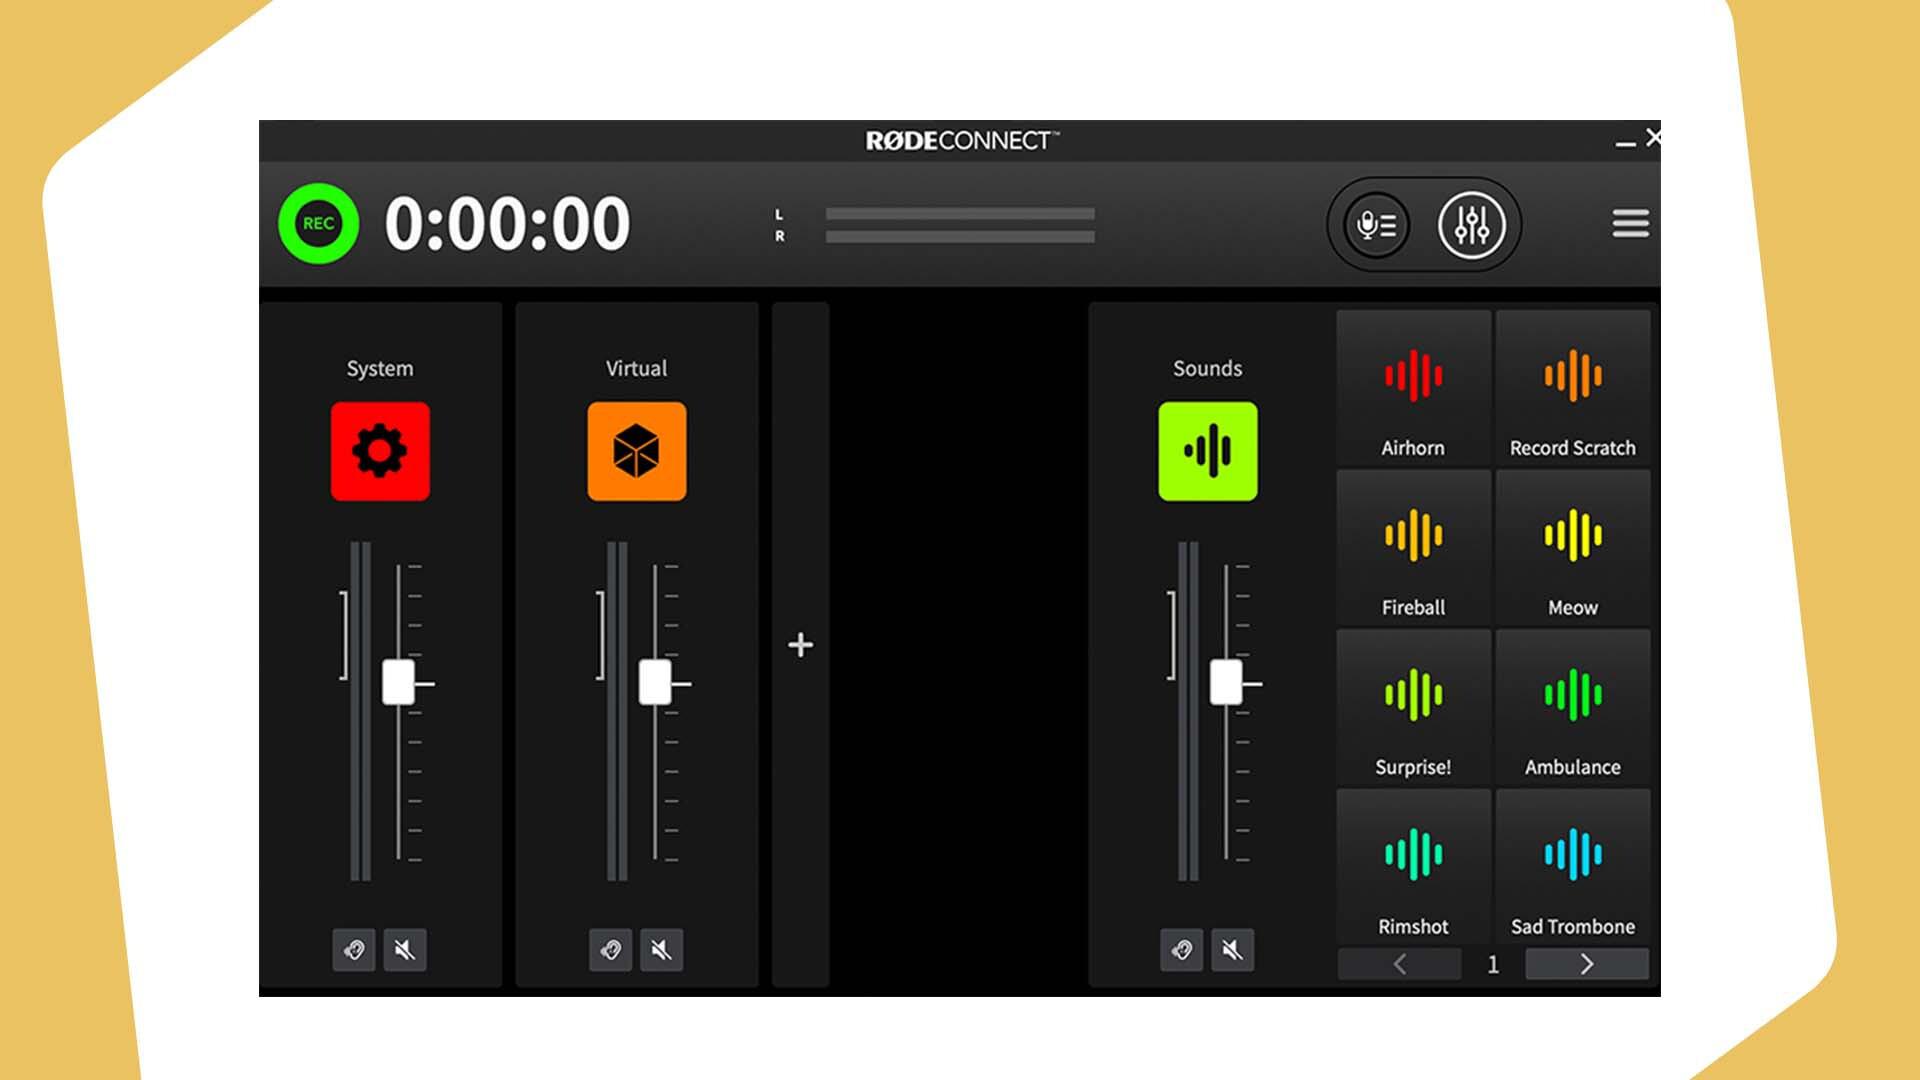
The Rode Connect is a new, free piece of software available for all broadcasters. With its clear interface, Connect offers an easy broadcasting and recording solution. Take the audio from your computer or isolate applications for live shows.
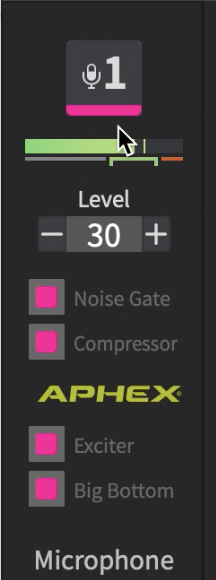
Built-in vocal effects let you play with how your voice sounds, although the options are limited to a Noise Gate, Compressor, Exciter and Big Bottom. All these will affect the sound of your voice, whether highlighting certain frequencies or lowering background noise. Play around and see what works best for you.
Being a Rode product, Connect is only compatible with Rode microphones. At the moment it only works with the Rode NT-USB Mini, although they are planning on expanding the range of mics it works with.
It won’t work with internal computer or laptop microphones. Rode don’t have any plans on changing this in the future, so you’ll want to grab an NT-USB Mini if you want to use Connect.
Rode Connect Setup for Recording
Download Rode Connect, then open the app to the start-up screen. The first thing you’ll be directed to do is connect a microphone to the software.
Make sure your Rode NT-USB Mini is plugged in and drag it into the first microphone slot. You may need to upgrade your microphones firmware. This should only take a minute.

Next, choose your virtual channels. You have 2 channels available that you can add System Audio or a Virtual Device to. System Audio takes all audio from your computer, Virtual Device will only take audio from a selected application.
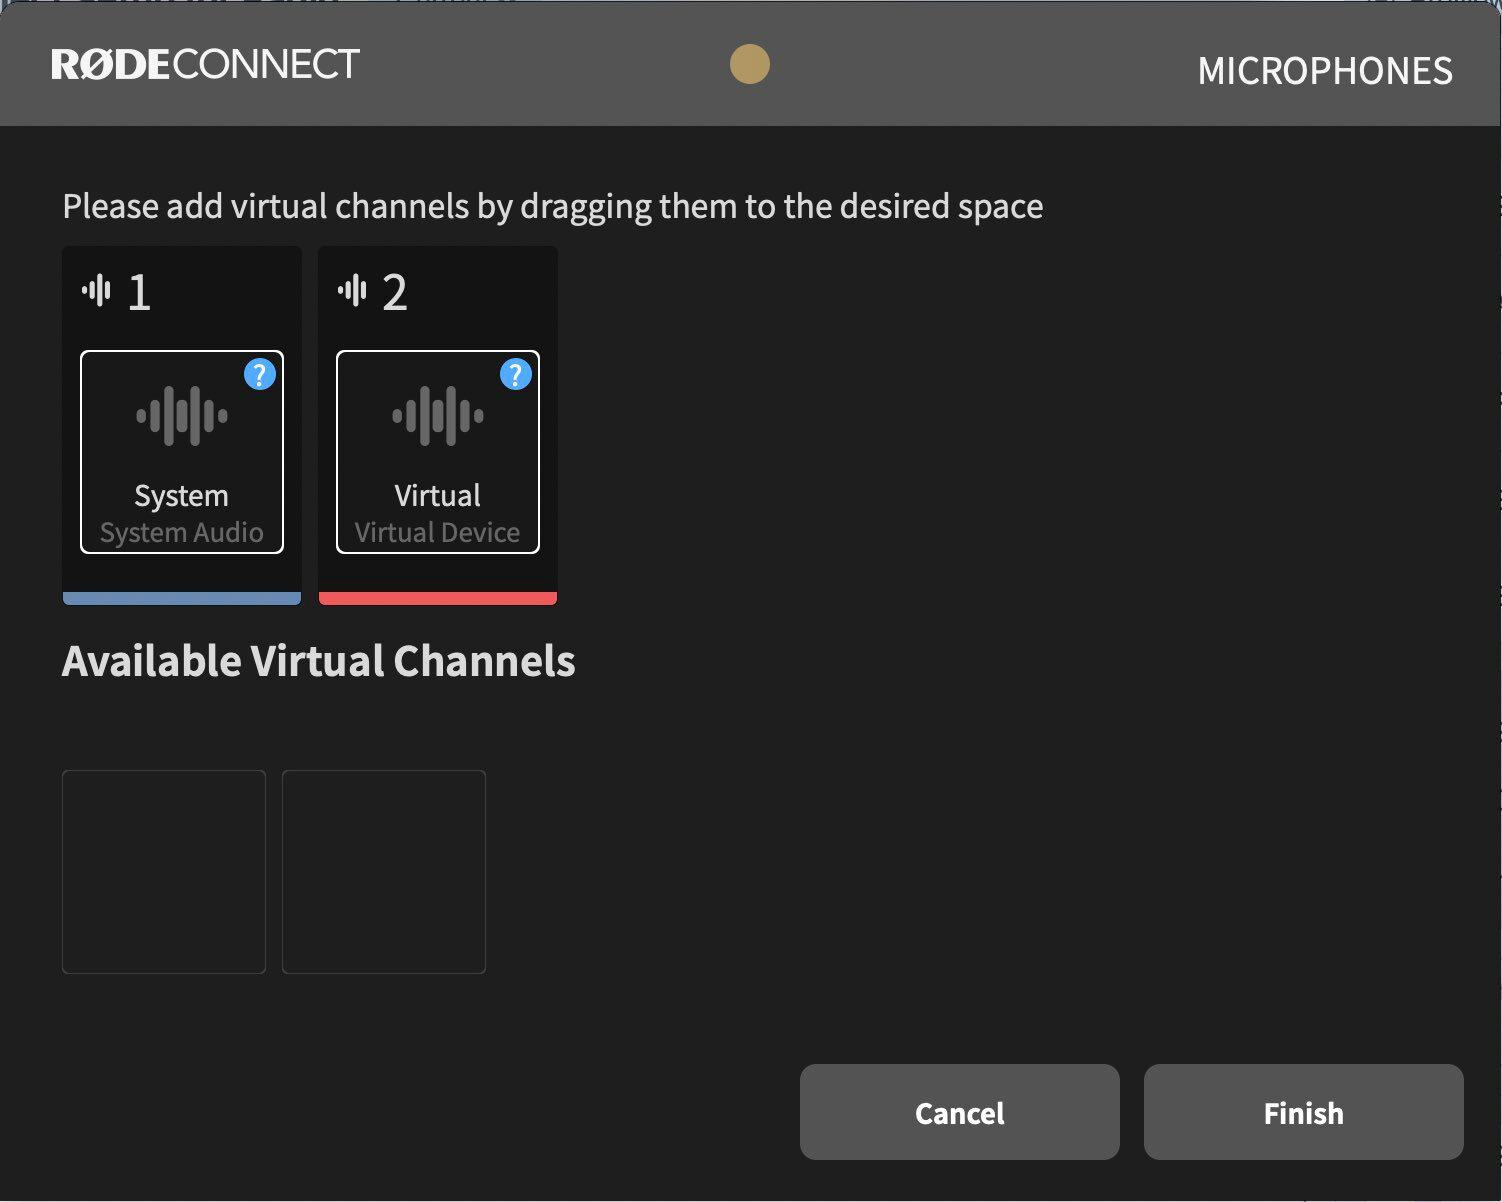
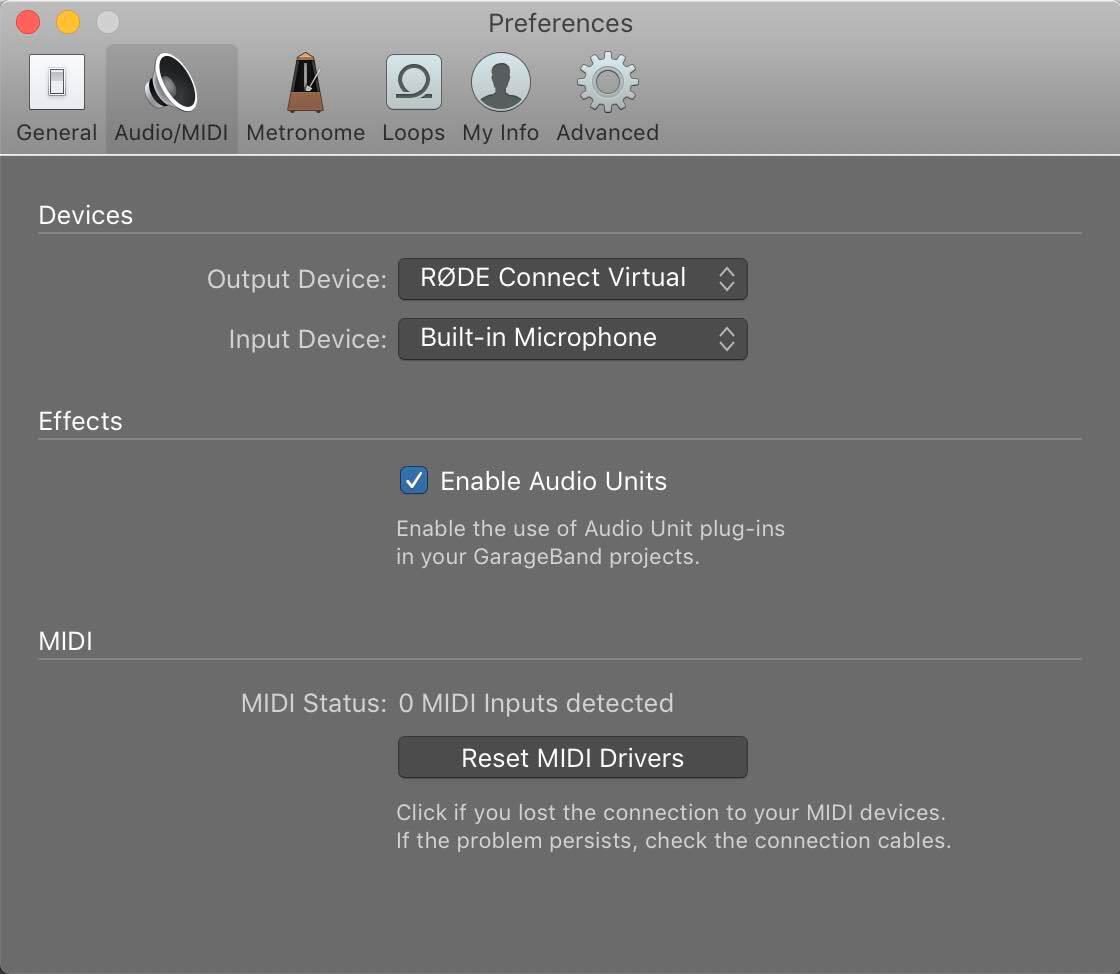
To set up a Virtual Device, go into the application you want to take sound from, go into its audio settings and set the output as Rode Connect Virtual. Now, any audio from that application will play directly through that channel, where you can adjust its levels.
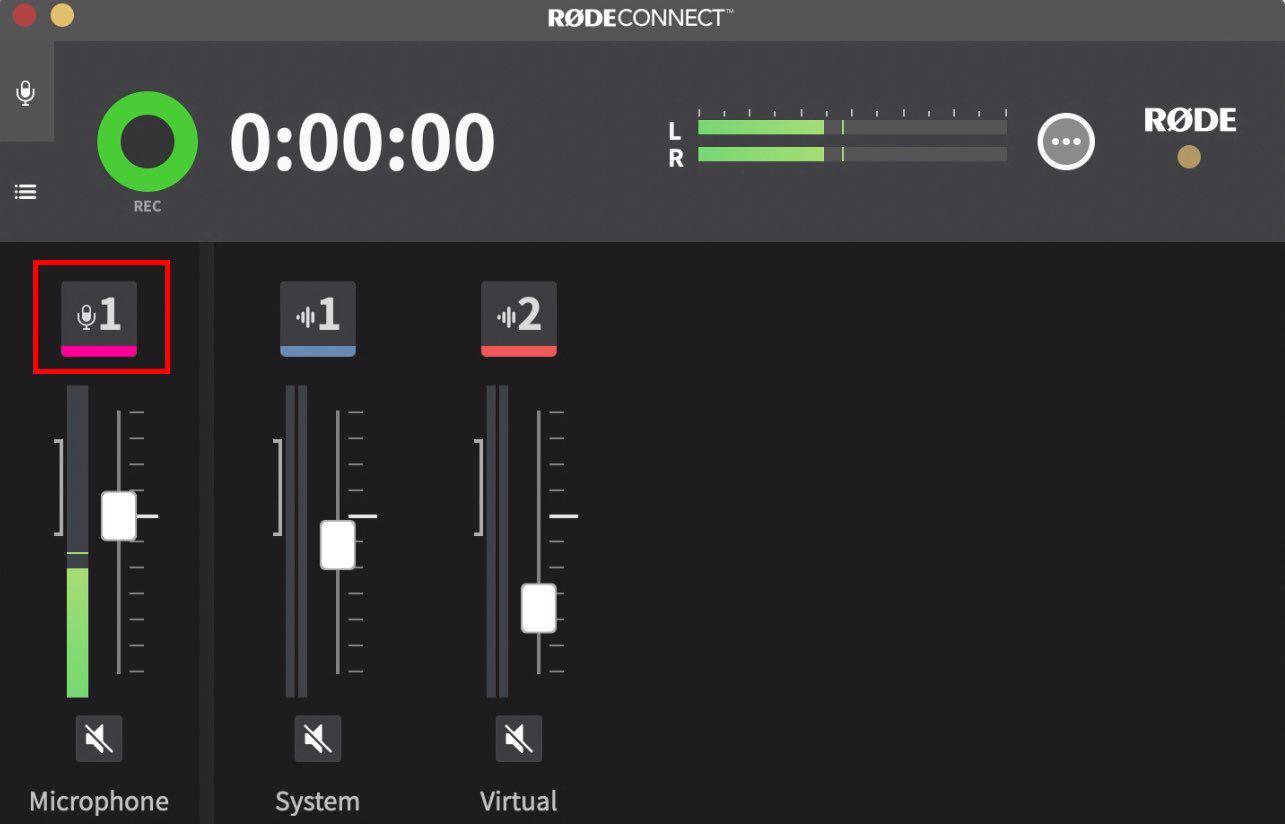
Adjust your levels by sliding the faders to your liking. Access the microphone effects by clicking on the microphone channel symbol.
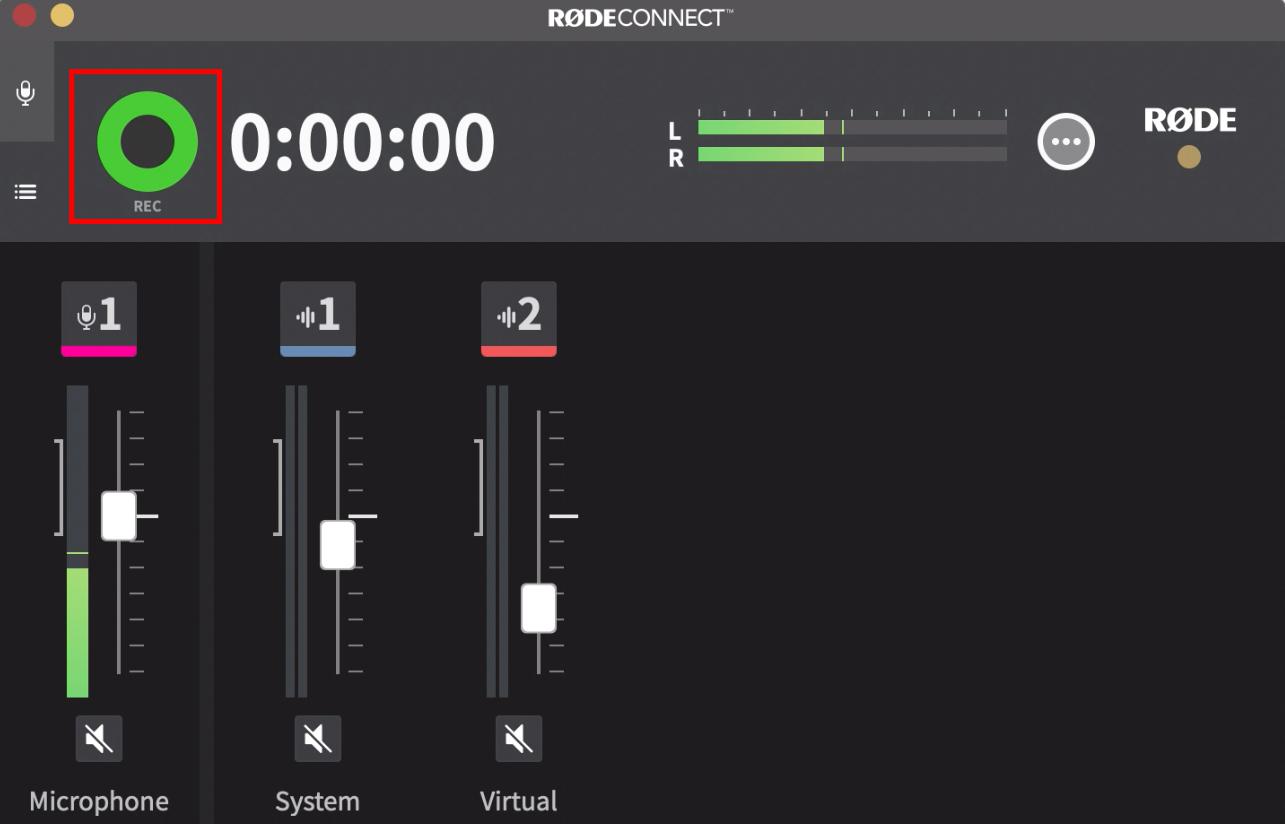
Record by clicking the green Record button at the top of the application. Click it again to stop recording.
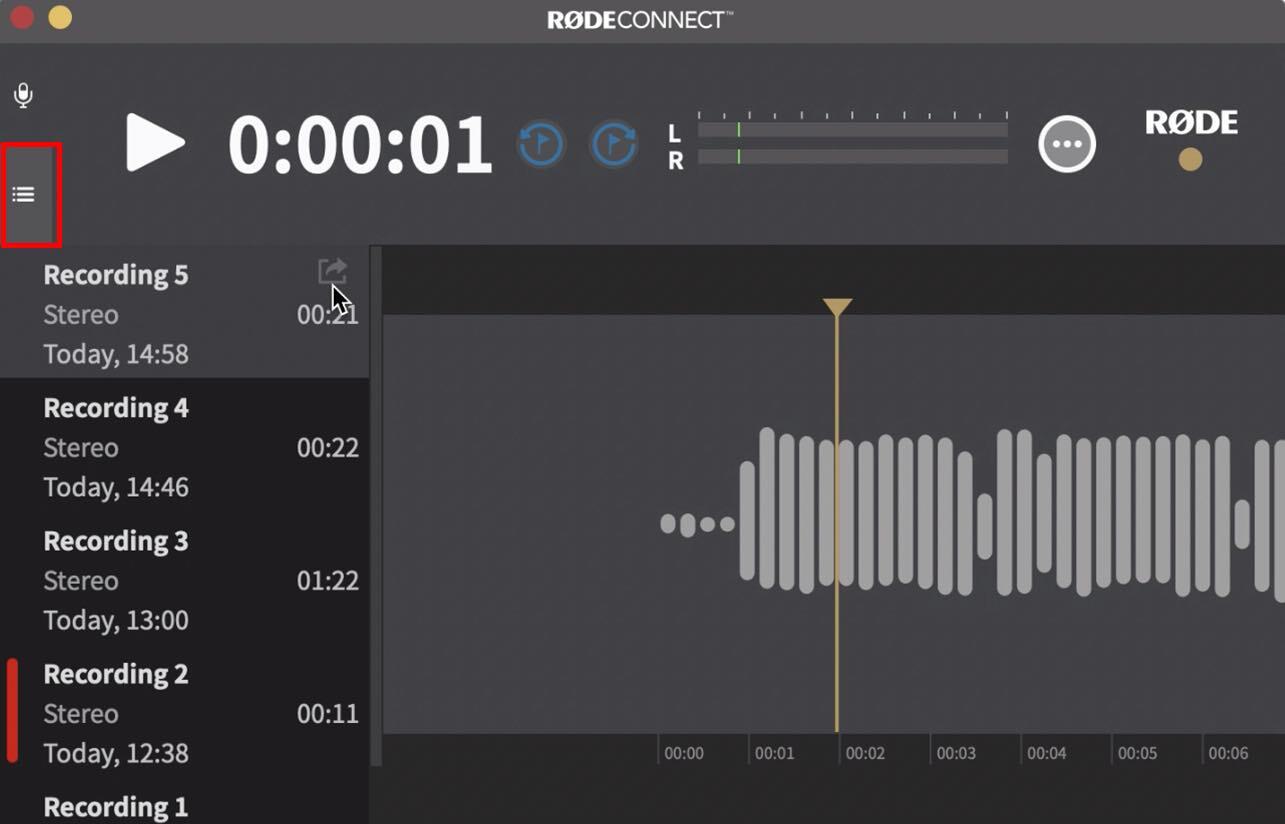
Access your recordings by clicking the Menu symbol on the top left to go to your bank of files, which you can listen back to.
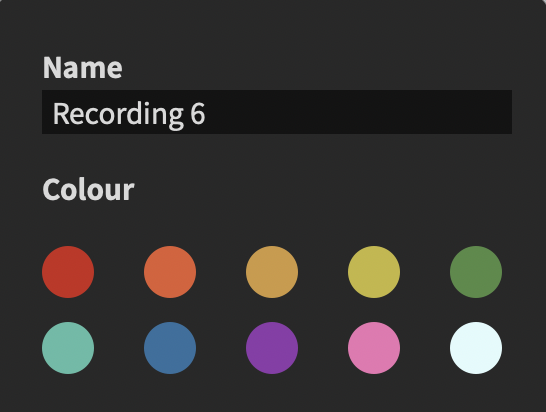
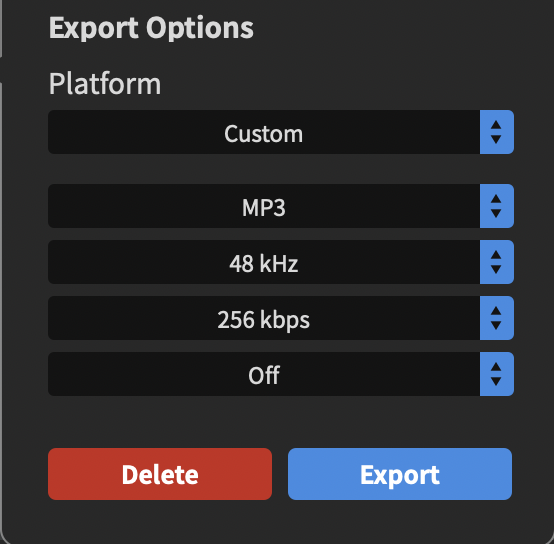
Clicking the arrow on any of your recordings will bring up the settings and export options. Here you can choose a colour for your file and what it will be called.
To export, choose Custom, and MP3 then hit Export. Select where you want your file to be exported to and save it. If you want to add that file to your Radio.co station, head to your Dashboard, go into your media library and drag and drop the files in.
Connect Live
Now you have your Rode Connect setup for radio, you’ll need to use it with an encoder to go live, here we’re using BUTT.
Set up your server in BUTT in the Server Settings. Add your station’s Host, Port and Password.

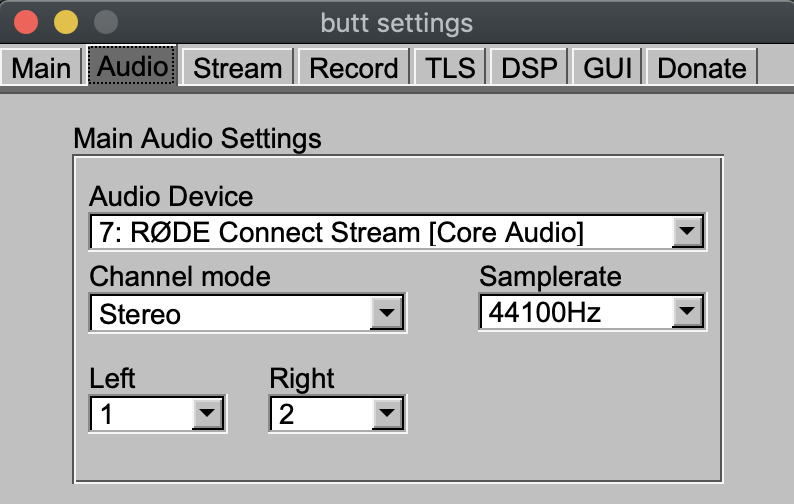
Go into the Audio Settings and for Audio Device, select Rode Connect Stream.
Hit live on BUTT and any audio processed through Rode Connect will broadcast live on your Radio.co station. You don’t have to be recording using the Connect for the audio to broadcast, but you can record them if you want the shows for editing or posting as a podcast.
Rode Connect Setup for Live Radio
Having your Rode Connect setup for radio makes broadcasting easy and intuitive, even if you have no experience.
For everyone looking to get a basic home broadcasting setup and kickstart their radio career, Rode Connect offers great features that you can wrap your head around. It even comes with the promise of expanding its features in the future.
If you’re interested in starting your own station, Radio.co is the perfect platform for you. Try out your free 7-day trial today.


