Need advice? Let's talk.
Get straightforward guidance from your broadcasting partner. Schedule a call to chat with the team about your radio station.
Book DemoHow to Get a Radio Voice
Ever wanted to sound great on the radio? How do DJ's sound professional? If you're looking to get that great radio voice then here's exactly what you need.
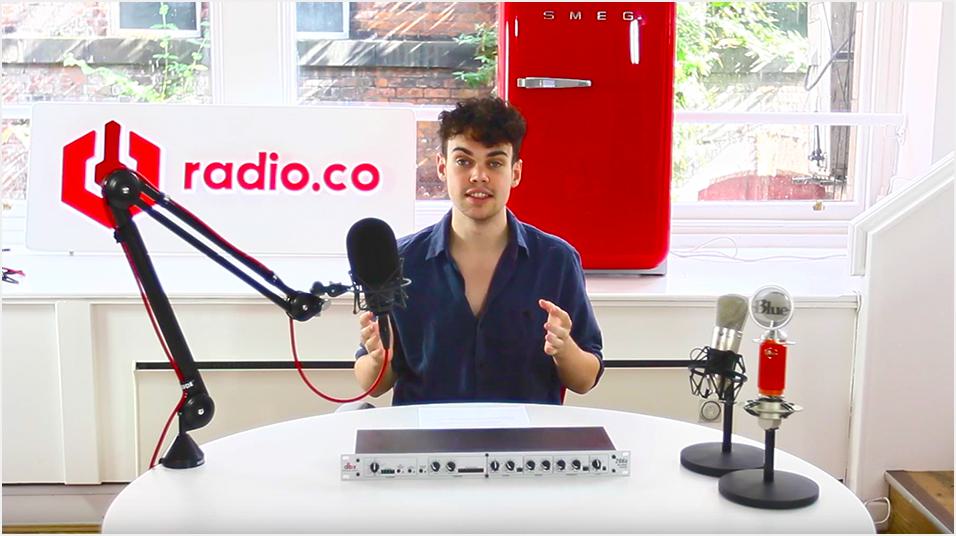
Have you ever wanted to sound amazing on air? How do DJ's sound so professional? Well, we've put together a simple 3 step guide to help you achieve that great radio voice.
Great Radio Voice: The 3 Pillars
To teach you on how to get that great radio voice we've broken it down into 3 steps. Below is a quick summary of what you'll learn further on.
1. Get to Know Your Voice
The most important thing of all is GET TO KNOW YOUR VOICE! We can't stress enough for newcomers to the broadcasting industry, something we'll go into a little but more details in later on.
2. Get to Know Your Microphone (& Use a Good One)
At Radio.co, we come across stations that use poor quality microphones, usually they're PC headsets you can find almost anywhere. They're great for talking to people on Skype, but they're not really designed for great radio broadcasting tools. We'll cover which types of microphones to pick up (plus they're relatively inexpensive these days).
3. Use *Some* Audio Processing
Audio processing is a great way to give your voice a little bit more punch and added presence. We'll show you a box of tricks you can go out and buy - Perfect for home studio and not too expensive. Every single commercial radio station uses audio processing to enhance the presenter's vocal presence.
1. Your Voice
You Can't Change Your Voice
No matter what anyone says, you can't change your voice! If you try and purposefully sound too different then it's going to back fire on you. You can end up sounding kind of weird and off putting as listeners are going to know there's something not quite right sounding too "radio DJ-y" like you're from a 1980's station.
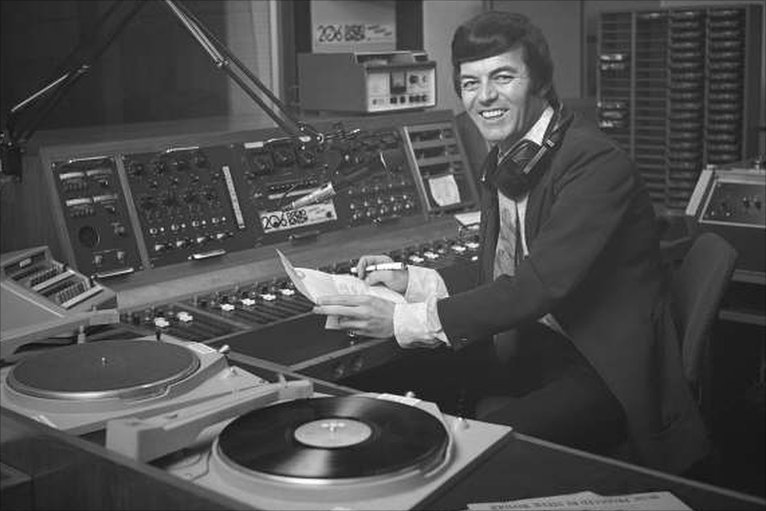
Things have moved on since then, there's no set way or expected sound of a disc jockey. Everyone's different and that's a good thing. People want variety and not hearing the old cheesy radio disc jock style from the 1980's anymore. Anyone stuck in that past trying to still sound like that then they aren't going to get far these days.
It's important to be yourself and learn about your voice.
Speak Conversationally & Don't Rush
This is a big thing and we're all guilty of doing this from time to time. You have to just sometimes remember to breathe and take things at a steady pace. If you try and rush through things too much then people get put on edge and it doesn't sound natural.
When you're having a conversation with someone, let's say you're sat with a friend in your kitchen, you're not rushing through things when you're talking to them, so why do it on air?

If you try and get too much out in one sentence it just ends up all jumbled up and doesn't really make any sense to the listener. Having said that, if you speak too slowly, you can end up just sounding a bit boring. Sometimes in radio you hear broadcasters talk at a snail's pace, especially late night shows.
You want to be picking up a nice natural pace that sounds conversational, works well with your voice, and it's going to be appealing to the listener.
Be Clear
Remember to dot your I's and cross your T's! There's no room for slang on the radio (maybe if you're on some kind of urban station), but you don't want to make the mistake that the BBC did in the 1950's by sounding too formal.
These days it's about sounding friendly and approachable, as if you're listener was right there in front of you. Also, remember to refer to them in the first person rather then referring to all of your listeners, like "Well thanks for listening, I hope your day is going well".
This kind of stuff really resonates with people who are tuned in on the other end.
Practice & Hone Your Craft
It's so important that you practice, practice, practice! The age old saying really rings true: Practice makes perfect.
The more you go on air or record demos, the more you practice then the better you'll become at public speaking or talking on the radio. Another option you might want to consider is voice coaching. It's a really good option if you can afford it and want to go down that route then there are lots of people out there who offer voice coaching.
They'll sit down with you on a one-on-one consultancy basis and really just help develop your sound, pick and natural pace, and hone what you're saying. It's a critical and well trained ear.
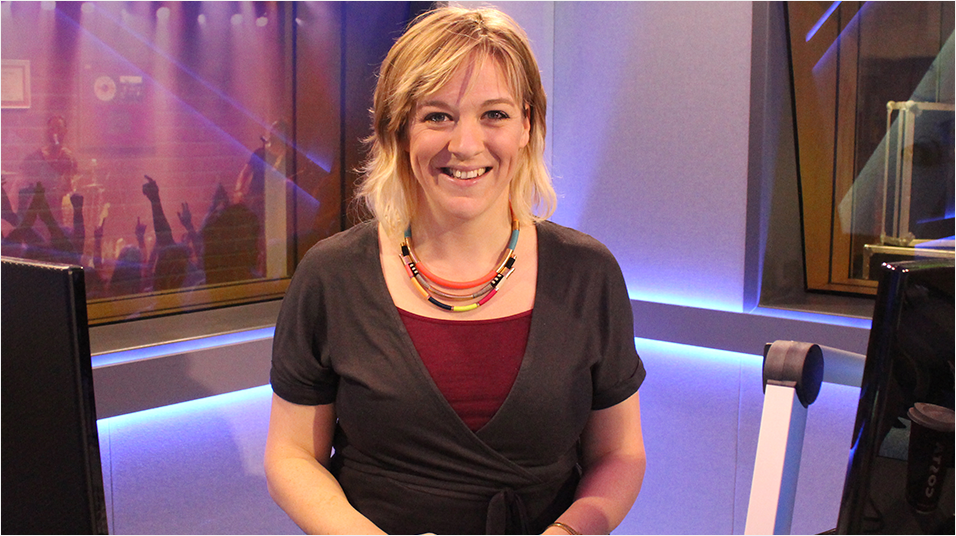
Part of being a good radio presenter is not so much worrying about what you sound like on air, if you're voice is radio friendly, or if it's "boomy" enough, it's really about how to connect with your audience and thinking about what they want to hear.
Here at Radio.co we've worked with one of the best talent coaches around called Kate Cocker. She's been involved in the radio industry for 15+ years and has worked with all sorts of radio presenters. She's really passionate about coaching and helping presenters become the best they can on air.
Kate's put together a fantastic course on everything you need to know on how to become the best radio presenter you can be, with a few insider industry secrets you shouldn't miss. Grab your copy of the How to be a Better Radio Presenter here.
2. Your Microphone
Microphones: What to Choose?
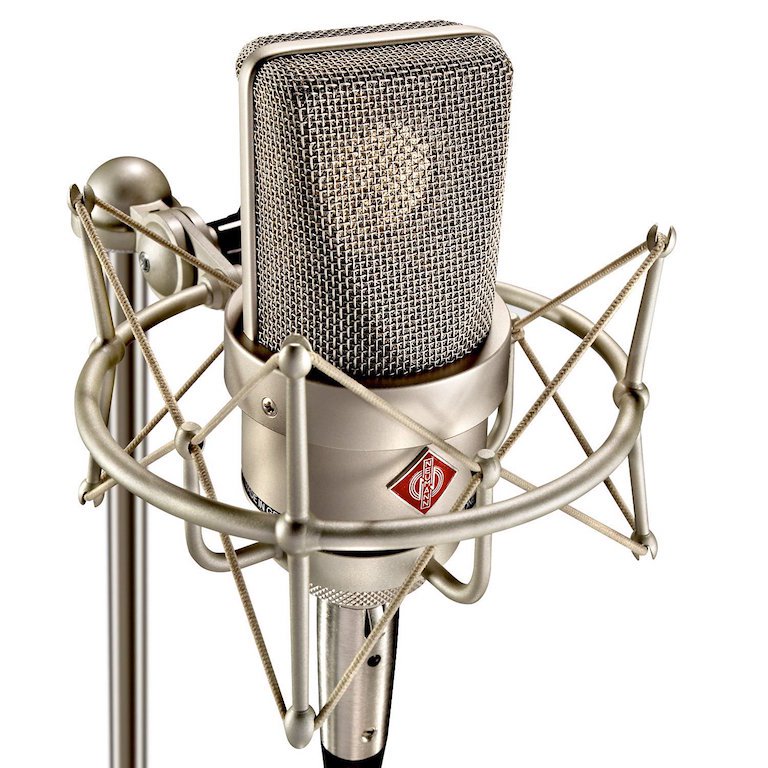
In our experience at Radio.co, studio condenser microphones are the best option. They often depict your voice in a brilliant way and almost every radio station uses them. They are actually quite sensitive, but we find that they add real character to your output.
The Neumann TLM 103, which is industry standard across the UK, typically retails for about $1100 / £850. You can purchase it either in the US or the UK.
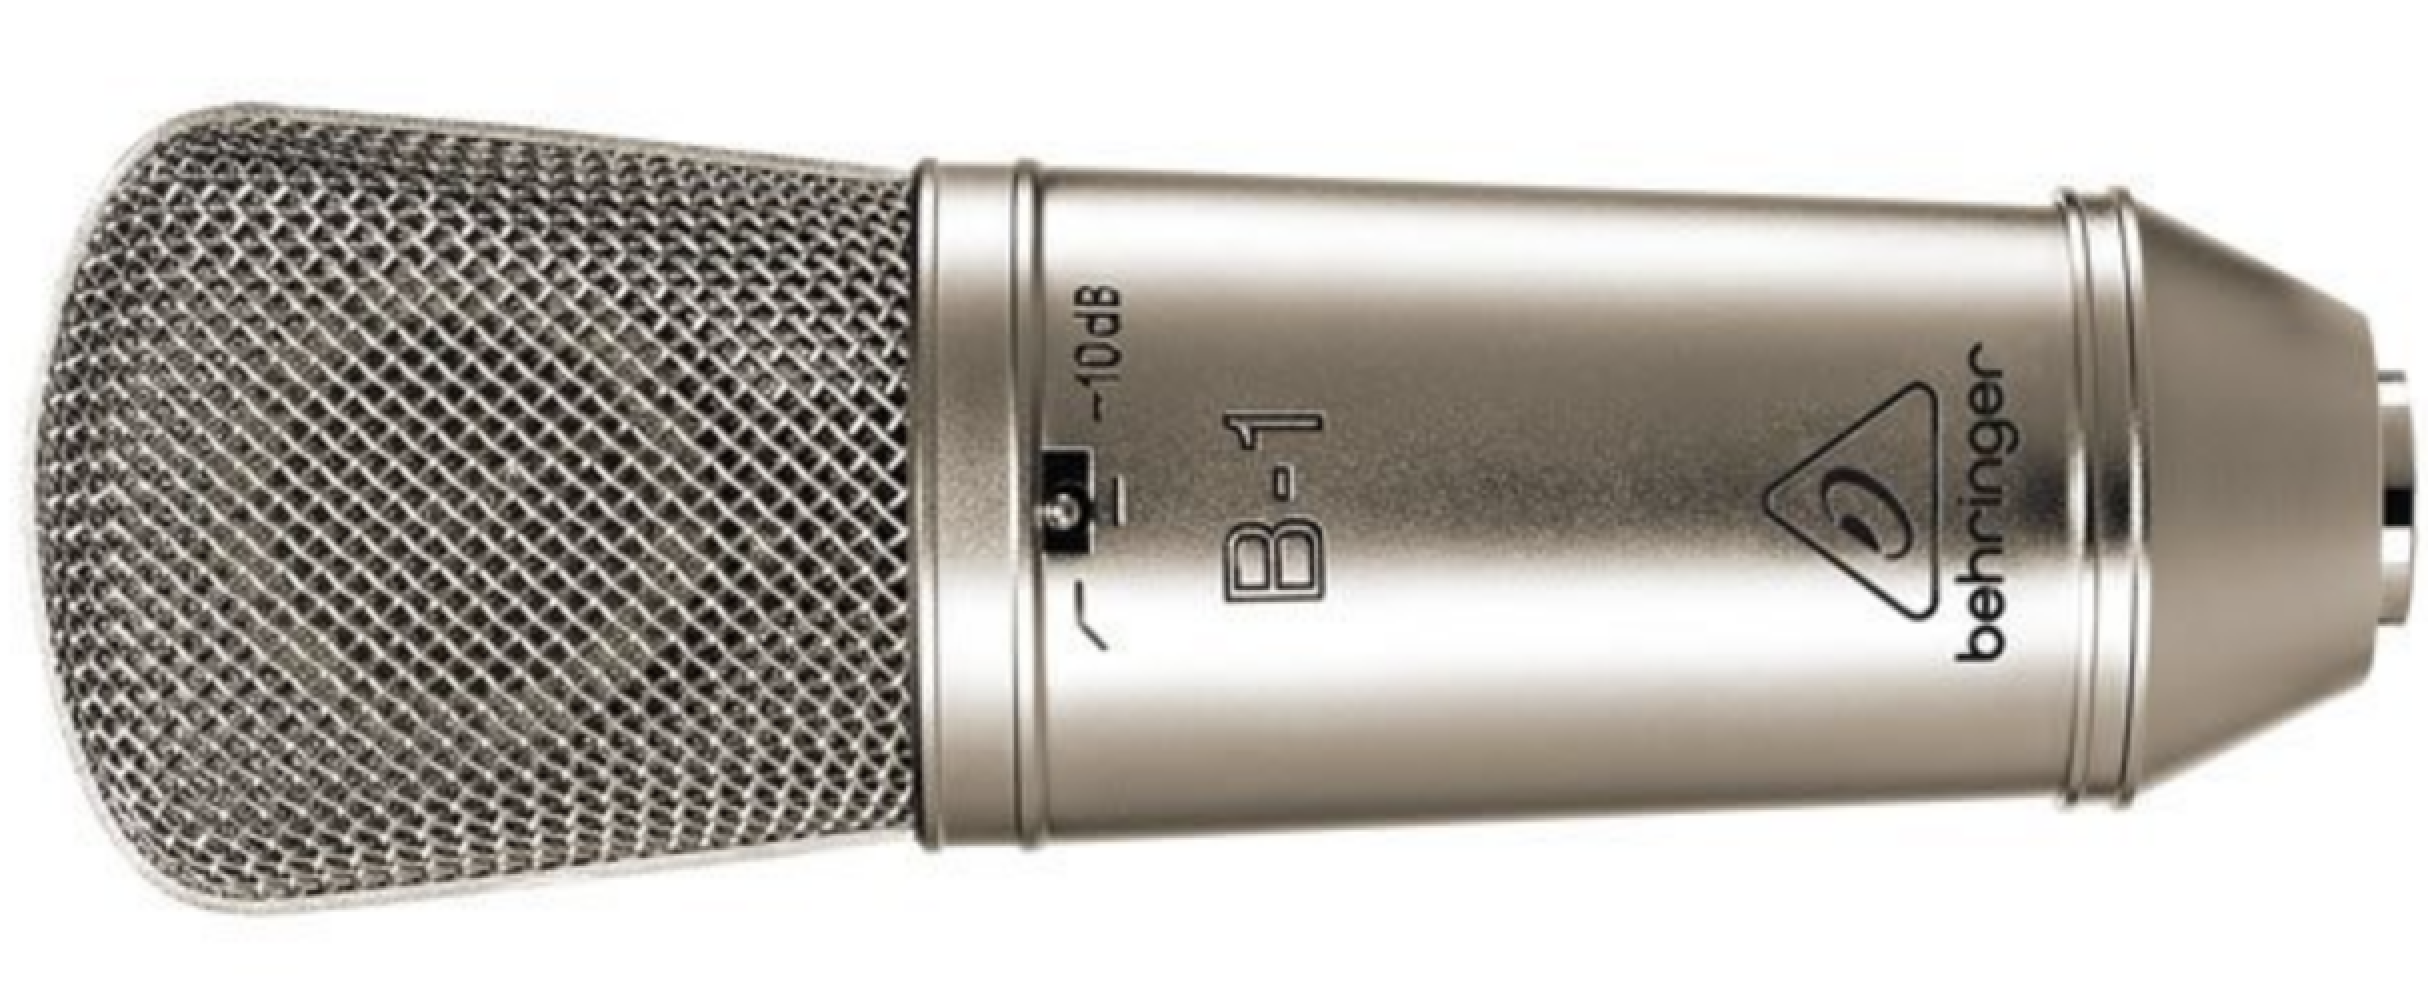
There are also cheaper alternatives available like the Behringer B-1 for $99 / £74. You can purchase it either in the UK or the US.
Also, there's the Blue Spark ($200 / £150). You can purchase it either in the UK or in the US.
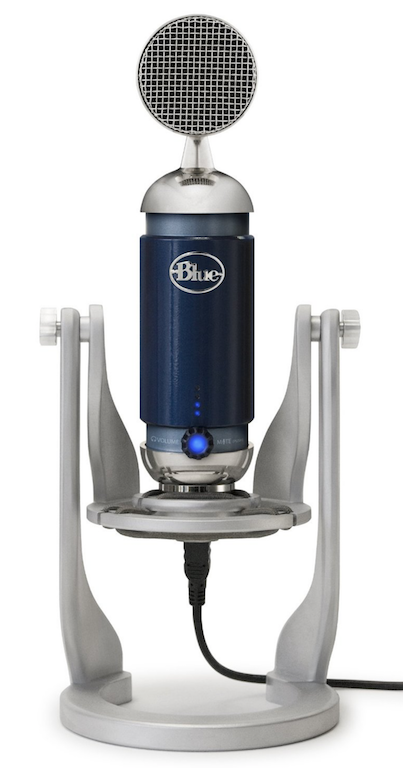
Both are well priced and provide good low cost condensing options.
Microphone Placement
There are some typical rookie mistakes which people do when talking into the microphone. One of the main ones is speaking far too loudly into the mic; it's just unnecessary as a good mics will have good condensing mics will be able to pick up audio quite easily at a normal level.
Other rookie errors include speaking far too closely or too far away. A good rule of thumb is talking about a hand span away.

3. Audio Processing
Most commercial radio stations will use compression or audio processing to their output to add loudness and quality to their streams. This is a really good way to add presence to your voice.
You can buy a specific microphone processor like the DBX 286S ($190 / £135) which is a great budget option and adds a real loudness to your voice.


At Radio.co we've been using it a lot over the past couple of years. We're very happy with the results, so we're going to cover a bit about it and some of it's features.
Why Use a Microphone Processor?
Well it gives your voice more punch and clarity. It can add warmth to your voice and it can generally make your voice sound more present on the radio which is a really important thing when you're competing against other radio stations.
Furthermore, it can also help reduce things like background noise and sibilants. When I say that it's the "S" at the end of sentences. You can use it to generally enhance your voice and give you more punch on air.
Getting Setup
We will run through the options and talk a bit about how to set them.
Mic Preamp Gain
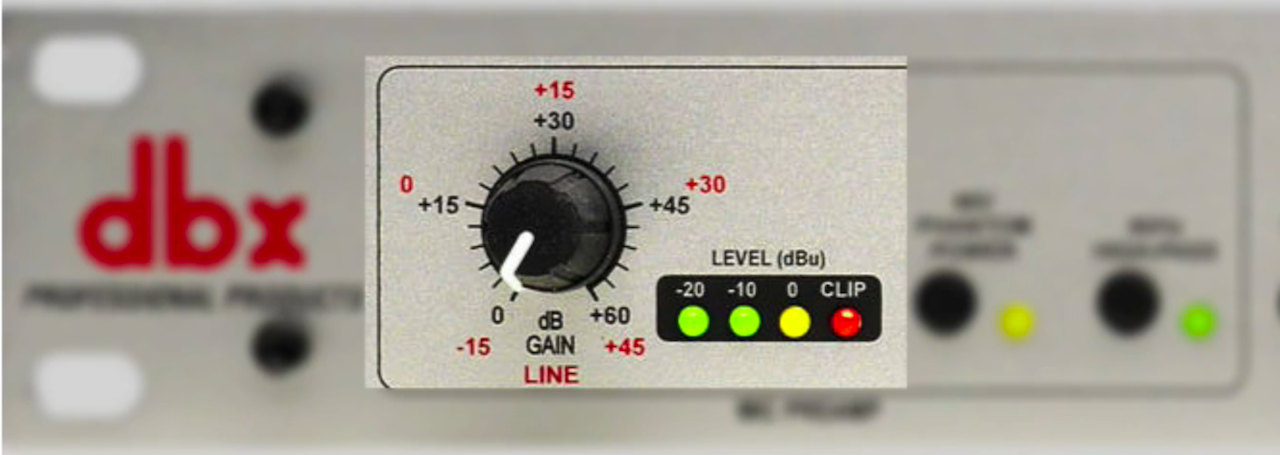
This is basically the overall volume or amplification of your microphone. It should be set to a level where when you're speaking you're not going into the clipping (the red light), but the two green lights should be on most of the time.
If they aren't then it's too low and if you're hitting the red light you definitely don't want to be doing that as it's a signal that your setting it too high.
Phantom Power
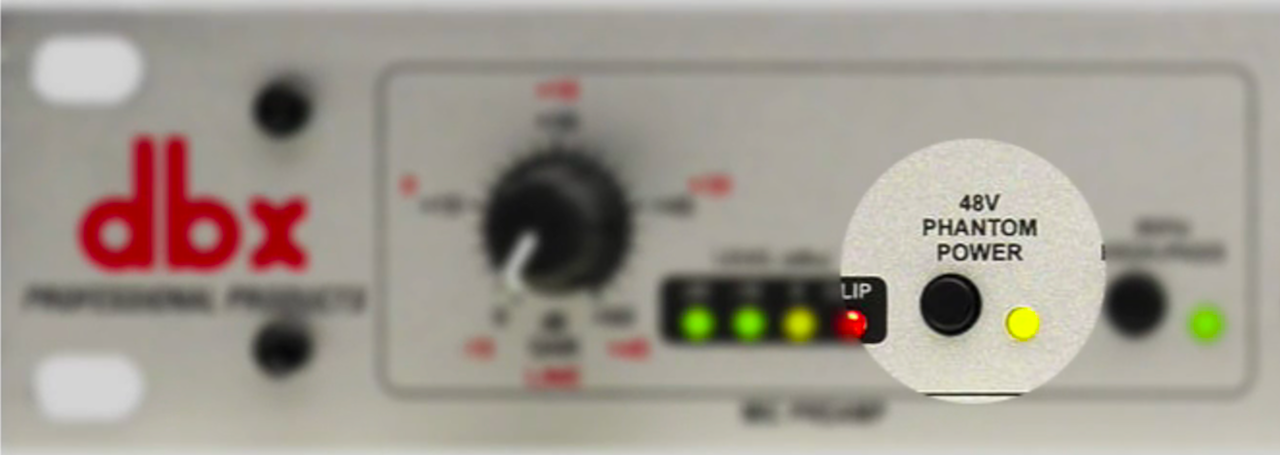
The 48v phantom power switch should be enabled for most condenser microphones including all of the ones we recommend for Radio.co customers such as the Behringer B-1, the Blue Spark, and also the Neumann TLM 103 which we use here in the studio at Radio.co
High-Pass
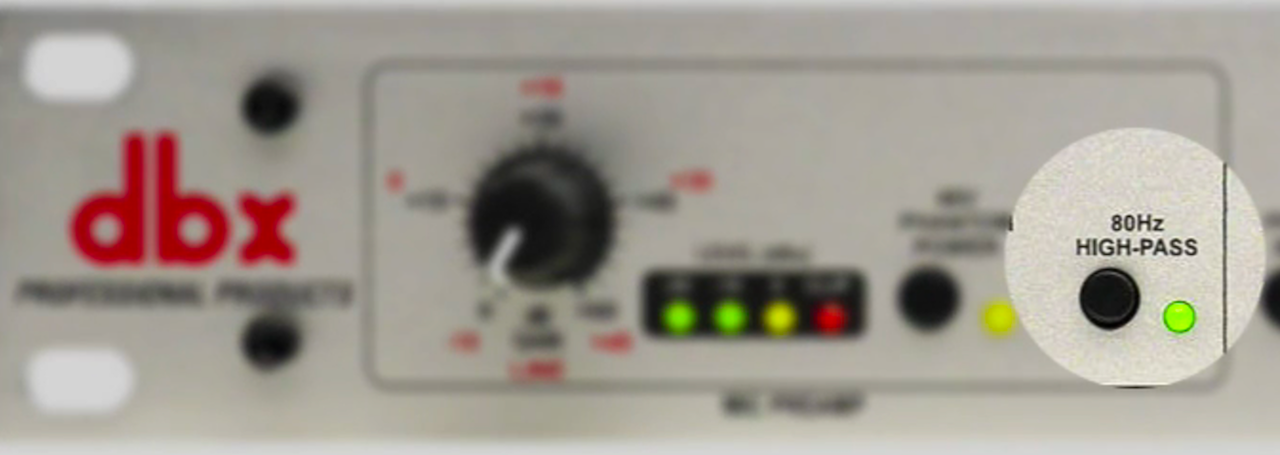
Now the 80Hz cut out switch can help in some circumstances to reduce some background noise, particularly low hums, rumbles, or perhaps wind. The thing is if you enable this setting it will also reduce the dynamic range of your voice, so we can tend to leave that off most of the time. There are circumstances in which you might want to use it.
Process Bypass
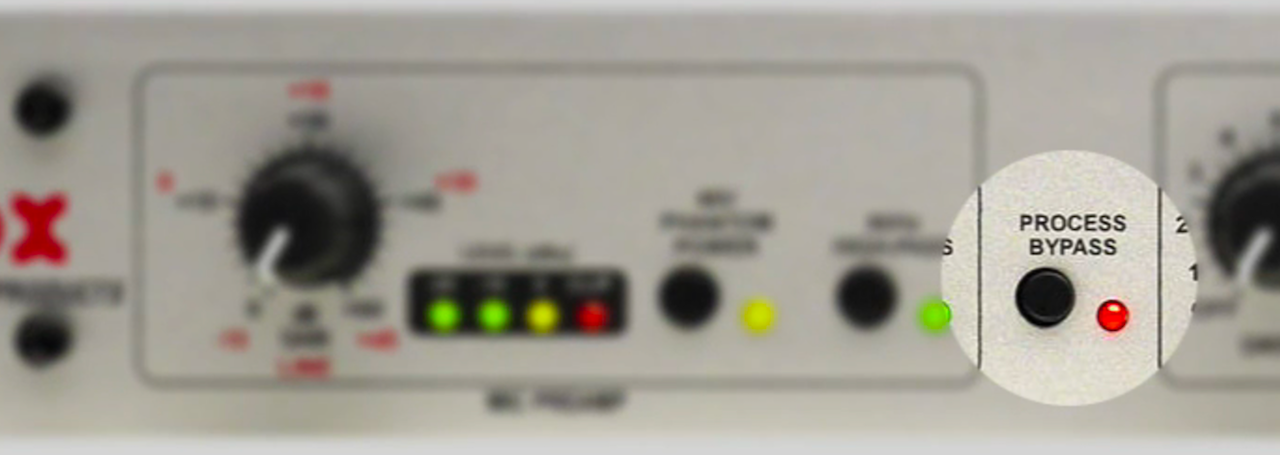
Next up is the process bypass switch which will actually disable any other settings that we're going to cover after this.
You probably want to leave this disabled most of the time, but it can be really interesting to see what it sounds like without the processing and with the processing.
Compressor
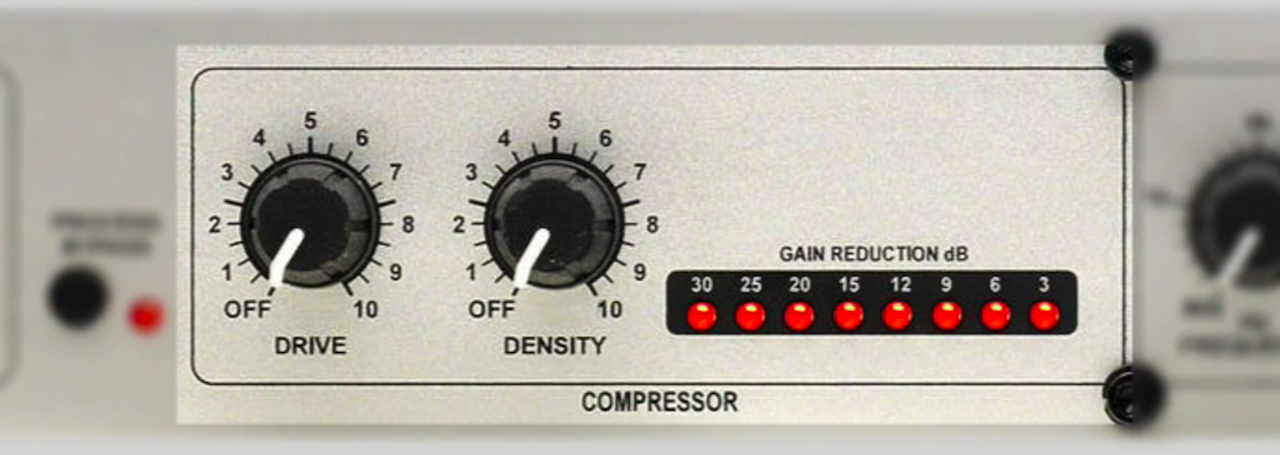
Let's move on to more exciting settings that will make a real difference to your voice, firstly the compressor. This basically adds more punch and pizzazz to what you're saying. It kind of crunches down or compresses your voice so it's all at one level.
Now don't go crazy here because you'll end up sounding a bit weird. We recommend setting to Drive to around 3 and Density around 3 as well. You can tweak these settings to develop a sound that's really good for your station and your style of voice.
De-Esser
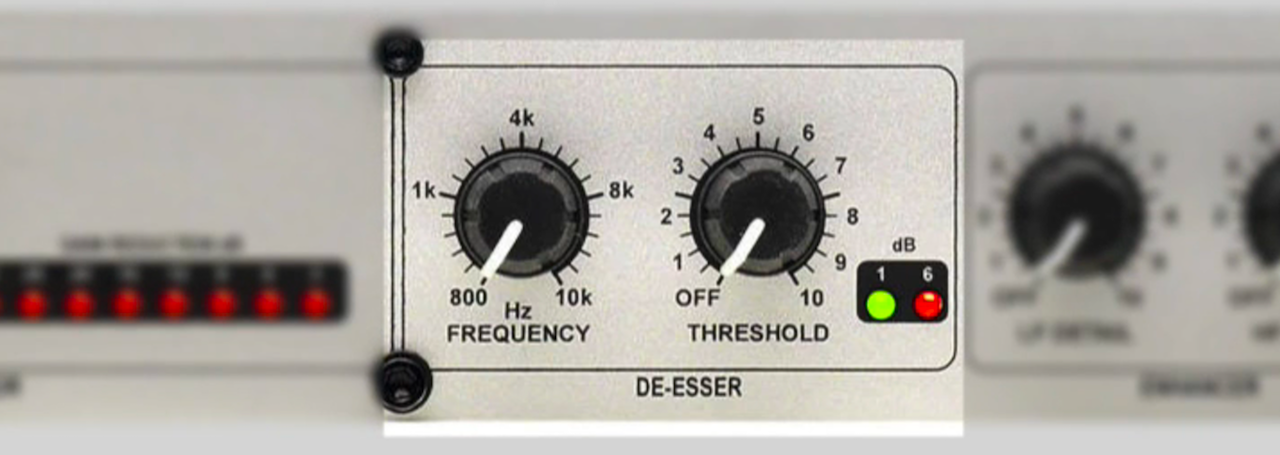
The de-esser helps to remove S's from speech, it's known as sibilance. We normally set the Frequency to around 4k and the Threshold between 1 and 2, but it really depends on your voice.
Quite often the best way to set this is to sit there and say "S-ssssss", then adjust it until you're happy with the result and it works with your voice.
Enhancer
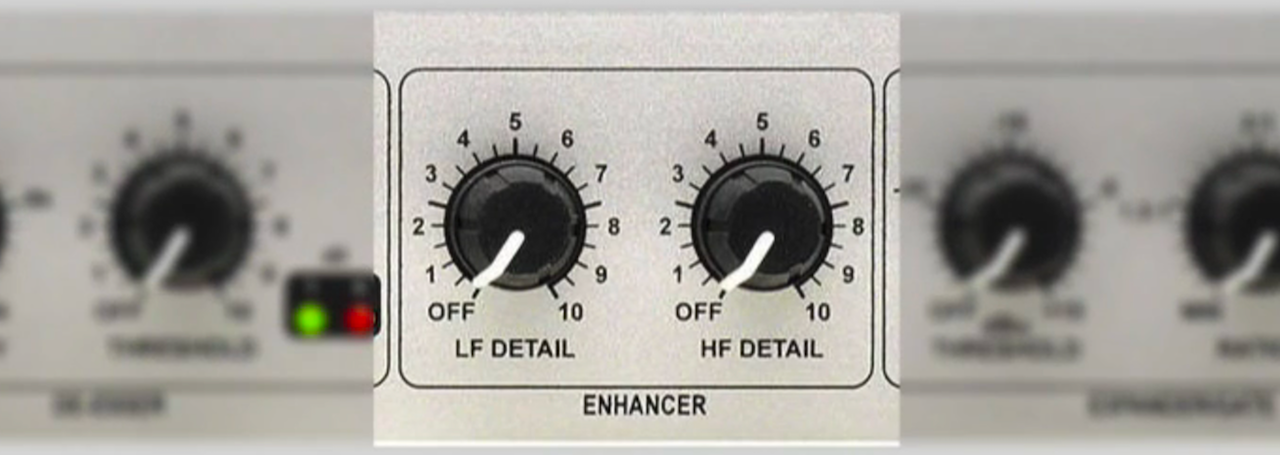
The enhancer is really the best part of the box. It's what gives you that radio sound that people are always looking for.
What it does is it can enhance the highs and the lows of your voice. It takes the sounds that are already come out of your mouth and just kind and adds a bit more "oomph" to them.
It's important to know you don't need to go too crazy with these settings, if you do you run the risk of sounding a bit strange. We try to stick between 2 and 3 on both the LF Detail and HF Detail.
A little really does go a along way, so don't go crazy with these settings, if you've got a low voice then you probably don't need to add anymore bass. If you've got a very high voice then you don't need to add much more highs. Find settings that really work for you and your voice.
Expander & Gate
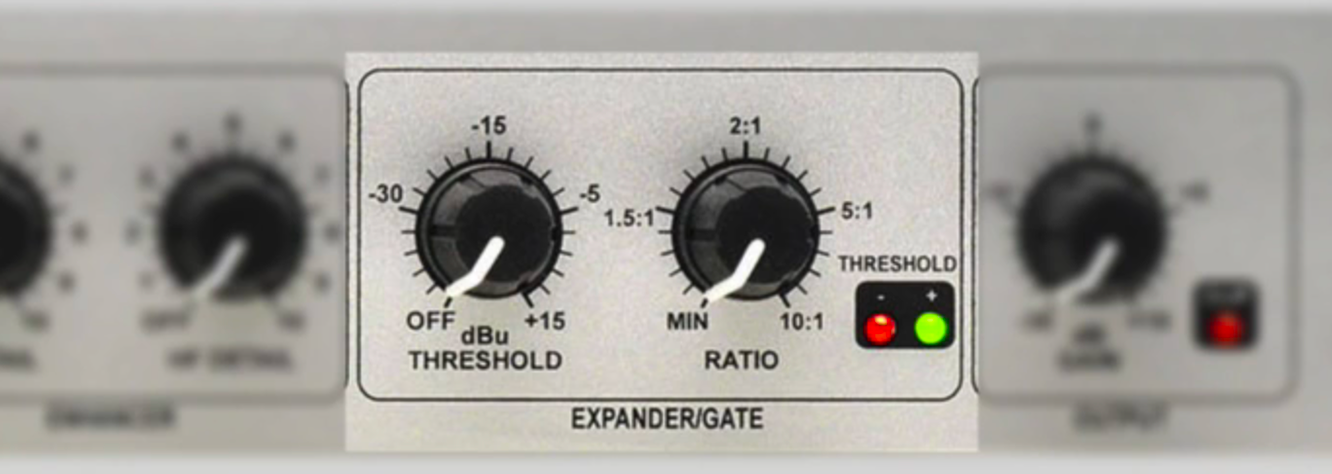
The expander and gate will basically act like a switch. If you're not talking directly into the mic it will disable it, so this is great to cut down on background noise. We suggest setting the Ratio to 151.
Start the Threshold at 0 in perfect silence with your headphones on and you'll hear background noise. You'll notice then as you turn the knob up the background noise will eventually cut away.
These are the right settings for the expander and gate.
Output
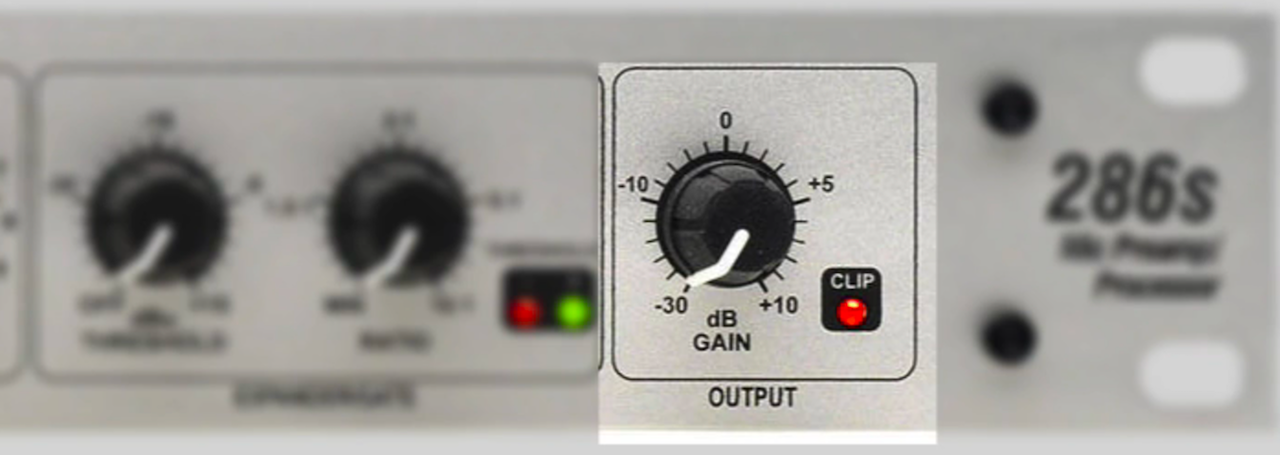
Finally the Output should be set to 0. You can adjust this if needed to suit the equipment you're using like a mixing desk or a USB soundcard such as the Scarlett 2i2.
You just need to make sure the equipment isn't going into the red section on the metre. You need to keep your eyes on those metres at all times. Whatever device or whatever part of the system, make sure you're not going into red because that will ultimately cause clipping and problems for your listeners.
If you are yet to start your internet radio station then make sure you check out Radio.co. Begin your 7 day free trial today by clicking the button below.


