Need advice? Let's talk.
Get straightforward guidance from your broadcasting partner. Schedule a call to chat with the team about your radio station.
Book DemoHow to Create a Blog for Your Radio Station
Blogs are a powerful way to generate traffic and get those all important listeners in, so here's how to create a blog for your radio station.
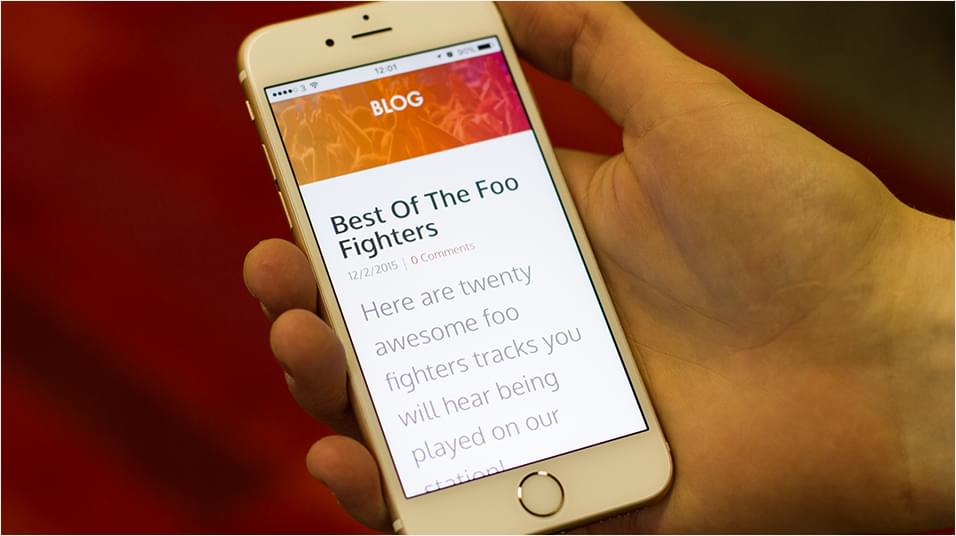
Continuing from How to Embed a Radio Station on Your Website, we guide you through the next steps on how to create a blog for your radio station.
Create a Blog for Your Radio Station
Add a New Page
When you've logged into your Radio Station Website Builder, you should go ahead and select Pages, then click the + button to add a new page, and finally select Blog.
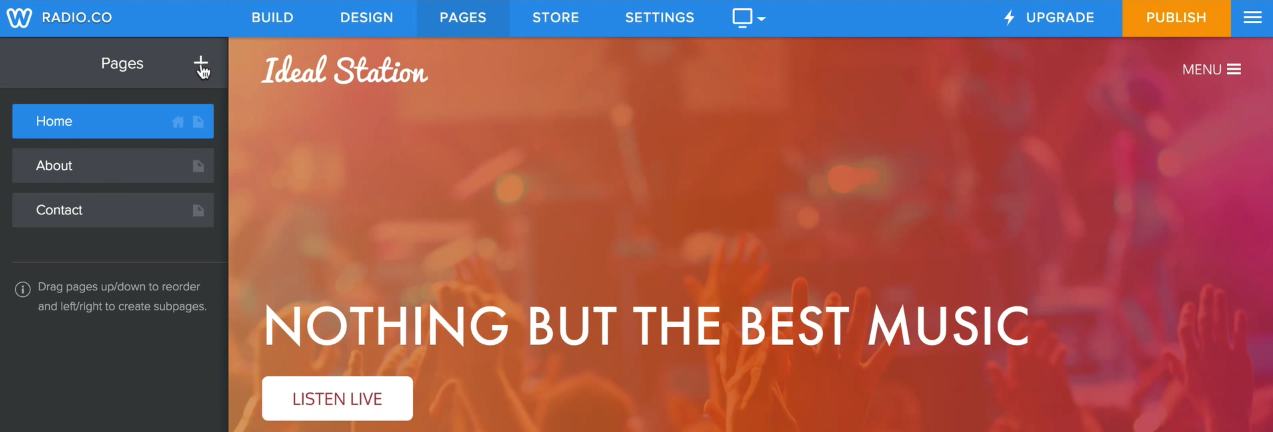
Now head back to Build to begin customising your blog.
Embed a Play Button
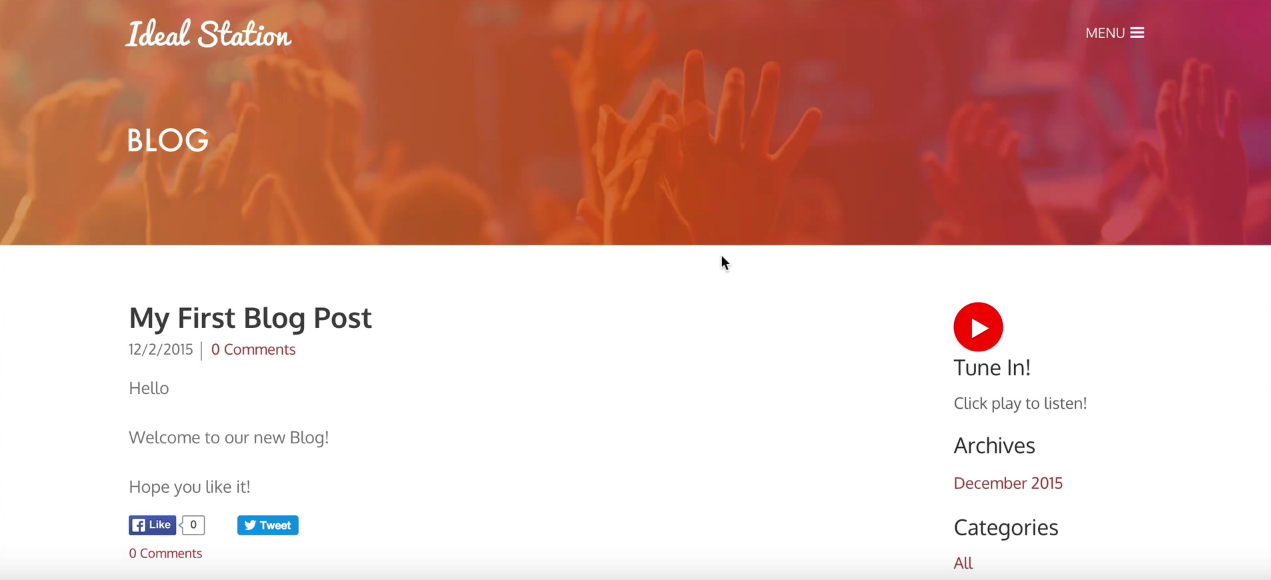
One thing that you should always have on your blog is a way for visitors to easily tune into your radio station - Using Radio.co's embeddable players, you can simply drag and drop a player directly onto your blog.
Start off by grabbing the embed code widget in the side bar and dropping it into a place where listeners can easily access the button.

Now you simply need to add your player's code within the widget - If you haven't already, grab your player's HTML code from your Radio.co dashboard.
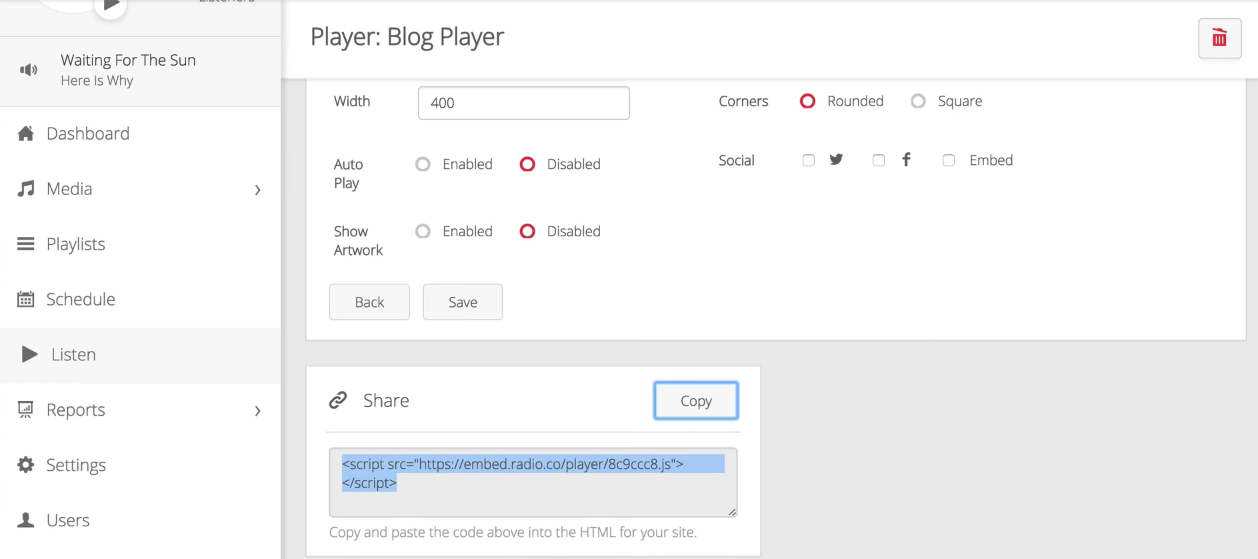
Finally back in your website builder, click Edit Custom HTML on your widget and drop in your player's code, you should have a nice little player for all to access your radio station - Keep in mind that having a play button might not be enough to get people to tune in, so add or edit text on screen to create a prompt for your visitors.

Build Your First Blog Post
The core of your blog should revolve around brilliantly crafted content, and with Radio.co's website builder you can easily add blog posts with just a few clicks! Get started by selecting New Post.
Edit your post's title so visitors know what your content's about, then drag the Text block from the sidebar onto your post to create a space where you can add some content.
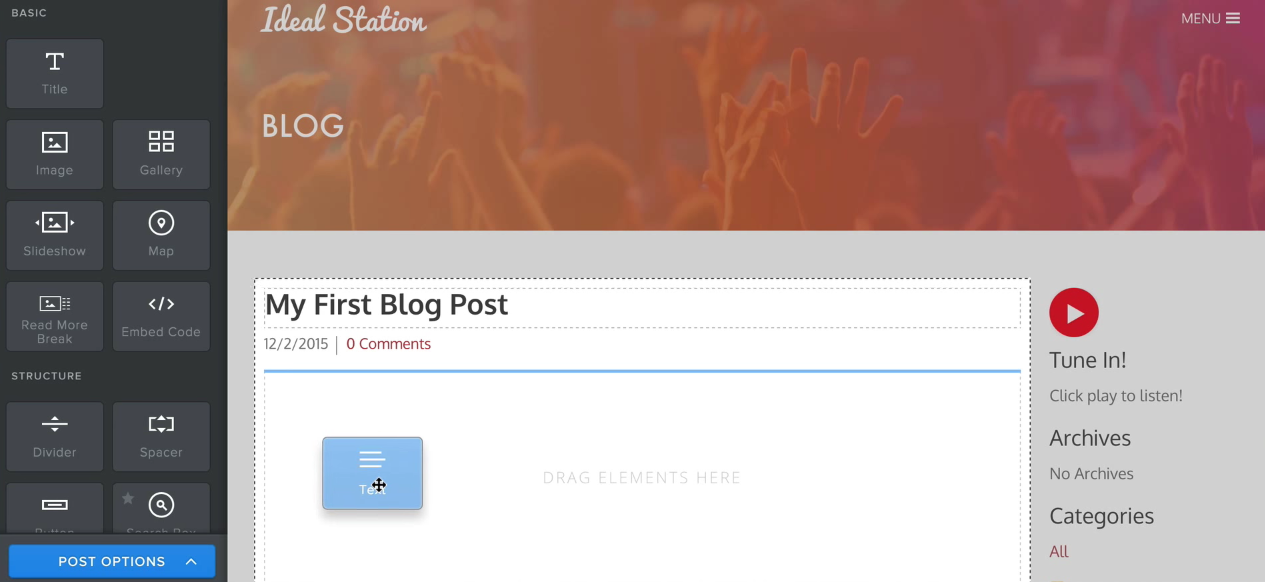
You can add more blocks to your post to include features like an image gallery or a slideshow to show off things like an event you attended or new radio equipment.
Once you're happy with everything select Post to set it live.
Publish Your Website
Finally in Build mode select Publish to get it online so everyone can see the changes you've made to your website – You will be presented with your site’s chosen URL which you can follow to see it in action!
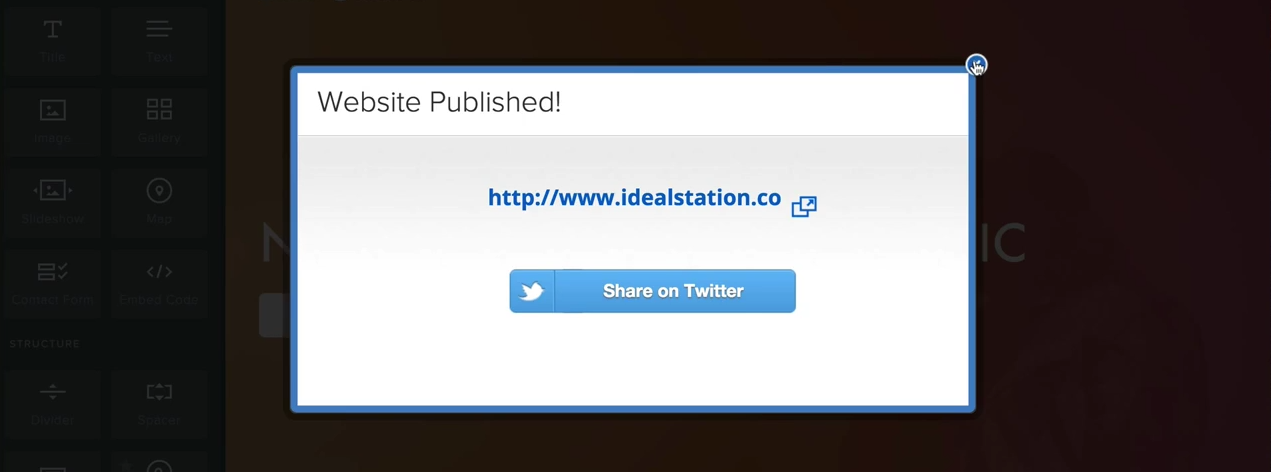
That's all there is to it! Radio.co's website builder is super easy to use and allows you to simply create spectacular blogs like www.idealstation.co/blog.
Build Your Own Radio Station Blog
If you haven't launched a website yet then don't worry as at Radio.co we've got you covered! We help you through the steps to get started to build your very own website and blog.
Launch your website for $12 either by going to your Radio.co Dashboard -> Settings -> Billing, then add Web Builder.
Alternatively grab web builder as an add on when you've selected a radio station plan that suits you.


