Need advice? Let's talk.
Get straightforward guidance from your broadcasting partner. Schedule a call to chat with the team about your radio station.
Book Demo4 Differences Between Live Radio and Podcasting
Would your idea work better as a radio station or podcast? Get to know the 4 major differences between live radio and podcasting so you can create first-class content and choose the best medium that works for you.


Every day more podcasts are springing up online. And with podcasts growing increasingly popular, forward-thinking broadcasters are converting their best content to bring to a whole new audience. But if you're new to the audio space, you might be wondering the differences between live radio and podcasting.
From short-lived ephemeral shows to longer-lasting evergreen content, get to know the key differences between radio and podcasts.
#1. Schedule vs On-Demand
The first major difference between live radio and podcasting is scheduling and listening habits differ. With live radio, you have a set schedule and you have to stick to that. Essentially, you have to work around a clock-based schedule like this:
If your audience tunes in halfway through a show, there is an entire other half of the show that they have missed. This is why, as a live radio presenter, you will often have to re-introduce yourself, the show, the station and the topic of conversation.
With a podcast, your listeners can download or stream the episodes whenever they like so they can fit in their listening around their own schedule. This means there is no need to repeat yourself after the initial introductions as the audience can easily skim back to the beginning if they have forgotten what or who they were listening to.
#2. Mass Appeal vs Niche
Another key difference between live radio and podcasting is the audiences they are appealing to. Radio stations aim to appeal to a mass audience by creating lots of content focused on a wide range of topics accessible to listeners which increases the chances of them staying tuned in.
Podcasts try to appeal to a more niche audience, due to their focus on individual topics, for example, there's an entire podcast devoted to dogs!

Your target audience for a podcast is more likely to stumble across your content as they will be actively searching online for the information that your podcast is covering.
As long as you use appropriate titles and tags when uploading your content, your target audience should have no problems finding your podcast. With radio on the other hand, you constantly have to be putting out new varied content to capture listeners attention and to draw new listeners in.
#3. Live vs Pre-Recorded
A large difference between podcasting and live radio is the fact that live radio cannot be edited after it has been broadcast, whereas podcasts are pre-recorded so they can easily be adjusted after recording.
Let’s say you have a breakfast show on your radio station that is advertised as going live every weekday morning between 6am and 11am; That is your time slot and everything must be timed within those 5 hours. While radio can include pre-recorded content, many shows are usually live broadcasts. This means that if something goes wrong (like fluffing a line), you can’t just edit it out later. You would need to get over it and move on quickly.
In a podcast format, you can record and re-record sections as many times as you need to. You can also edit sections of content out if, after listening back to them, you decide they don’t quite fit in. By doing this, you can get rid of any mistakes made and make everything sound very clean and polished. However, you may end up missing the spontaneous moments that live broadcasts sometimes have that provide extra character to the presenters and an interesting, and sometimes funny moment for the listener.
#4. Ephemeral vs Evergreen
Radio is an instant medium. The minute a radio show goes live, it is broadcast and then after a while, it’s over. If you record your shows then you will, of course, have that as a copy of it, but a listener is unlikely to go back and listen to an entire recording of a 5-hour long show, including advertisements and interviews that may be outdated by the time they start listening.
However, what a lot of radio stations are starting to do is condensing radio shows into their best bits. For example, take the Chris Evans Show on BBC Radio 2.
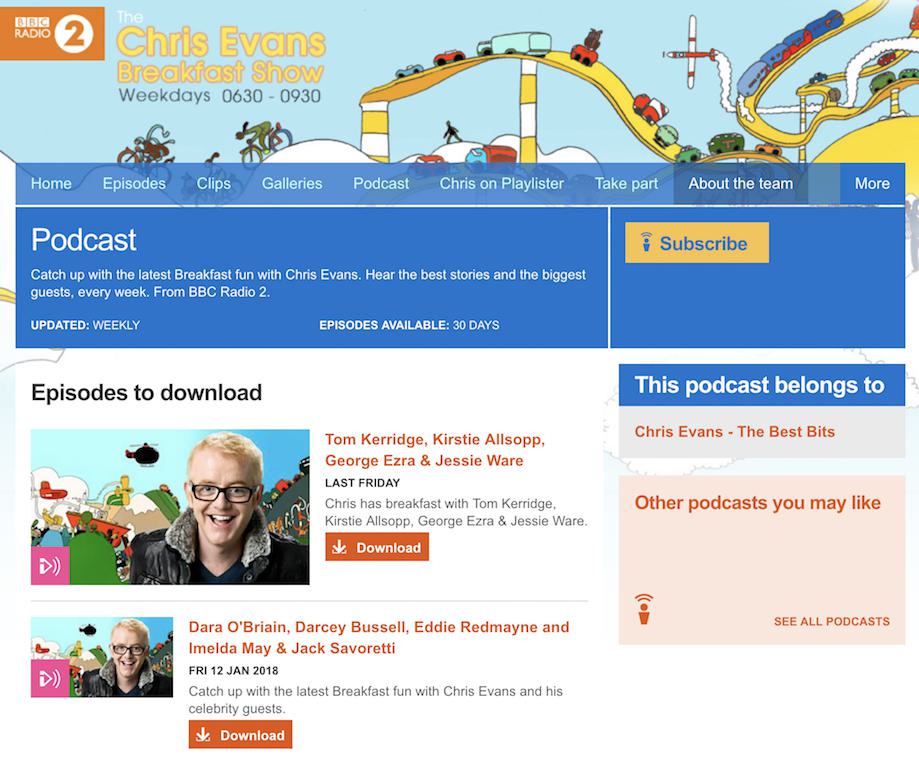
Radio shows like this get edited together to form a shorter podcast episode. It's much easier for listeners to take in than the actual show in its entirety (which is usually really long).
If you are starting up a regular podcast, then you will most likely always have some listeners due to there always being people that are interested in your chosen topic. As your episodes will be online forever, your target audience will always be able to find your content as long as they are searching for it.
Differences Between Live Radio and Podcasting
That's about it. But if you're still unsure which medium is best for you, ask yourself the following before choosing either live radio or podcasting:
- Do I work alone or with a team?
- Do I want live spontaneity or pre-recorded edited content?
- How do I want my listeners to be able to access my content?
- Is my focus on a niche subject or does it appeal to a wider audience?
Hopefully, doing this will help you decide which format best suits you. While there are loads of differences between live radio and podcasting, they're both popular in their own right and have large audiences growing year on year.


